
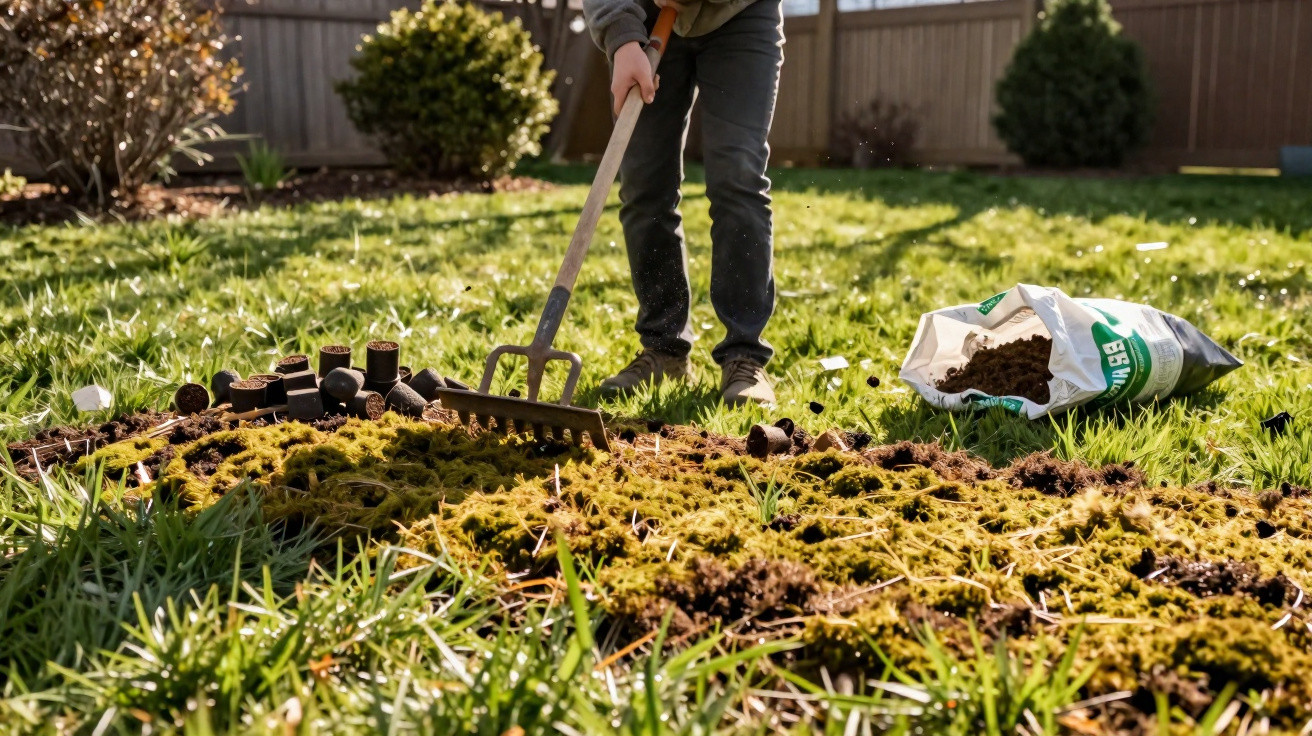
Instead of spending money on pricey specialist treatments, you can now get a better lawn in three surprisingly straightforward steps.
Many amateur gardeners get a shock in spring when they look out at the garden: yellow patches, damp areas, and cushions of moss where a lush green carpet should be. The good news is that March is often the perfect window to make your lawn noticeably thicker for the long term and to cut moss back dramatically - with a bit of effort, but without chemicals.
Why there is so much moss in the lawn - and what it really means
Moss is not a personal enemy; it is a sign that something is off. It usually points to tired ground: poor aeration, too much moisture, and often too much shade. Grass thrives in soil that is open and free-draining, while moss is perfectly happy with compaction and waterlogged conditions.
"If you genuinely want to get rid of moss, you don’t fight the plant - you tackle the underlying cause in the soil."
Over the years, any lawn becomes compacted: rainfall, children playing, garden furniture, and repeatedly walking the same routes all press the ground down. When that happens, water struggles to drain away and grass roots are starved of air. Moss takes hold most readily in those spots - typically noticeable as:
- areas that are constantly wet or muddy
- grey-green moss pads in partial shade
- ground that feels hard and “drummy” when you walk on it
- yellowing blades even though watering is adequate
This is exactly where a simple March routine helps: open up the ground, improve it lightly, rake out the moss, and then adjust how you mow.
Step one: aerate the lawn thoroughly with a garden fork
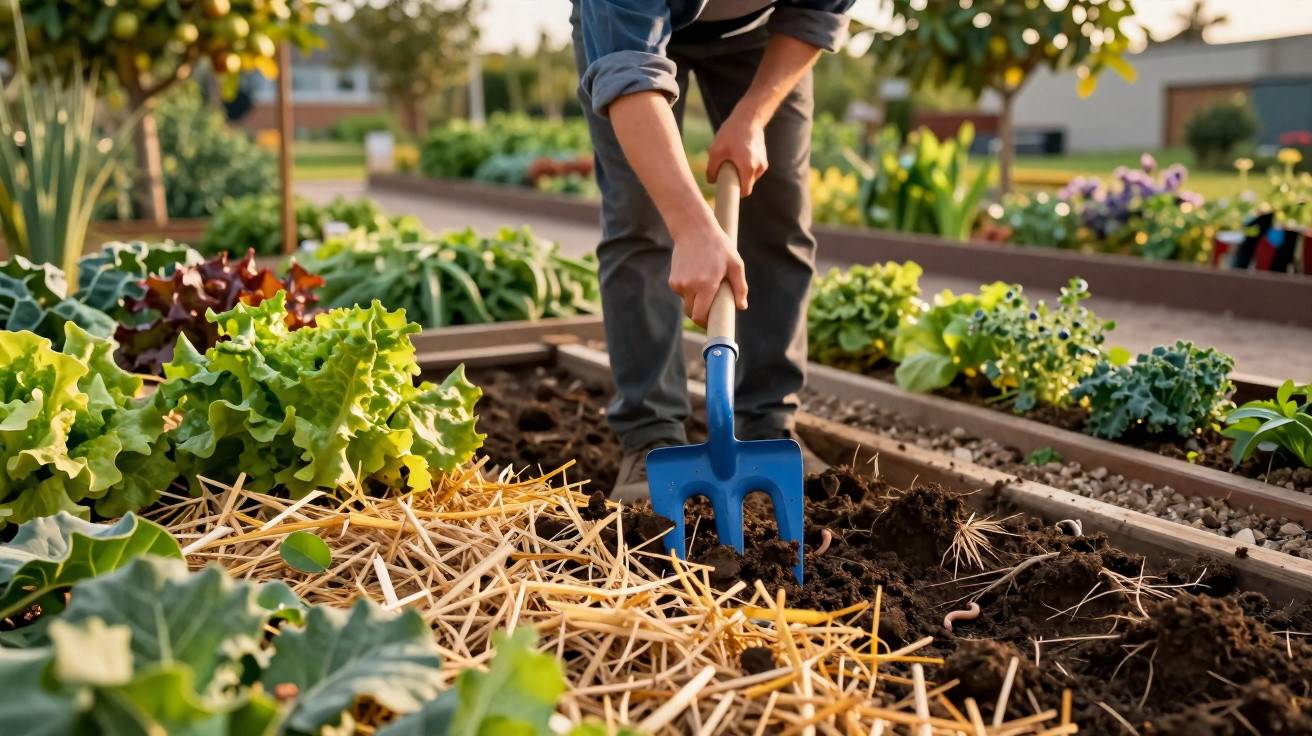
The most important part happens below the surface. The technical term is aeration. In practice, a standard garden fork or a hollow-tine lawn aerator fork is enough for small areas; if you have a large lawn, hiring a machine may be worthwhile.
How to aerate with a fork
- Wait until the ground is no longer frozen and no longer saturated - slightly moist is ideal.
- Push the fork tines about 8 to 10 centimetres into the turf.
- Tip the handle gently towards you so the soil cracks open and loosens.
- Step forward and repeat roughly 15 centimetres further on.
Pay extra attention to trouble spots - where rainwater sits after a shower or where the surface feels especially hard underfoot. In those areas, you can make the holes closer together.
"All those small holes work like air and water channels in the soil: waterlogging fades, and oxygen reaches the roots."
This step alone often leads to stronger, denser growth later on, because the roots can “breathe” again.
Step two: a finely applied soil mix helps the lawn thicken up
After aerating, add a light layer of material on top - in gardening terms, topdressing. This fills the holes you’ve made and improves the soil structure right where the roots sit.
A simple soil mix for home gardeners
A loose blend works best, for example equal parts of:
- finely sieved garden soil
- coarse sand (or river sand)
- mature, sieved compost or leaf mould
If you do not have the perfect blend ready, you can keep it simple: coarse sand on its own already helps by improving drainage and keeping the fork holes open.
How to apply the soil mix correctly
- Scatter the mix thinly over the aerated areas - no more than a light layer.
- Work it in firmly with a stiff broom until the mix disappears down into the holes.
- Spread any loose residue across the surface so you do not leave little mounds.
"A well-worked-in soil mix improves drainage and nutrient availability at the same time - the lawn thickens up, and moss loses its advantage."
The organic component from compost or leaf mould acts as gentle, slow-release nourishment. The sand increases air space in the soil. Often you’ll see the benefit in the same spring, with the lawn looking more even and richer in colour.
Step three: rake the moss out vigorously and set the mower higher
Once the ground has been improved, tackle what you can see: moss and old thatch. A sturdy metal rake or a spring-tine rake with strong teeth will do the job; for bigger lawns, a scarifier is also an option.
Raking properly in spring
Work over the lawn both lengthways and across it, pulling the rake through the sward with real force. It can feel harsh, but it is effective: dead material, moss, and built-up thatch come free and gather into heaps.
Put this waste onto the compost heap or into your garden waste bin, not back onto the lawn. Afterwards, the lawn can look worryingly bare - that is normal, and it is exactly the point.
"A slightly ‘bald’ lawn for a week or two is the price you pay for a much denser carpet later in spring."
The first cut: higher is better than lower
Straight after raking, it makes sense to mow for the first time. Pay close attention to cutting height:
- In spring, mow on a higher setting, around 4 to 5 centimetres.
- Remove no more than one third of the blade length in a single cut.
- Use a sharp blade so the grass is cut cleanly.
Grass that is not scalped develops stronger roots and closes gaps more quickly. Moss, on the other hand, benefits from very short turf that lets plenty of light reach the soil surface - which you avoid by mowing a little higher.
Timing: why March is (usually) the sweet spot
Start these three jobs once the soil is beginning to warm but has not dried out. In many areas, that is between early and mid-March. In very mild locations, you may be able to begin in late February.
| Region / position | Start time |
|---|---|
| Mild valleys and river locations | Late February to early March |
| Mid-level areas | First half of March |
| Cooler, higher ground | Mid to late March |
What matters most is the condition of the soil: not frozen, not waterlogged, but slightly moist. A dry afternoon is enough to complete all three steps.
Common mistakes with moss - and how to avoid them
Many garden owners reach first for moss killer or a strong fertiliser. It can look effective in the short term, but the issue often returns. It is better to steer clear of a few typical traps:
- Working too early: Frozen ground tears, and the turf can be damaged for the long term.
- Ignoring persistent waterlogging: If roof run-off or water from higher ground is constantly flowing in, even the best soil mix will only help to a limited extent.
- Cutting extremely short: A “golf green” height weakens grass and gives moss the upper hand.
- Treating shady areas like a sunny sports pitch: Under trees, lawns need different care - or an alternative such as shade-loving perennials.
How March lawn care pays off through the year
If you aerate in March, improve the soil lightly, and rake moss out thoroughly, you set yourself up for the rest of the season. The lawn grows more evenly, bounces back faster after hot spells, and copes better with wear.
In many cases, repeating this routine once a year is enough. If your lawn gets heavy use - for example, a play lawn with children or dogs - you can plan a second round of aeration in late summer. The workload stays manageable, and the results are clear.
Practical extras: overseeding, fertiliser and shady areas
After your March treatment, check for bare patches. Where grass no longer grows at all, targeted overseeding with a good-quality lawn seed mix helps. Lightly rake the seed in, firm it down, and keep it evenly moist for a few weeks.
If you also want to feed the lawn, choose a moderate, largely organic lawn fertiliser. After aeration and topdressing, roots can take up nutrients particularly well. Too much fertiliser, however, rarely means more green - it usually just stresses the plants.
In permanently shaded spots - for instance beneath dense trees - a standard lawn can only do so much. Shade-tolerant lawn mixes, or entirely different ground cover plants, are often a better fit. That way, maintenance effort is used sensibly, and moss is less likely to take over whole sections.
If you make the most of a single dry afternoon in March and do the job properly, you have a strong chance of ending up with a much denser, tougher lawn - and far less need to worry about moss later in the year.


Comments
No comments yet. Be the first to comment!
Leave a Comment