
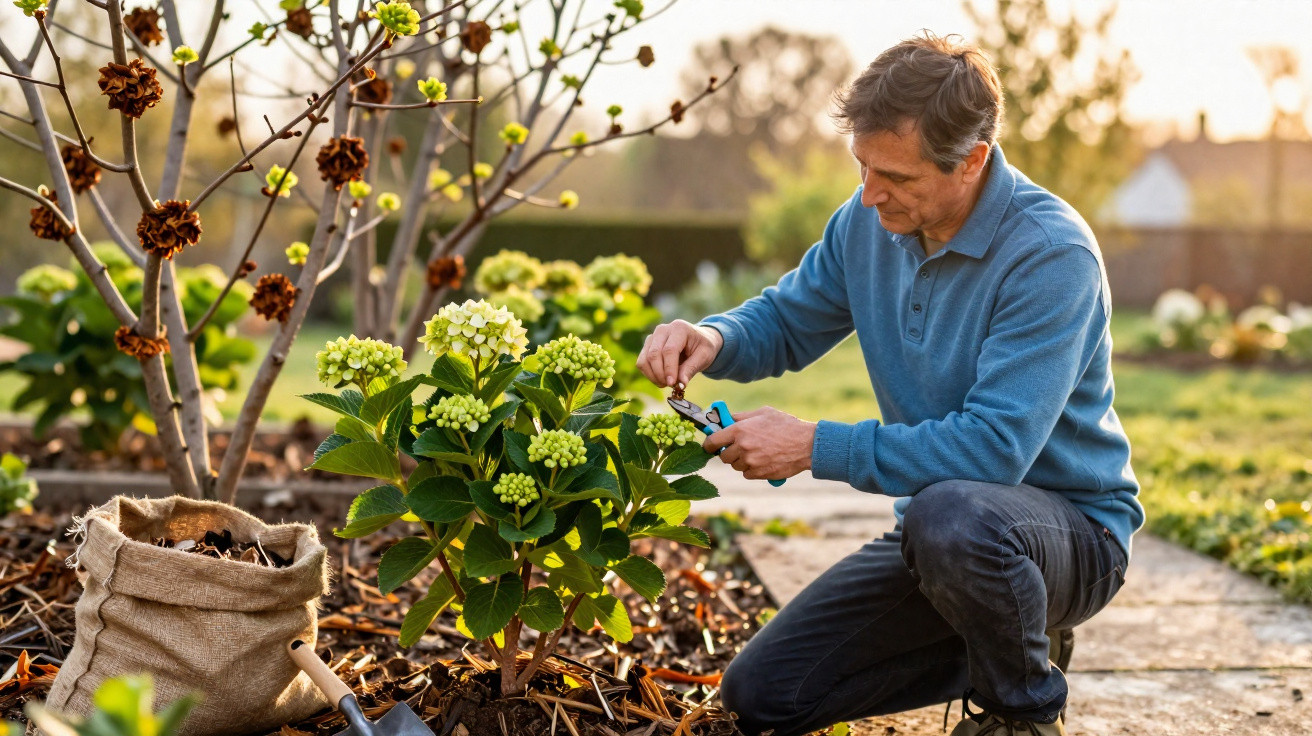
Plenty of gardeners feed their plants, water faithfully and still wonder why their hydrangeas flower less lavishly each year. British TV gardener Monty Don swears by a small March routine: a highly precise prune and a layer of mulch. It sounds unremarkable, yet it changes how the shrub copes with frost, moisture and bud development - and that directly affects the number of blooms.
Why March decides how well hydrangeas flower
Hydrangeas are often thought of as easy-going, tough plants, and they’ll even put up with partially shaded corners where roses would have long since struggled. Even so, many varieties are extremely sensitive to pruning at the wrong time.
In particular, the classic mophead hydrangeas (Hydrangea macrophylla, commonly referred to as mophead hydrangeas) produce their flowers on so-called “old wood”. In practice, that means the buds for next summer are already sitting on last year’s stems, waiting right through the winter.
If you “tidy up” in winter and cut off all the old flower heads with gusto, you often remove the buds for the entire coming season at the same time. The plant may look neat and well-groomed in May, but by July it can be shockingly sparse.
"The crucial point with hydrangeas is rarely how much you cut - but when and where you put the secateurs."
That’s why Monty Don - and his fellow British gardener Alan Titchmarsh - encourage a mindset shift: accept the plant’s winter rest, leave the spent heads in place, and only reach for the secateurs in March, once the worst of the frosts have passed and the buds are clearly visible.
Monty Don’s pruning trick: gentle deadheading instead of hard pruning
Many gardeners lump “pruning back” and “removing spent flowers” together. With hydrangeas, that distinction can be the difference between masses of flowers and a green ball of leaves.
What the March prune looks like, step by step
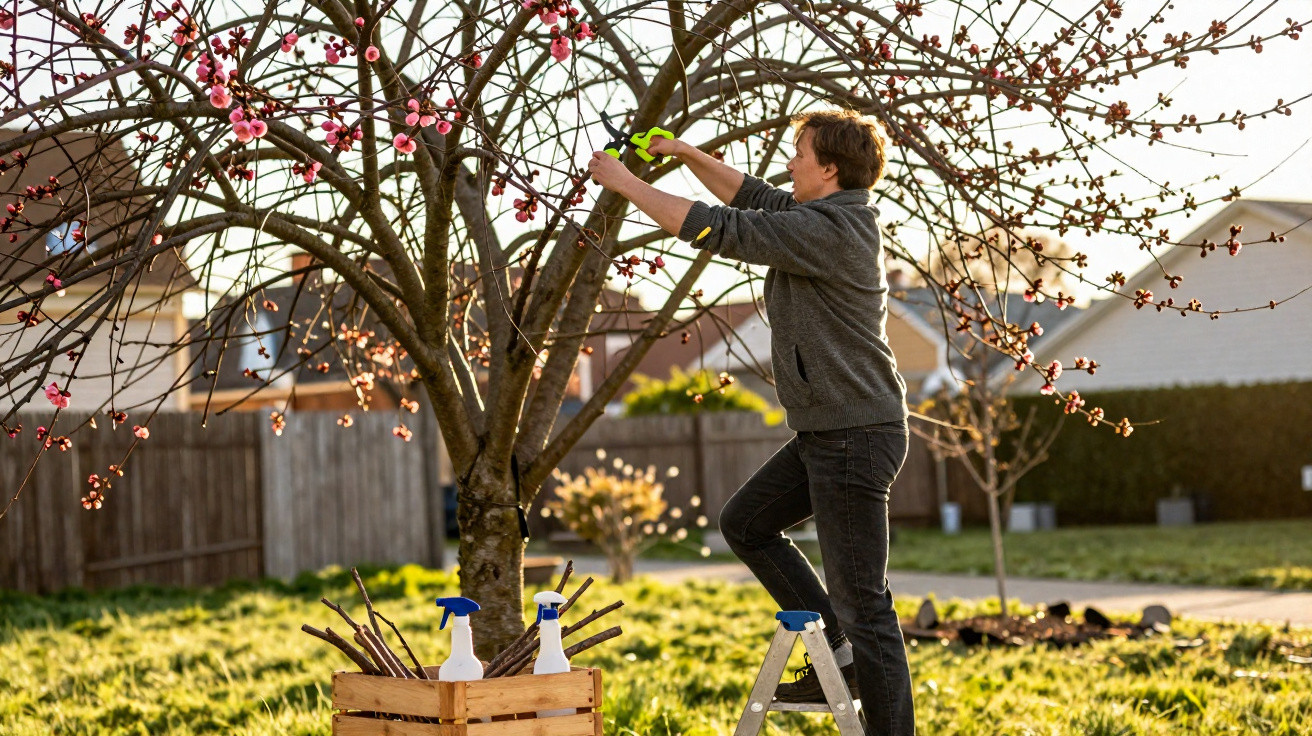
For mophead hydrangeas in March, Monty Don recommends a light touch only. It’s not a drastic haircut, but careful, precise work around the right pairs of buds:
- Wait for a frost-free spell in late February or March, ideally when the buds are visibly swelling.
- Check each dried flower head individually and cut only directly above the highest healthy pair of buds.
- Remove blackened, dead or very dry stems completely at the base.
- Leave strong, green stems in place - they carry that season’s flowers.
This so-called “deadheading” removes just the dried flower head and, in many cases, the frost-damaged tip of the stem. The two buds below are left untouched and will reliably shoot in spring.
"With hydrangeas in March, the secateurs should protect the buds, not ‘shape’ the plant - Monty Don saves any shaping cuts for after flowering."
When a harder prune is acceptable
Not all hydrangeas respond in the same way. Some types - including many panicle and smooth hydrangeas (Hydrangea paniculata and Hydrangea arborescens) - flower on “new”, meaning current-year, growth. These generally tolerate a stronger cut in late winter or very early spring.
| Hydrangea type | Flowers on | Recommended pruning | Timing |
|---|---|---|---|
| Mophead hydrangea (macrophylla, mophead) | old wood | remove only old flowers just above buds; thin older stems after flowering | March (light), stronger immediately after flowering |
| Panicle hydrangea (paniculata) | current-year wood | cut back firmly, keep the framework | late winter to very early spring |
| Smooth hydrangea (arborescens) | current-year wood | prune back boldly, usually quite hard | late winter to March |
A simple rule of thumb for hobby gardeners: if you’re not sure which hydrangea you have, take the cautious route and treat it like a mophead. In the first year, it’s better to cut a little less and watch how it affects flowering.
The mulch that quietly does the work underground
Alongside pruning, Monty Don routinely mulches around hydrangeas, roses and other shrubs through winter. It may not look dramatic, but it has a major influence on how evenly the plant grows and how well buds come through the winter.
What Monty Don recommends for mulching
He uses well-rotted organic matter. Suitable options include:
- mature homemade garden compost
- mushroom compost
- bark mulch or chipped bark (often slightly acidic, such as pine bark)
Aim for a layer around 5–10 cm thick. Apply it on mild days in January or in very early spring. The soil shouldn’t be frozen or completely waterlogged.
"Monty Don would rather mulch thickly every other year than apply a thin layer every year - the impact on soil life and the root environment is much stronger this way."
Important: lay the mulch as a ring around the plant, not piled against the stems. Keep the “collar” around the crown free so the base doesn’t rot and mould problems don’t develop.
Why mulch leads to more hydrangea flowers
A mulch layer shields the soil from abrupt temperature swings. This reduces frost damage around the roots, while the above-ground buds also gain a little extra protection from the spent heads left in place. At the same time, mulch helps the ground hold moisture for longer and, over months, feeds soil life with nutrients.
Hydrangeas, in particular, react badly to fluctuating moisture. Long dry spells or waterlogging create stress - and a stressed plant prioritises survival rather than setting lots of flower buds. Mulch acts as a buffer here.
Mistakes many hobby gardeners repeat every year
In typical suburban gardens, the same habits crop up again and again - and they cost hydrangeas their flowers:
- Hard pruning in December: In the name of tidiness, all old flower heads and stems are cut right down. The summer’s buds end up in the garden waste.
- Fresh bark mulch right up against the stems: Unrotted material temporarily ties up nitrogen and can cause the plant’s base to rot.
- Waterlogging in pots: Attractive patio containers without drainage holes may look good, but they can cause hydrangea roots to rot.
- Too much general fertiliser in spring: The plant produces lush green growth, but forms fewer buds because it’s pushed too far into “growth mode”.
Correct just one of these points and try Monty Don’s March pruning approach, and many people notice a clear improvement in both the number and size of the flower heads by the first summer.
Practical scenario: the 30-minute spring check
For many gardeners, the diary is busy anyway. A low-effort routine makes the ritual easier to stick to. Here’s an example of a quick hydrangea check on a mild March morning:
- Check the forecast: is a frost-free week ahead? If yes, get started.
- Clear weeds roughly around each hydrangea and lightly loosen the soil surface.
- Take each stem with a spent head, find a healthy pair of buds, and cut just above it.
- Remove dead stems, shoots growing inwards, or stems that cross and rub.
- If you haven’t already: add a 5–10 cm mulch layer around the shrub, without covering the stems.
That’s all that’s needed for now. Watering becomes relevant later in drier periods; feeding can be done in April or May using an organic slow-release fertiliser.
What “old wood” and “bud protection” really mean
Many guides throw around technical terms that sound like textbook language. There’s nothing mysterious about “old wood”: it simply refers to stems that have already gone through one season and have become woody. On many hydrangeas, those sections carry the flower buds for the following year.
In this context, “bud protection” has two layers. First, there’s the physical shelter provided by the spent heads, which hang over the buds like little umbrellas. Second, there’s protection created by sensible pruning and stable soil conditions, so buds don’t freeze, dry out, or weaken through lack of nutrients.
Why patience pays off with hydrangeas
If a hydrangea has been badly pruned once, you can be left with a summer that’s almost flowerless. That’s frustrating, and it often triggers rushed fixes such as adding more fertiliser or cutting back again. A more helpful approach is to think in a two- to three-year cycle.
In year one, it’s worth focusing on the gentle March prune with bud awareness, plus a good mulch layer. In year two, you can be more targeted: after flowering, remove one or two of the oldest, tired stems close to the ground so younger, more vigorous shoots can rise from the base. This rejuvenates the shrub gradually, without writing off a full season.
When you establish this mix of patience, a small March job, and calm, protected soil conditions for your hydrangeas, you often get a real lightbulb moment: in spring the shrub can look almost unremarkable - and then in high summer it suddenly bursts with flower heads, as if someone had secretly buried an XXL dose of fertiliser. In reality, it’s simply a straightforward, well-timed trick that surprisingly many gardeners overlook.
Comments
No comments yet. Be the first to comment!
Leave a Comment