
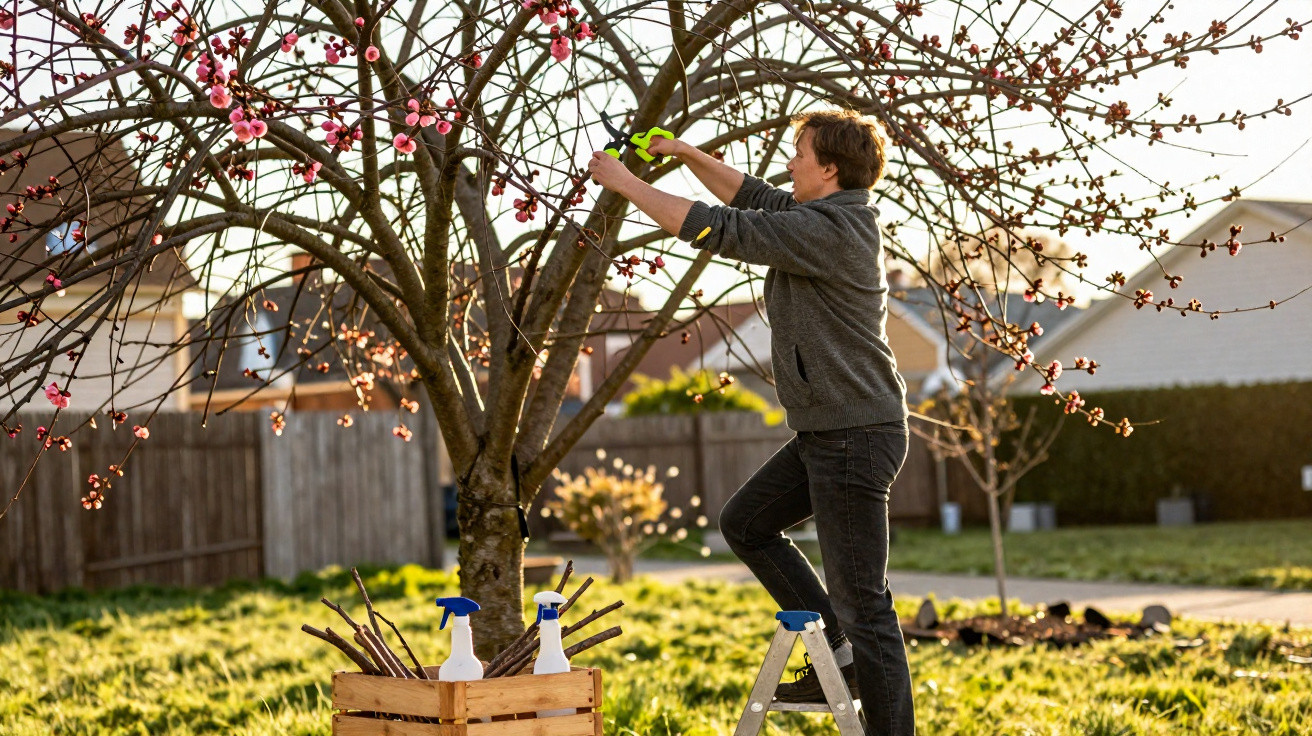
If you want to pick baskets of sweet cherries in June and July, you don’t necessarily need fertiliser, specialist treatments or pricey garden products. The crucial difference is made right on the tree itself: a targeted, time-tested pruning step that older gardeners used to do almost automatically - and which is surprisingly often overlooked today.
Why the right timing on a cherry tree makes all the difference
Cherry trees can be sensitive to the wrong cut, or to pruning done too late. That’s why it pays to pause and check conditions before you reach for the secateurs. Nature gives you a fairly clear signal of when the moment is right.
The ideal window: just before the buds really get going
The best time is from late winter into early spring, when days start to feel milder, buds are swelling, but there are still no leaves - or only the bare minimum. At this stage, sap flow is already starting, yet the crown remains easy to see through.
"If you prune now, you’re working with the tree’s natural strength: wounds seal faster, and energy goes into blossom and fruit - not into pointless wood."
If you wait many weeks longer, the tree has already invested its energy in leaves and new shoots. Removing major branches at that point creates unnecessary stress - and the harvest noticeably suffers.
Observe first, prune second: reading the crown
Before making the first cut, take a walk around the cherry tree. Stand back a little, look up, and assess the silhouette:
- Does the inside of the crown look like dense thicket?
- Are there hardly any “gaps” where light could pass through?
- Are lots of branches crossing within the crown?
A crown that’s too crowded blocks sunlight and airflow. Yet those are exactly what the tree needs for cherries to ripen properly and for disease pressure to stay lower. Moisture trapped in tight growth encourages fungi that can ruin entire crops.
The forgotten trick: remove inner troublemakers without compromise
The core old-school gardening trick is to thin the crown: take out unnecessary branches and sappy, non-productive shoots so that light and air can circulate freely again. A cherry tree that can “breathe” crops more reliably and stays healthier.
Crossing and rubbing branches: a hidden source of damage
Inside the crown, branches often grow inwards or cross over one another. When it’s windy, they rub together and scrape the bark. These small injuries can easily go unnoticed - but for fungi and bacteria they are perfect entry points.
The rule is simple: where two branches compete and get in each other’s way, only one should remain. Usually, you keep the better-positioned, sturdier branch that grows outwards, and remove the other right back to its point of origin. That creates space and helps prevent knock-on problems.
Greedy water shoots: strong growth with no fruit
Another drain on the tree’s energy is so-called water shoots (sometimes called “gourmet shoots”): long, steeply upright stems that often rocket up from the trunk or from thick scaffold branches. They can look powerful and vigorous, but as a rule they won’t produce cherries.
"These shoots act like sap thieves: they pull nutrients through the system that are meant for blossom and fruit."
These shoots should be removed consistently - ideally right at the base. It’s best to do this while they are still relatively young and thin. That way, you redirect energy back into the fruit-bearing parts of the cherry tree.
Cut cleanly like a surgeon - without stressing the tree
Good pruning is not about brute force; it’s about sensible tools and careful technique. If you’re sloppy here, you invite infection and wounds that heal poorly.
Prepare your tools: sharp and disinfected
Before heading out, it’s worth a quick stop in the shed or workshop. You will usually need:
- Sharp, good-quality loppers or secateurs for thinner branches
- A pruning saw or folding saw for thicker limbs
- Alcohol (70–90%) or a suitable disinfectant for the blades
Blunt or dirty blades crush rather than cut, tear the bark, and can spread pathogens from one tree to another. A quick wipe with alcohol before you start - and between any suspect trees - reduces that risk significantly.
The correct cut: just above an outward-facing bud
Each cut follows one straightforward principle: cut as close as possible above a bud that points outwards. Make the cut on a slight angle so rainwater runs off instead of sitting directly on the bud.
This naturally encourages airy, outward growth. New shoots won’t head back into the centre of the crown; instead they open it up like a goblet. That also helps reduce waterlogging and the rot that can develop at the branch junction.
What changes on a cherry tree after spring pruning
Once you’ve removed dead wood, inward-growing branches and greedy water shoots, the tree looks visibly “tidied up”. The crown has a clearer framework, light channels are easy to spot, and the tree redistributes its strength into the remaining, fruit-capable parts.
The key actions at a glance
| Action | Aim |
|---|---|
| Remove dead wood | Eliminate disease hotspots, reduce strain on the tree |
| Cut out crossing branches | Prevent wounds and fungal infection |
| Remove water shoots | Direct energy into blossom and fruit |
| Thin the crown | Increase light and airflow inside the crown |
With these few, clear steps you create an open crown. Sunlight reaches the inner areas too, and air can move freely. Damp leaves and wet wood dry faster after rain or morning dew, and fungal spores have much poorer conditions to get established.
More sun, more air - more cherries
A well-ventilated cherry tree usually delivers visibly higher yields. The fruit colours up more evenly, and the risk of entire sections being lost to fungal disease drops sharply. At the same time, you can often avoid many chemical treatments because the tree can use its “own defences” more effectively.
"A well-planned spring prune works like a free vaccination for the tree: fewer fungal problems, stronger shoots, better harvest."
Practical extra tips for a robust cherry tree
Pruning is the main key - but a few supporting steps can further improve your chances of a bumper crop.
Use prunings wisely and prevent disease spread
Healthy cuttings can be chipped and used as mulch under hedges or ornamental shrubs. Wood that looks diseased - for example with black spotting, oozing gum, or obvious fungal growth - should not go on the compost heap. Otherwise, pathogens can spread throughout the garden.
If you’re unsure whether a branch is healthy or infected, cut a piece open: wood that has browned inside or smells fermented points to trouble. It’s better to dispose of that material separately.
Common mistakes that can cost you the crop
- Only “tidying” the outside while leaving the inside packed tight
- Removing very thick branches in the middle of peak growth
- Leaving water shoots because they look so strong
- Pruning with old, rusty or blunt tools
- Tearing wounds instead of sawing cleanly
Many cherry trees crop poorly for years because a felted, tangled structure has built up in the centre - and nobody dares to tackle it. If you undo that knot decisively once, you often notice a clear improvement as early as the following summer.
Why this old gardening trick matters more than ever
Especially now, when many amateur gardeners want to avoid chemical sprays, simple mechanical measures matter more. Targeted spring pruning is one of the most effective - and at the same time most cost-efficient - ways to keep a cherry tree healthy over the long term.
Beginners may find it helpful to do the first prune alongside an experienced gardener or neighbour. After one or two rounds, the principles become intuitive: get light into the crown, remove competition, push energy towards blossom. If you stick to that guideline, it’s often surprising how much potential your own tree has.
If you pick up the secateurs in late winter or very early spring, you set the foundation for summer - not just for a handful of scattered cherries, but ideally for branches that bow under the weight of the fruit.

Comments
No comments yet. Be the first to comment!
Leave a Comment