
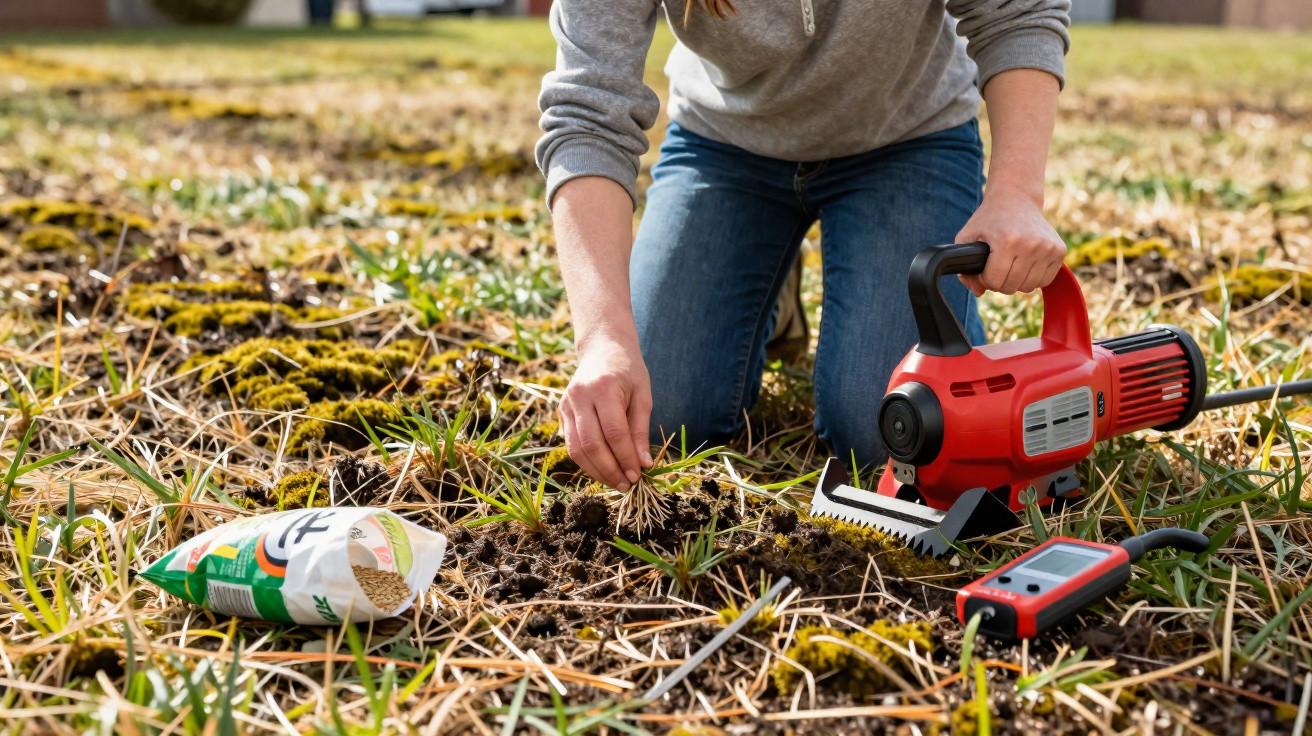
After a wet winter, your garden can quickly look like a boggy patchwork: moss, brown areas, yellow blades - and reaching for the scarifier feels like the obvious move. But if you start at the wrong time or with the wrong settings, you can end up with a bare, straw-like surface instead of a dream lawn. This classic spring trap is easy to avoid if you follow a few simple rules.
The most overlooked cause: scarifying too early and too aggressively
The big spring mistake is that many people scarify as soon as the first warm days arrive, even though the lawn is still seriously weakened. The turf has only just made it through winter, roots are sitting shallow, the soil is cold and often still waterlogged. If you cut in deeply at this stage, the machine won’t just pull out moss and thatch - it can tear up chunks of turf as well.
If you scarify too early and too deep, you “scalp” your lawn - and you shouldn’t be surprised by brown, bare patches.
There’s another issue too: after an exceptionally wet winter, the soil is often compacted and very soft. In that situation, the scarifier’s blades bite in far more than intended and damage the already stressed roots. Within a few days, the garden can look completely different - not like a cared-for lawn, but like a rutted building site.
How to tell whether the lawn is genuinely ready
Before you even think about scarifying, it pays to take an honest look at the area. Not every lawn with a few mossy pockets needs a drastic intervention. Look for clear signals:
- The ground feels like a spongy carpet underfoot.
- After rain, puddles remain on the surface for more than a few minutes.
- Moss is visibly dominant, with grass blades only appearing here and there.
- After a first pass with a metal rake, lots of brown debris and clumps of moss catch in the tines.
If just one of these signs shows up only mildly, thorough lawn care without a scarifier is often enough: mow a little higher, collect clippings, and overseed in patches. Scarifying is only worthwhile once the thatch layer is clearly visible.
The right time in spring
For gardens in Central Europe, the best window is usually between March and May. What matters most is less the date on the calendar and more the lawn’s condition. Three requirements should be met:
| Criterion | What it looks like |
|---|---|
| Soil temperature | Consistently above about 8–10 °C, and the grass is noticeably growing. |
| Growth | The lawn has already been mown two or three times. |
| Soil moisture | It’s neither frozen nor muddy - just slightly moist. |
If you’re not sure, try a simple check: take a spadeful of soil and see whether the roots look white and healthy, and whether the slice lifts out cleanly without falling apart. If everything looks grey and crumbly, or the soil is soaking wet, it’s still too early.
New lawns are especially sensitive. During the first 12 months after laying or sowing, scarify only very cautiously - if at all. Fully resilient lawn roots typically develop only after two to three years.
Setting up the scarifier so it helps - not shreds
Once the timing is right, good preparation determines how well the lawn recovers. A proven sequence looks like this:
- Apply a light feed at the start of the season so the grass can regrow strongly.
- One to two days before scarifying, mow short - around 3 to 4 centimetres.
- Collect the clippings carefully so the blades can work freely.
- Scarify only when the soil is slightly moist - no standing water and no drought cracks.
- Set the blades to 2 to a maximum of 3 millimetres deep.
The machine should only scratch the surface, not plough the lawn. A good sign you’ve set the depth correctly is that you can see fine grooves, but hardly any torn-out tufts of grass with roots attached.
If you’re using an electric machine, walk slowly and let it do the work rather than forcing it. On heavily thatched sections, a second pass at right angles to the first can make sense. Afterwards, remove moss and thatch thoroughly with a rake or collection box. If debris is left behind, it quickly forms the next mat of thatch.
After the treatment, the real lawn rescue begins
Right after scarifying, the lawn often looks alarmingly battered. In many spots you’ll see bare soil, and the blades lie flattened. This is exactly when aftercare decides whether the process turns into a disaster or becomes a reset.
Without good aftercare, moss grows back faster than the lawn can recover.
One key factor is soil pH. Moss thrives in acidic soil, while lawn grasses prefer neutral to slightly acidic conditions. In many gardens, years of clippings and rainfall have gradually made the soil too acidic. A lime-based soil improver such as dolomitic lime can help by gently raising the pH.
What’s best avoided: many people still reach for iron-based products that briefly turn moss black and kill it off. These products scorch the moss but also acidify the soil further. The result is that the lawn continues to struggle with poor conditions - while the moss returns again after a short time.
Closing gaps so new moss can’t move in
After improving the soil, targeted overseeding is well worth doing. The open areas left by scarifying are the perfect entry point - either for fresh grass plants or for unwanted weeds and moss. A renovation mix with hard-wearing varieties helps the surface knit back together quickly.
A sensible rebuild after scarifying looks like this:
- Lightly loosen the surface with a rake.
- Sprinkle lawn seed thinly over bare areas - don’t pile it on in layers.
- Lightly roll, or gently press in with your feet.
- A spring starter fertiliser provides a quick boost.
- Over the following weeks, keep the area evenly moist, but not wet.
During this stage, keep foot traffic to a minimum. Young shoots snap easily if children play there or garden furniture is placed on the lawn.
How to stop moss becoming a problem in the first place
If you end up fighting the same battle every year, it’s time to tackle the causes. Moss doesn’t appear at random - it exploits weaknesses in the lawn system. Typical reasons include persistent shade, compacted ground, waterlogging, or mowing too often and too short.
Three adjustments often make a big difference:
- Mowing height: mow a little higher; 4 to 5 centimetres is ideal for many home gardens.
- Air in the soil: relieve compaction by spiking with a garden fork or using aeration tools.
- Nutrient supply: two to three moderately dosed feeds per year strengthen the grass.
In very shady areas, a change of approach can be worthwhile: rather than constantly battling moss, consider shade-tolerant ground cover plants or a wildflower meadow. A perfect, continuous lawn carpet is often more of a wish than a realistic goal in such spots.
Why “less is more” with scarifying is often the smarter approach
Many gardeners treat scarifying as an annual must-do. In some cases, though, it’s enough to intervene only every few years and in a targeted way. A lawn that is mown regularly, fed moderately, and properly aerated develops far less thatch.
A simple rule of thumb usually works well: check first, then act. If the soil doesn’t give underfoot, the lawn looks dense and a rich green, and a rake comes through without collecting much, the scarifier can happily stay in the shed in spring. That not only protects the lawn, but also saves your nerves - and the result often looks better anyway.





Comments
No comments yet. Be the first to comment!
Leave a Comment