
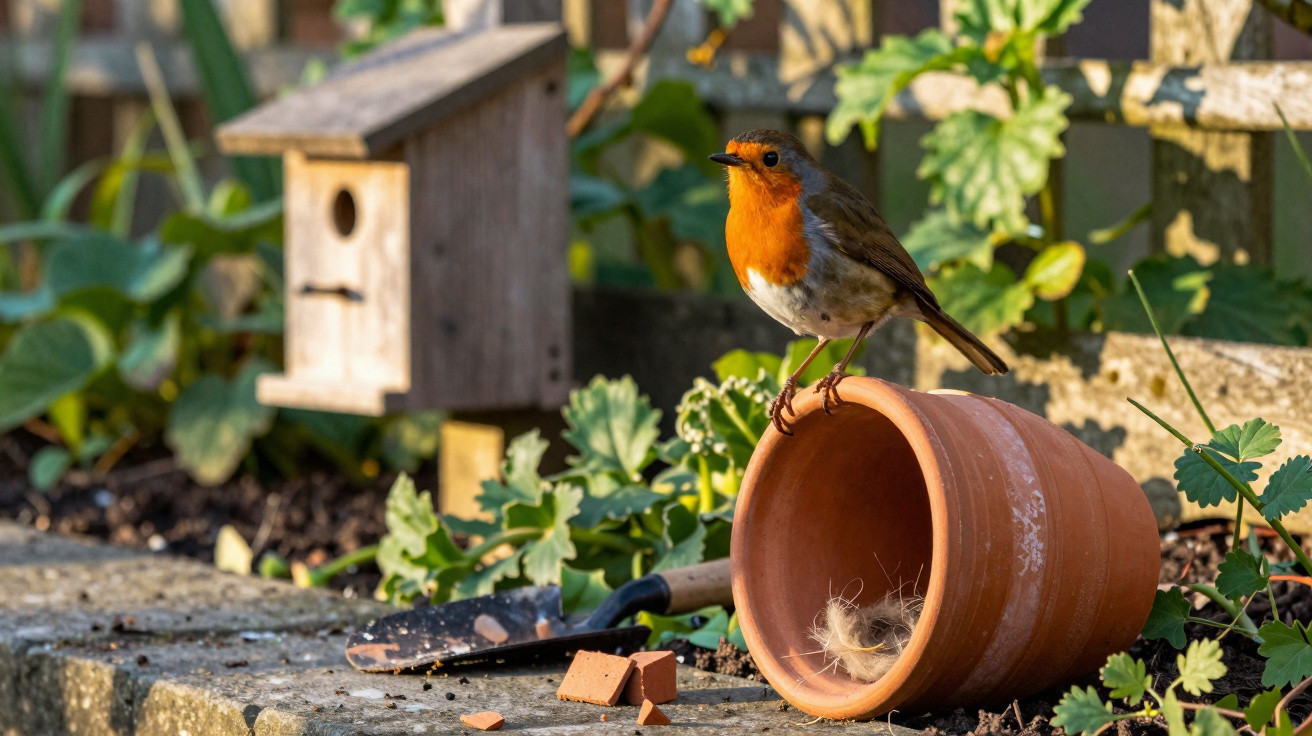
A plain terracotta plant pot can change everything.
Many garden owners spend money on attractive wooden nest boxes, hang them carefully up in a tree canopy – and then wait in vain for a pair of robins. That’s less about bad luck and more about a simple misunderstanding. If you understand how this bird chooses its nesting site and place a basic terracotta pot in the right way, your chances of gaining feathered lodgers rise dramatically.
What robins actually need – and why standard nest boxes fail
The European robin (Erithacus rubecula) is often seen as the classic garden companion: it follows the spade, hops close to people and can appear almost tame. When it comes to nesting, though, this small singer is far more selective than many assume.
Most commercially available nest boxes are designed for tits or sparrows: hung fairly high, with a small entrance hole and a largely enclosed interior. That setup is exactly what a robin doesn’t go for.
The robin is not a typical cavity nester; it looks for low, widely open and well-hidden niches.
It is drawn to places such as:
- dense shrubs and hedges
- ivy on walls or trees
- log piles, root areas and banks
- concealed nooks close to the ground
Boxes fixed 3 metres up simply don’t appeal to robins. They prefer to stay near the ground, well covered, but with a broad opening so they can slip in and out quickly.
The terracotta pot trick: simple, inexpensive and surprisingly effective
This is where the terracotta pot comes in. What might sound like a makeshift craft project tends to work reliably in practice – as long as the pot is prepared and positioned properly.
An unglazed terracotta plant pot has several advantages:
- natural moisture regulation: the porous clay absorbs moisture and releases it again, so condensation rarely builds up
- a comfortable microclimate: it stores a little warmth during the day and releases it slowly at night – helpful for eggs and chicks
- a wide opening: instead of a narrow entrance hole, there’s a large, semi-open entry, which robins prefer
- an unobtrusive look: terracotta blends naturally into hedges, ivy and ground-level structures
The cost of the nesting site doesn’t matter – the logic of the location does.
Compared with many shop-bought nest boxes, there is plenty to be said for a reused plant pot from the garden shed.
Which terracotta pot works and how to prepare it
A classic, unglazed terracotta pot with a diameter of 15 to 20 centimetres is ideal. That gives a robin enough room to build and brood comfortably without the space feeling too large.
Preparation in a few quick steps
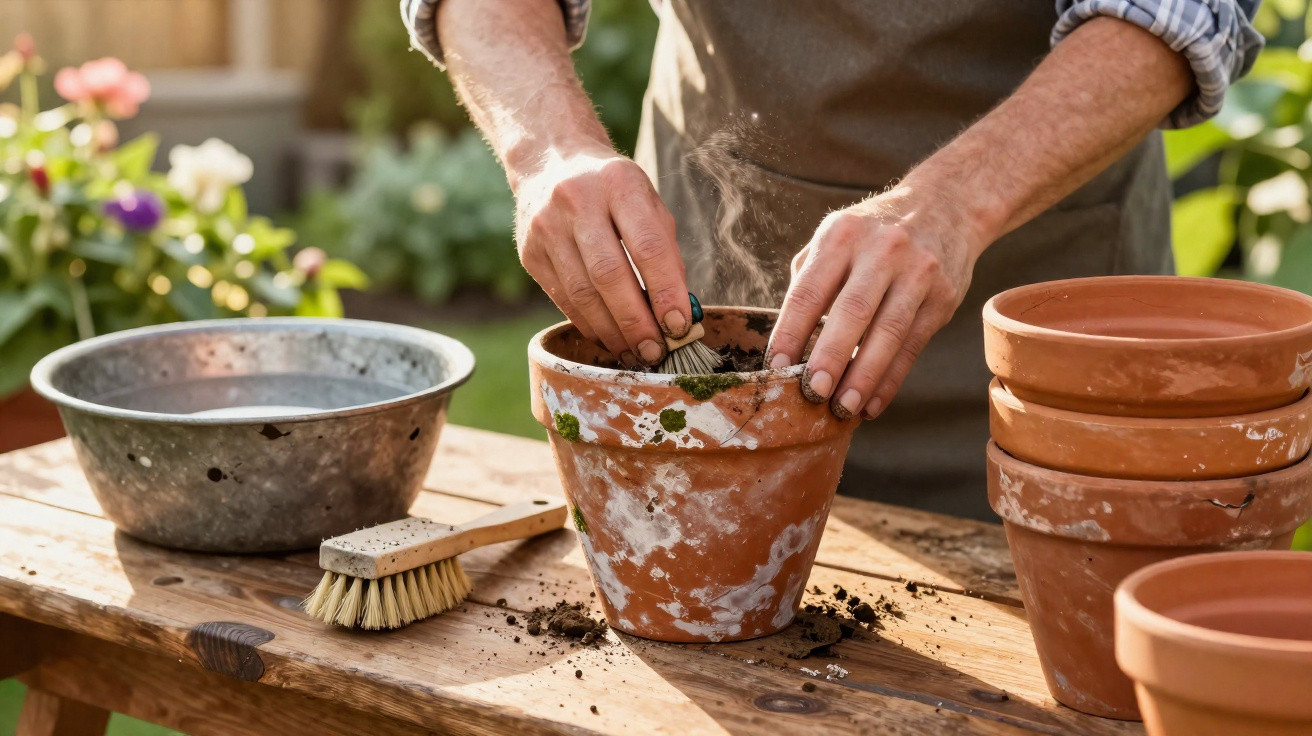
- Clean the pot: rinse with plain water, removing old soil and algae residue. Don’t use washing-up liquid or chemicals.
- Remove labels: peel off stickers, price tags and films completely so nothing smells or catches the light.
- Tilt, don’t stand upright: lay the pot on its side or angle it slightly downwards so rainwater cannot pool inside.
- Fix it firmly: wedge it with wire, stones, branches or pieces of wood so it cannot wobble.
Inside, a small “starter” helps the birds begin building. Robins readily take existing material and reshape it to suit.
Suitable options include:
- a thin layer of dry leaves
- a little dry moss
- fine blades of grass
That’s all you need. The pot should mimic a half-finished niche, not a fully furnished luxury nest.
The perfect spot: low, concealed and with morning sun
Placement determines whether your terracotta pot becomes a nesting site or ends up as pointless garden decoration. A few criteria really matter.
Height and surroundings
Robins don’t nest in treetops; they choose the lower layers of vegetation. The best mounting height is around 1 to 1.5 metres above the ground. Lower can work too on a sheltered slope or in dense ivy; higher is best avoided.
Good locations include:
- dense hedges with some undergrowth
- ivy on walls or fences
- banks or small slopes with shrubs
- hidden corners behind garden equipment or log piles
What matters is depth of cover. A pot lying openly in a flower bed is easy for predators to access. Ideally, the entrance is lightly veiled by twigs, leaves or grass without being completely blocked.
Orientation and protection from the weather
The opening should face roughly south-east. This lets gentle morning sun reach the nest, while heavy rain and cold westerly winds are less likely to drive straight into the pot. In summer, full sun can overheat the interior, so choose a partially shaded position.
Even the best terracotta pot is useless if it bakes in the midday heat or sits in a draught.
Noisy, busy routes, seating areas or a spot right by the sandpit are poor choices. Robins will tolerate people at some distance, but at the nest they need calm and a sense of security.
The right timing: when the pot needs to be ready
Robins begin breeding early, so the pot should be prepared in good time. Late February to mid-March is ideal. At that point, you have a good chance that a roaming pair will inspect the new shelter before settling.
If you only rush to adjust things in April, it is usually too late. Better: plan the pot and location during the winter months and install it on the first mild days. After that, leave the site alone – don’t keep tweaking it or moving it.
If the pot isn’t used in the first year, patience can pay off. Sometimes slightly denser planting nearby, or a small shift within the same hedge, is enough for the nest site to be accepted in the second year.
Alternative hiding places: what works besides a terracotta pot
If you don’t have a suitable terracotta pot, you can use similar containers, as long as they are sturdy, discreet and semi-open. For example:
- an old metal watering can, laid on its side and well camouflaged
- an upturned bucket with a side opening beneath shrubs
- a retired window box, tilted on its side and disguised with twigs
The same rules apply: no bright colours, no plastic smell, no scorching direct sun, close to shrubs and the ground, quiet and well concealed.
Practical tips: safety, hygiene and behaviour in the garden
Where birds breed, predators are rarely far away. Cats, martens, magpies or crows will take any opportunity. It’s worth checking the immediate surroundings.
- Make it harder for cats to reach: dense, thorny shrubs (for example barberry or blackthorn) in front of or next to the pot make access awkward for cats.
- Don’t feed right by the nest: feeding stations also attract competitors and predators, so place them some distance away.
- Avoid disturbance during breeding: don’t shine a torch inside, don’t lift or reposition the pot, and don’t make “inspection visits” with children right in front of it.
After the breeding season, a rough clean is enough: remove old nesting material in late autumn or winter, rinse the pot with water, let it dry and put it back. Strong disinfectants tend to do more harm than good.
Why the effort is worth it – and what children can learn
Being able to watch a robin raise its young is hands-on nature education right outside the patio door. From a respectful distance, children can see how often the adults bring food, how long the chicks stay in the nest and when they finally leave.
At the same time, a terracotta-pot nesting site helps build an understanding of ecological links within your own garden: dense, mixed hedging instead of sterile gravel areas; leaf litter and dead wood as habitat rather than “perfect” tidiness; quiet corners instead of constant mowing. All of this makes it more likely that robins – and many other garden birds – will breed more often.
When you then discover that soft cheeping really is coming from a simple, well-hidden terracotta pot, the lesson is immediate: a successful season doesn’t require expensive nest boxes, but a bit of knowledge, good timing and the willingness to let parts of the garden become deliberately a little wilder.
Comments
No comments yet. Be the first to comment!
Leave a Comment