
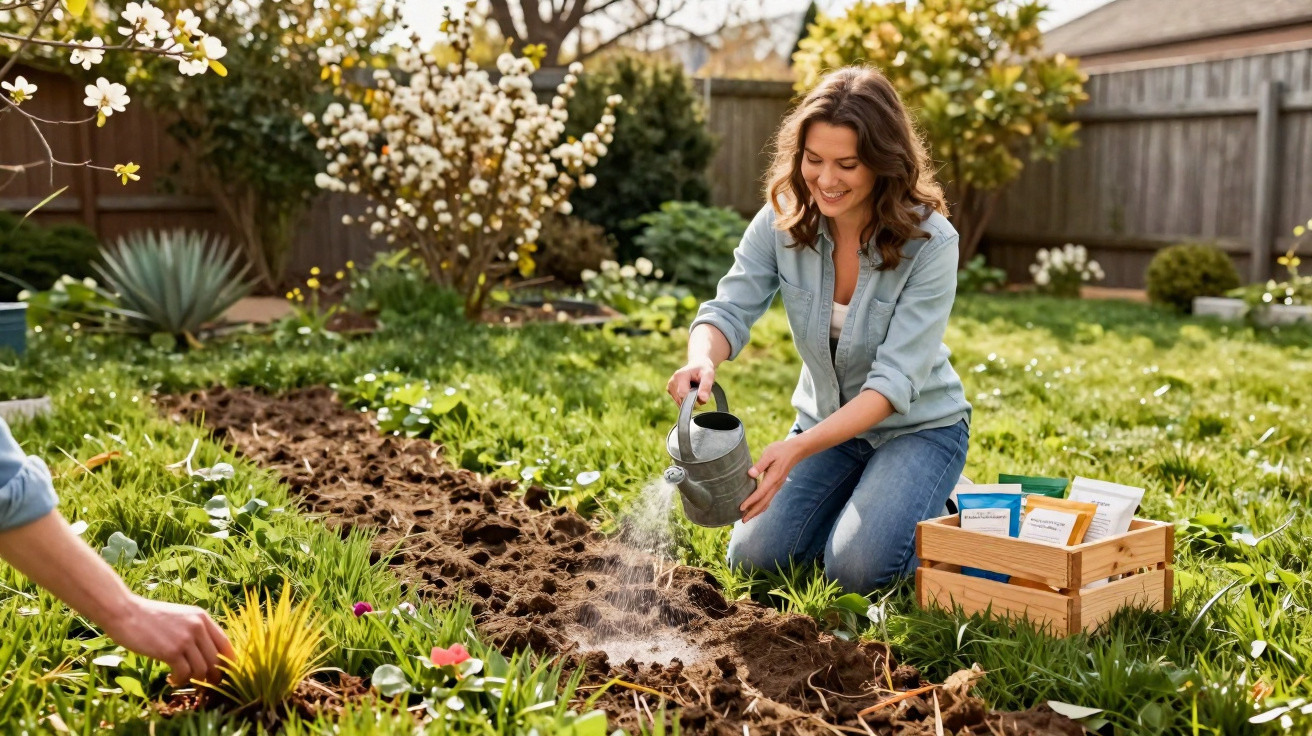
A member of staff from a garden centre’s outdoor department explains a simple springtime trick to help your lawn grow back thick and a healthy green.
By late February, plenty of homeowners look out of the window feeling deflated: instead of fresh green, there are brown patches, moss, and areas flattened by winter foot traffic. This is exactly when most people decide to “do something” - and often they do the wrong thing. A seasoned garden-centre worker describes a straightforward order of steps that can get even tired-looking grass back into shape surprisingly quickly.
Getting your lawn off to the right start in spring
Timing is the key. As soon as temperatures become consistently milder and the ground is no longer frozen, the lawn begins to wake up. Across much of central Europe, that window is usually in March.
At that point, many people get impatient and cut the grass right down. That tends to do more harm than good. The garden professional recommends taking the first stage slowly.
“For the first cuts of the year, never remove more than a third of the blade length - otherwise the cut weakens the plant.”
In practical terms, that means: if the lawn is around 9 centimetres tall, set the mower to about 6 centimetres. If it still looks a little long afterwards, mow again a few days later - again, gently. This helps the grass adapt to being maintained and encourages it to push out new growth.
Mulching, or is it better to collect the clippings?
Many modern mowers include a “mulching” option. The machine chops the clippings finely and spreads them back over the lawn as a thin layer. In summer, that can work as a useful natural feed.
In spring, conditions are different. After winter, the grass is often wet and matted, and the blades are typically softer. If larger amounts of clippings are left on top, they can clump together and sit like a blanket on the turf. That blocks air and light from reaching the soil - and the lawn suffers.
- In March and early April: it’s better to collect clippings in the grass box.
- From May, in dry weather: introduce mulching gradually.
- If the grass is very dense and long: always remove the cuttings so nothing rots.
Especially for the first few mows, it pays to play it safe and use the collector. That way the lawn surface can breathe properly.
Why your lawn is gasping for air
What many people underestimate is that it’s not only the grass blades that need attention - the soil underneath does too. Over time, the ground becomes compacted. Heavy soils with lots of clay are particularly prone to this. Every walk across the lawn presses the soil a little tighter.
The result is that water either sits on the surface or runs off instead of soaking down into the root zone. Oxygen struggles to reach the soil, the roots can’t function as well, and moss and thatch spread. The lawn then looks tired and patchy.
“A few simple steps to improve aeration can be the difference between a gappy patchwork and dense green.”
How to aerate your lawn properly
For smaller lawns, doing it by hand is perfectly adequate. The garden-department worker recommends combining raking with “spiking” the ground.
Typical steps:
- Remove moss and thatch: pull a sturdy lawn rake firmly through the grass until moss, dead blades, and thatch lift out.
- Spike the soil: use a garden fork or lawn-aerator fork to push holes into the ground at regular intervals. The holes can be several centimetres deep.
- Add sand if needed: in heavily compacted areas, brush fine quartz sand into the holes. Over time, this improves soil structure.
If you have a large lawn, it’s more comfortable to use an electric or petrol-powered scarifier. These machines use rotating blades to lightly score the soil while combing out thatch and moss.
A quick overview of the differences:
| Measure | Best used for | Effect |
|---|---|---|
| Rake | Small gardens | Removes moss and loose thatch |
| Scarifier | Medium to large areas | Breaks up thatch and lightly loosens the surface |
| Fork / aerator | Compacted spots | Improves water penetration and airflow |
Closing the gaps: how bare patches turn green again
Once the ground has been loosened and the thatch removed, the next question is what to do about bald areas. Here, the garden-centre professional emphasises an intermediate step that many people skip.
“Bare patches first need a fresh bed of loose soil - only then is new seed or turf worth it.”
In other words: thoroughly loosen the top 2 to 3 centimetres of soil in the bare patch, mix in a little fresh lawn topsoil or humus-rich garden soil if necessary, and level it gently. Only then should you add either new seed or ready-cut turf.
Turf or overseeding - which is the better fit?
There are two main ways to make bald areas green again:
- Turf / ready-cut lawn: ideal if you want results quickly. The area can look great again within a day. The pieces need to be pressed down well and watered sufficiently.
- Overseeding with a dedicated lawn-seed mix: cheaper, but it takes patience. The professional recommends a regeneration mix designed specifically for filling gaps.
If you overseed, scatter the seed thinly but evenly, rake it in lightly so it makes contact with the soil, and keep the area consistently moist during the first few weeks.
Birds, fertiliser, and choosing the right moment
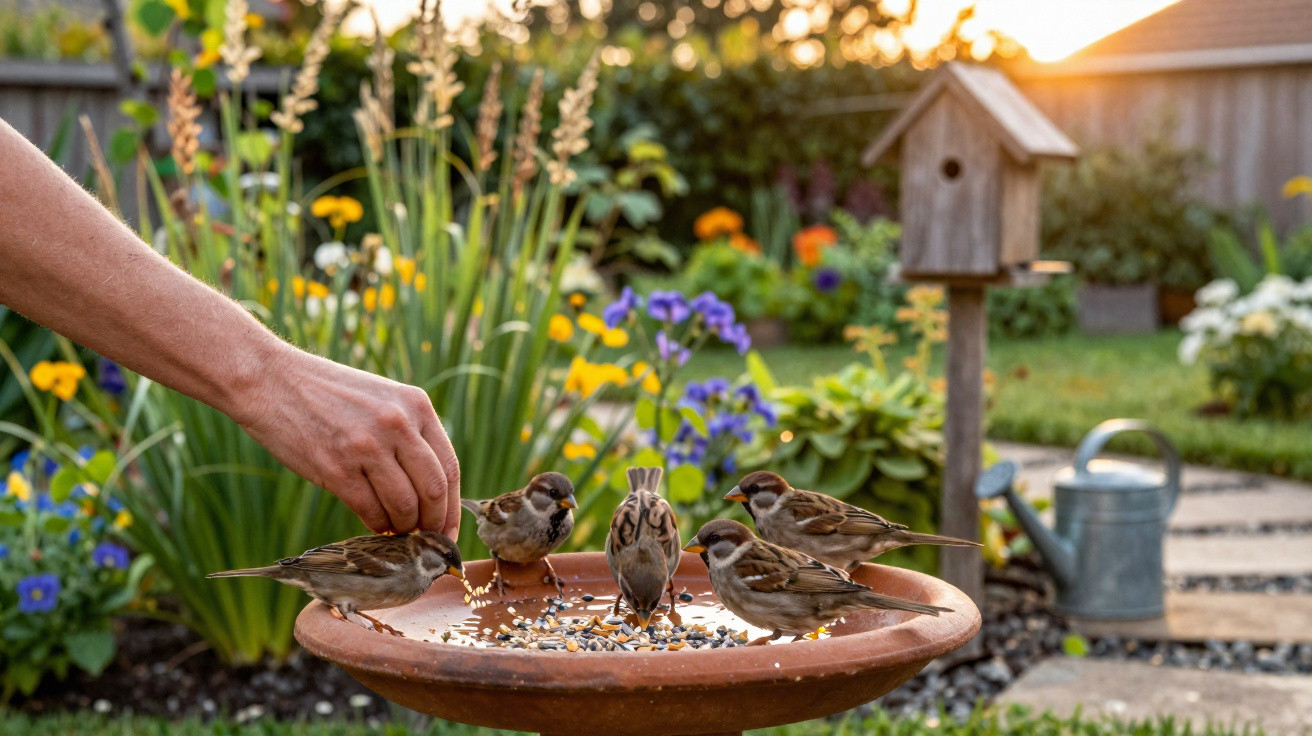
Many amateur gardeners know the problem: the moment new seed goes down, the first sparrows arrive at the “buffet”. In early spring especially, birds are keen on freshly scattered seed.
The practical tip is either to wait until temperatures rise further and birds have more natural food available, or to deliberately offer them an alternative. Putting out feeders - for example with fat balls - often draws them away from the lawn.
At the same time, the question of fertiliser comes up. A nitrogen-rich lawn feed encourages growth, helping the turf thicken up and compete more strongly against moss and weeds.
“With lawn fertiliser, it’s better to dose precisely than to assume ‘more is more’.”
If too much is applied, the blades may shoot up but remain soft and vulnerable. There’s also a risk of scorch if nutrient salts sit on the grass in overly high concentrations. A spreader helps distribute the amount evenly.
When mulching becomes a self-feeding system
Once the days are longer and warmer and the grass is growing strongly, you can bring the mower’s mulching function back into play. The fine clippings then return nutrients and can reduce how much additional feeding you need.
Key points:
- Only mulch when the grass is dry.
- Remove no more than a third of the blade length.
- Mow regularly so you’re not leaving too much material at once.
If you keep to that rhythm, you create a small nutrient cycle in your own garden: the grass grows, gets cut, breaks down, and feeds the next flush of growth.
What many people underestimate: patience and realistic expectations
A lawn is a long-term crop. Even with the best guidance, a neglected area won’t turn into a picture-perfect park in a single week. You may notice early improvements after just a few days, but the full effect develops over weeks and months.
With heavily compacted soils, a multi-year approach is worth it: aerate a little each spring, sand where needed, feed regularly but not excessively, and avoid mowing too short in summer. Together, those habits strengthen the turf over the long term.
It also helps to consider how the lawn is used. A purely ornamental lawn can tolerate more fine-tuned care, while a family lawn with children, paddling pools, and garden parties needs tougher grass varieties and a bit more tolerance for scuffed areas or bald patches. If you assess your household’s expectations and the level of wear realistically, you can tailor each maintenance step more effectively.
In the end, you get what many people quietly hope for: a rich green, springy lawn that feels great under bare feet - and that you can happily spread a blanket on, knowing the ground underneath is strong enough to recover thanks to good care.


Comments
No comments yet. Be the first to comment!
Leave a Comment