
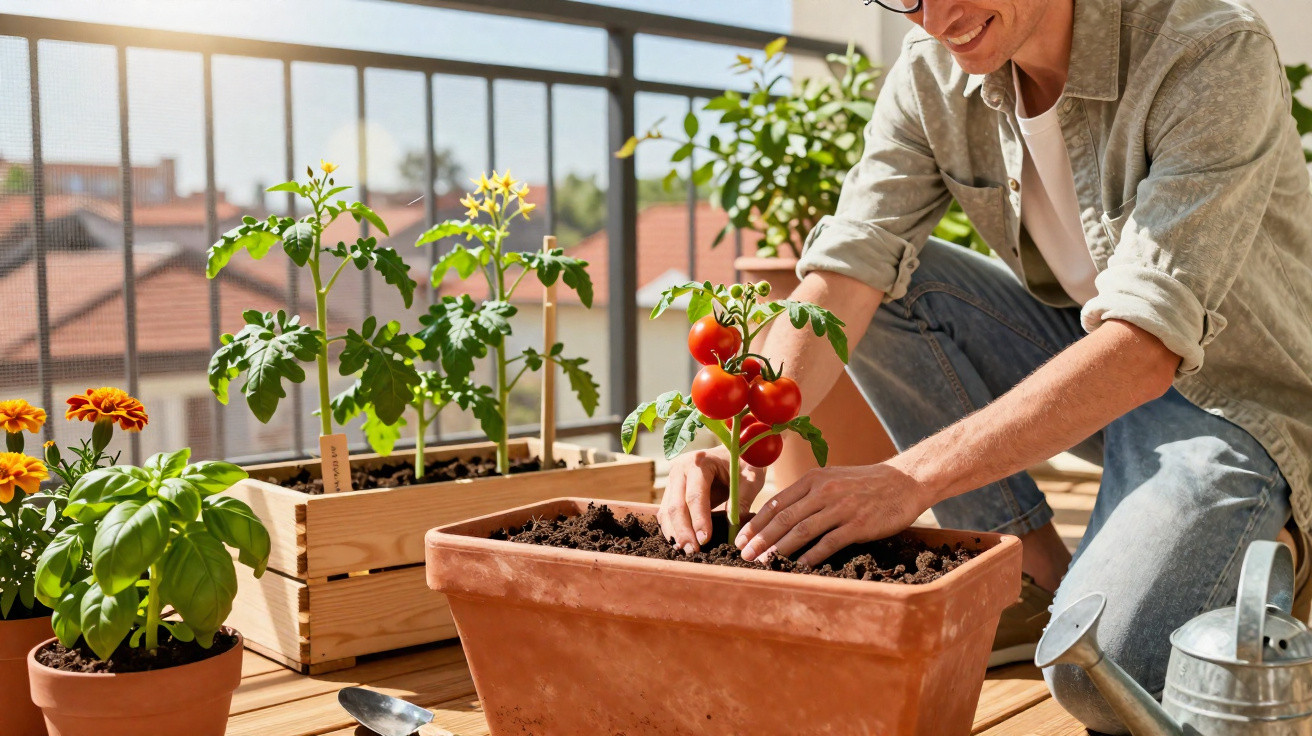
Many keen gardeners can hardly wait for spring to arrive: at last, the tomatoes can move outdoors and off the overcrowded windowsill. Plant them out too early or in the wrong spot, though, and you risk a poor harvest or unhealthy plants. Follow the key rules on position, temperature and soil now, and you can pick fragrant, flavour-packed fruit all summer long - whether from a garden bed or a balcony.
Why timing is so critical when planting tomatoes
Tomatoes thrive on warmth but are surprisingly sensitive to cold, which makes getting the timing right a little tricky. In much of Central Europe, the rule of thumb is simple: tomatoes should only go outdoors once late frosts are no longer a risk and the soil has properly warmed up.
- Night-time temperatures consistently above 8–10 °C
- Soil temperature at least 12–15 °C
- No cold snaps forecast for the next few days
Depending on where you are, that window typically falls between mid-May and early June. In sheltered urban locations or milder southern areas it can be a bit earlier; in cooler upland regions, it is often later. A soil thermometer in the bed gives far more reliable guidance than judging it from indoors.
Anyone who waits to plant tomatoes until the soil and nights are genuinely warm may start later - but often overtakes the early birds whose plants end up stunted and chilled.
The best place in the garden: sun, warmth and airflow
Where you position tomatoes in the garden largely determines whether they grow vigorously or struggle through the season. The number-one rule is that tomatoes need plenty of direct light.
At least six hours of sun per day
The sweet spot is 6 to 8 hours of direct sunshine. Ideally, choose a place that is:
- facing south or south-west,
- not permanently shaded by trees or walls,
- sunny in the morning or at midday - not only in the evening.
Beds in front of a south- or south-west-facing wall work particularly well. The wall absorbs warmth during the day and releases it again overnight, while also offering protection from strong winds.
A little breeze, but not a gale
Tomatoes do not appreciate leaves staying wet for long periods. A spot that dries quickly after rain helps reduce fungal disease, which is why gentle air movement is useful - but draughts are not.
If plants sit in a hollow where air is still and dampness lingers, the risk of rot and leaf diseases rises. Dense hedges right beside the bed can trap rainwater and humid air, which is unhelpful for tomatoes.
The ideal soil: loose, deep and rich in humus
Tomatoes develop deep roots and like to “work” down into the soil. Heavy, compacted clay holds them back. If your soil is on the dense side, loosen it thoroughly before planting - at least 35 to 40 centimetres deep.
The looser and more humus-rich the soil, the better the roots branch out - and the more reliably the plant can supply itself with water during hot spells.
How to prepare the bed
- Dig over or loosen the soil thoroughly, removing stones and thick roots.
- Work in mature compost, and optionally a little well-rotted farmyard manure.
- If waterlogging is an issue: mix in sand or fine grit so water drains away more easily.
- After planting, mulch with organic material such as straw, dried grass clippings or bark humus.
Space individual tomato plants 45 to 60 centimetres apart. Between rows, 70 to 80 centimetres has proved effective. That way, air can circulate and you can reach every plant easily with a watering can.
Good companion plants for tomatoes
Herbs and low-growing plants fit well between tomatoes, helping cover the soil and retain moisture. Popular choices include:
- Basil - a classic pairing for flavour, and many gardeners consider it a “must-have” next to tomatoes,
- Parsley - makes good use of the space near the ground,
- Marigolds (Tagetes) - thought to reduce nematodes in the soil.
| Good companions | Better kept at a distance from |
|---|---|
| Basil, parsley, chives | Potatoes (increase disease pressure) |
| Lettuce, spinach, radishes | Fennel (considered difficult in mixed planting) |
| Marigolds (Tagetes), pot marigold (Calendula) | Other heavy feeders too close to the root zone |
Tomatoes on a balcony or terrace: making a mini garden work
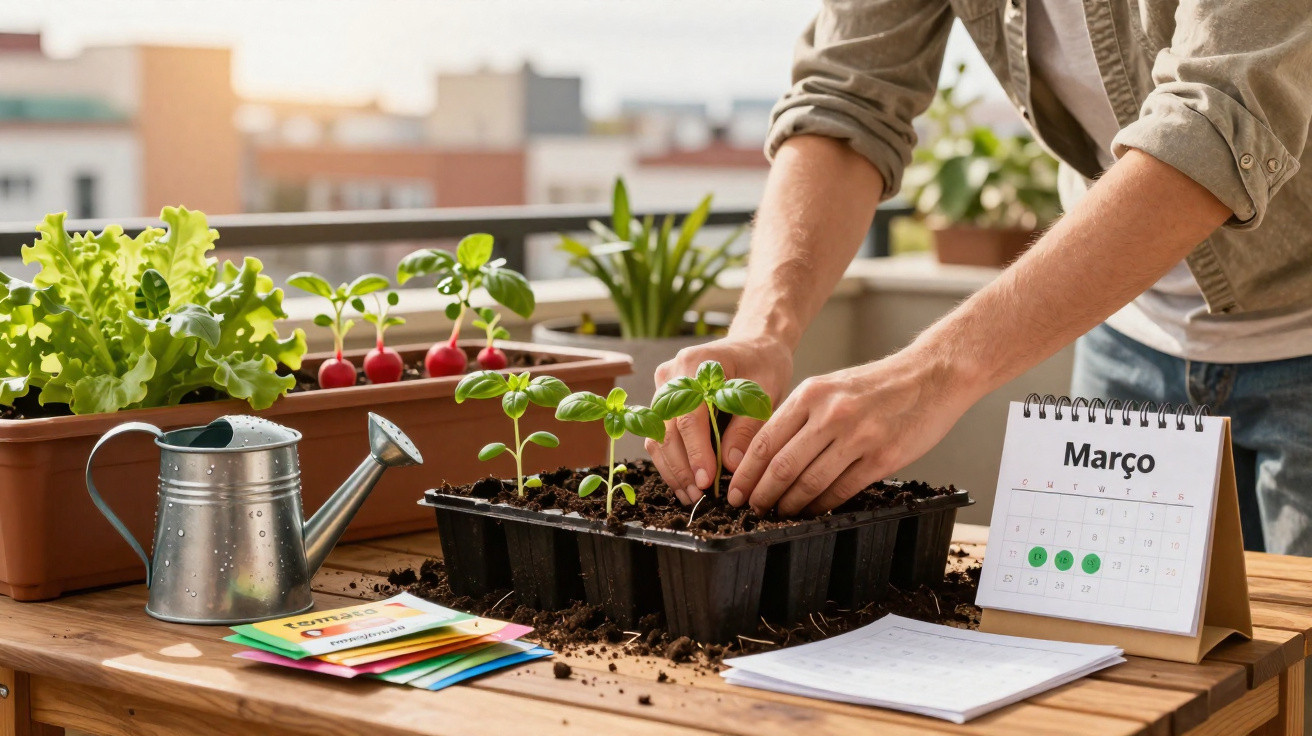
If you do not have a garden, you can still grow your own tomatoes. Balconies and terraces can be surprisingly productive - provided you follow a few key rules.
South-facing balcony: almost like a small greenhouse
A south-facing balcony often delivers near-ideal conditions. What matters most is:
- at least 6 hours of sun,
- large containers at least 30 centimetres deep,
- high-quality, nutrient-rich compost rather than cheap multipurpose compost,
- sturdy canes or climbing supports in the pot.
Terracotta or dark plastic pots warm up quickly. During extreme hot days, it can help to move containers slightly away from the wall or provide light shade so the root zone does not overheat.
East- and west-facing balconies: choose smaller varieties
An east- or west-facing balcony offers less direct sun, but you can still get a satisfying crop with the right varieties. Cocktail and cherry tomatoes tend to excel here. They usually stay more compact and cope better with slightly lower light levels.
On north-facing balconies, growing tomatoes becomes a gamble. Light levels are often too low for the sun intensity tomatoes need to develop aroma and sugars. If you try anyway, pick only very robust, small-growing varieties and do not expect huge yields.
Wind and rain protection on the balcony
Balconies are often exposed, and strong wind can dry out both compost and foliage very quickly. Helpful measures include:
- positioning containers near the balcony rail, but not directly in a wind tunnel,
- using trellis panels or planters with tall ornamental grasses as a windbreak,
- relying on a slight overhang to reduce rain from above without sealing the plants in.
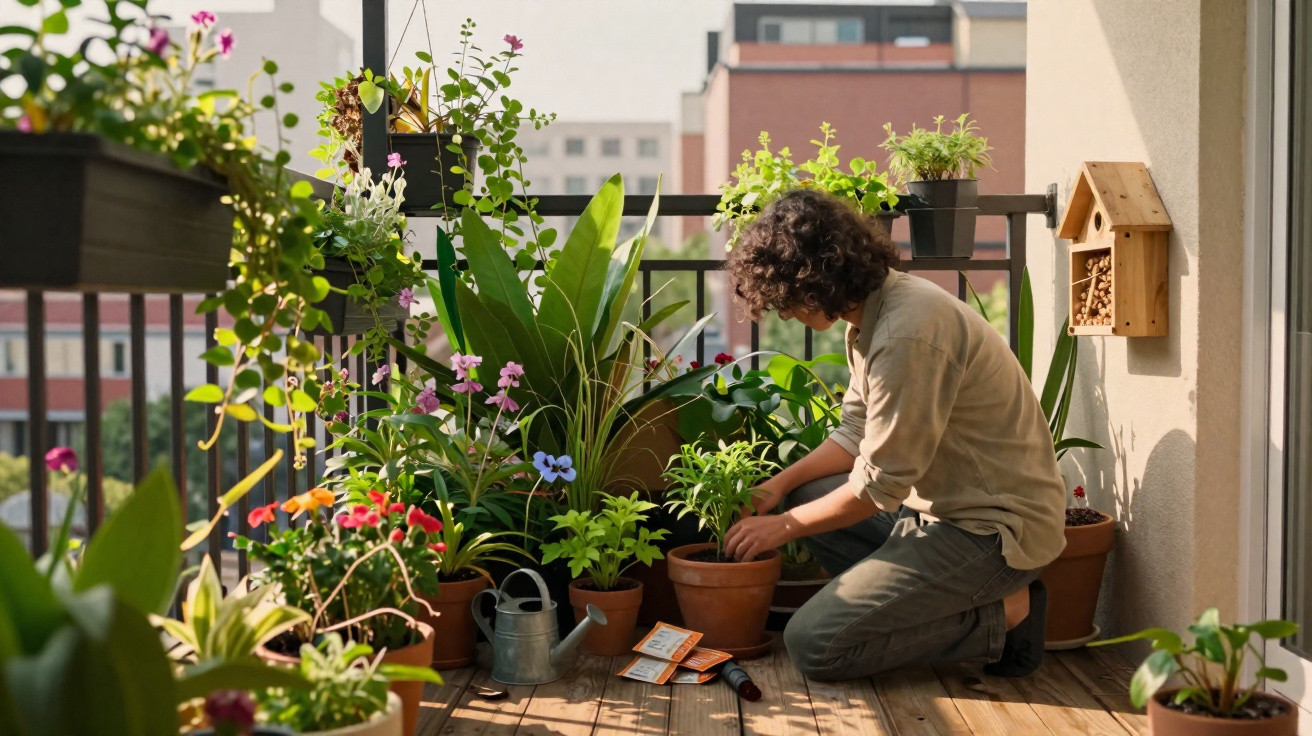
The best balcony setup: tomatoes have plenty of air, but are protected from persistent rain and strong gusts.
How to plant tomatoes correctly
The most favourable time to plant out is a mild, overcast day without strong wind, as the plants are less likely to become stressed.
- Water the nursery pot thoroughly beforehand.
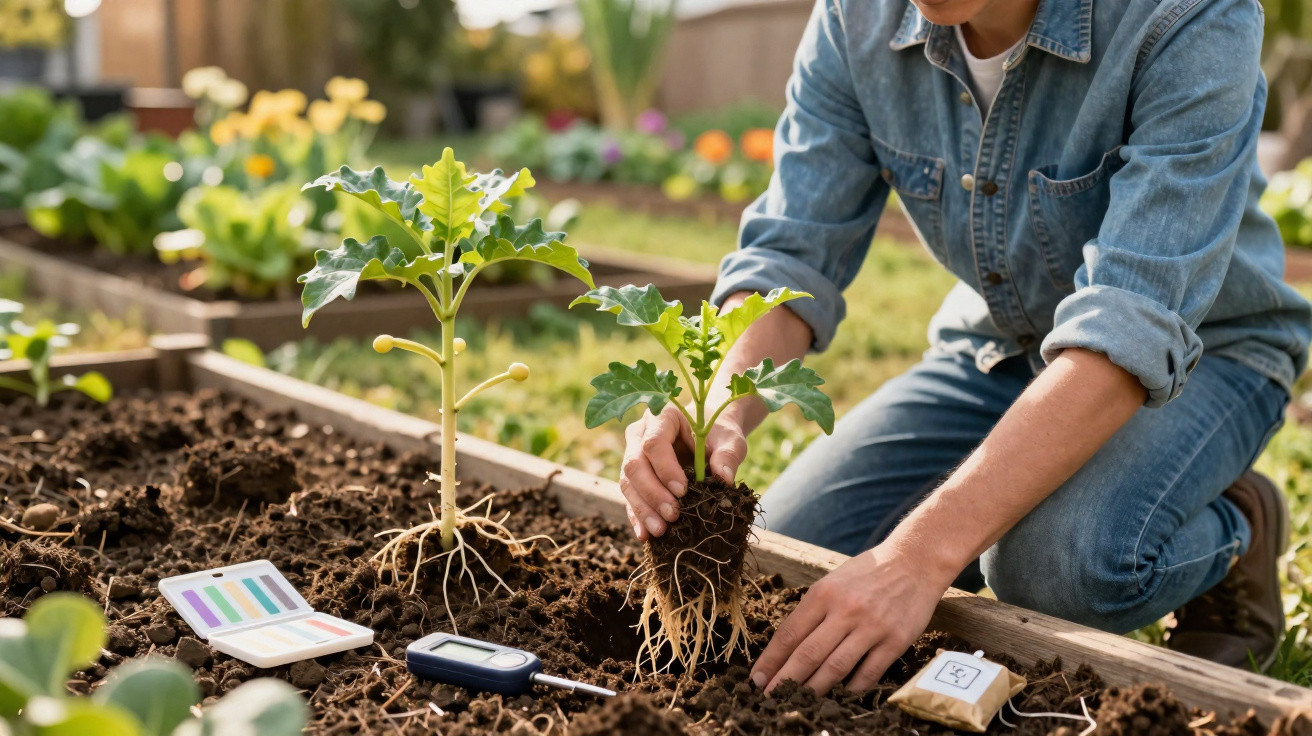
- Dig a hole that is noticeably deeper than the root ball.
- Set the tomato so the base of the stem is buried too - up to just below the first leaves.
- Firm the soil, water well, then apply mulch.
- Put the support (cane or spiral stake) in place at planting time.
Planting deeply encourages extra roots to form along the stem, which makes the plant sturdier and improves water uptake. Mulch helps prevent the soil drying out and reduces splashing, which can flick disease organisms onto the leaves.
Common site mistakes - and how to avoid them
Many tomato problems can be traced back to a poor location. Typical pitfalls include:
- Plants placed too close together: air stagnates and moisture stays on leaves for longer.
- A position directly beneath large trees: too much shade, plus dripping water from branches.
- Waterlogged soil in the bed: roots rot and plants become stunted.
- Constant rain on unprotected plants, especially more sensitive varieties.
Even a simple transparent rain cover over the bed - such as a small tomato roof - can make a huge difference. Plants stay drier, and leaf diseases find it much harder to take hold.
How location affects yield and flavour
Tomatoes build sugars, acids and aromatic compounds primarily through warmth and light. A sunny position therefore boosts not only quantity but also taste. In partial shade, fruit often ripens more slowly, stays paler and can taste more watery.
With smart planning, even a few plants can produce plenty: grow early varieties in the warmest spot, put robust outdoor varieties in beds with a little more airflow, and place particularly sensitive or unusual varieties against house walls or on a sheltered terrace.
It also works well to move tomatoes to a slightly different spot each year, especially in traditional kitchen gardens. This gives the soil time to recover and reduces the chances for diseases lingering in the ground from the previous season.
Comments
No comments yet. Be the first to comment!
Leave a Comment