
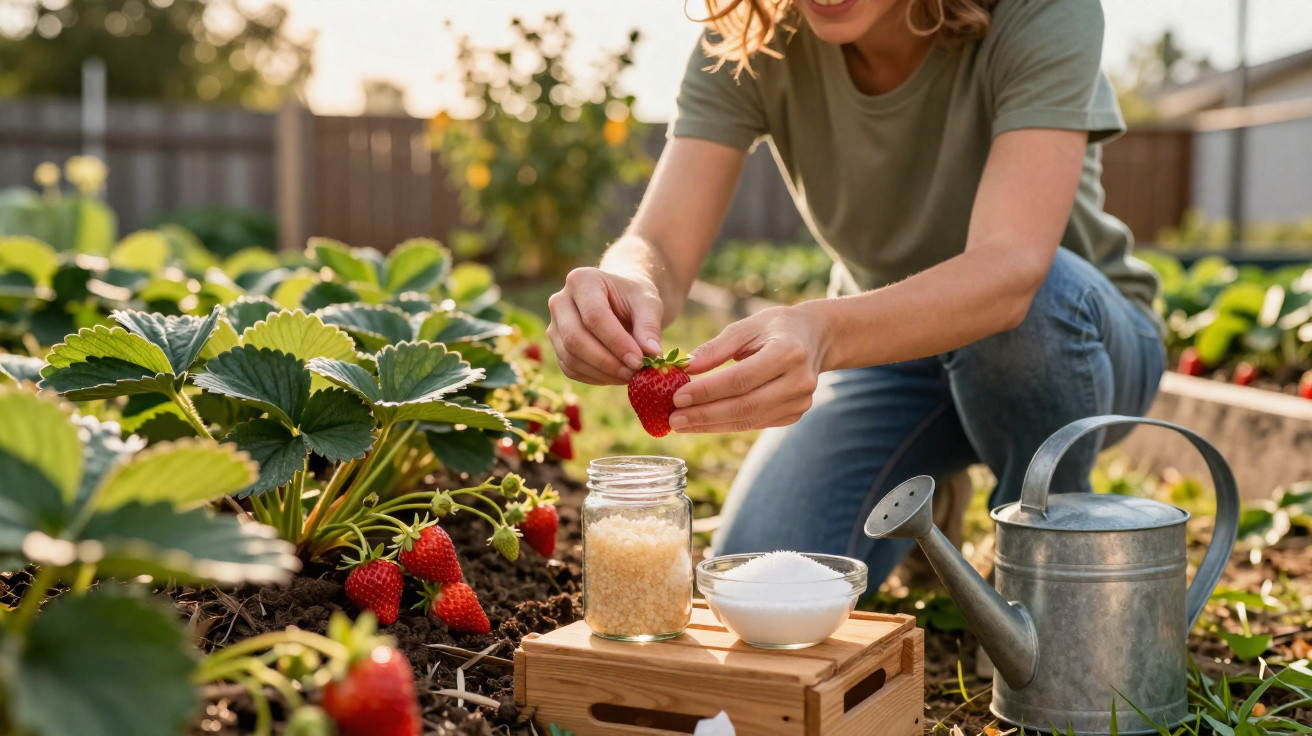
A modest blend of yeast, water and sugar is currently being passed around among gardeners. Mixed properly, it can turn strawberry plants into genuine fruit producers-delivering large, fragrant berries instead of small, watery disappointments. What matters most is the correct recipe, the right moment to apply it, and a few straightforward care tips.
Why this fertiliser gives strawberries such a strong boost
The concept is almost surprisingly simple: yeast does not “feed” the plant in a direct sense. Instead, it chiefly supports the life in the soil around the roots-creating a small, unseen power station underground.
"The yeast-sugar fertiliser strengthens the root system, stimulates soil life and supplies strawberries with readily available nutrients – the foundation for large, healthy fruits."
Yeast contains B vitamins, proteins and minerals such as nitrogen, phosphorus and potassium. These are exactly the nutrients strawberries rely on for robust growth, flower formation and setting fruit. In this recipe, the sugar acts like fuel for beneficial microorganisms in the soil. These microbes break down organic material and convert nutrients into forms plants can absorb. The end result is more vigorous plants that produce more blossoms and are better able to supply the developing berries.
How to prepare the yeast fertiliser correctly
You only need three ingredients-items found in most kitchens:
- 50 grams of fresh yeast, or 1 teaspoon of dried yeast
- 1 litre of lukewarm water
- 1 tablespoon of sugar
Step-by-step instructions
- Crumble the yeast into a bowl or watering can (or sprinkle in the dried yeast).
- Add the sugar.
- Pour over the lukewarm water and stir thoroughly until everything has dissolved.
- Leave the mixture at room temperature for around 24 hours so it can ferment.
- After fermenting, dilute at a ratio of 1:5 with water (one part yeast mix to five parts water).
Around 0.5 litre of this diluted solution is enough per strawberry plant. Important: pour it onto the soil around the plants, not over the leaves. That way the nutrients reach exactly where the roots can take them up.
When and how often you should use the yeast fertiliser
Timing determines how noticeable the effect will be. Strawberries respond particularly well when they are actively growing and either just before flowering or in the middle of the flowering period.
- First application: in spring, as soon as the plants clearly start growing and push new leaves.
- Second application: shortly before, or right at the start of, the flowering phase.
- Third application (optional): after the main harvest to build strength for the next season, but at a weaker concentration.
More is not automatically better. Too many nutrients can upset the soil’s balance and cause excessive leaf growth at the expense of fruit. For most home gardens, one or two solid applications per year are entirely sufficient.
The science behind the yeast trick
Soil researchers have been pointing out for years how vital microbial life in the soil is. It is not the fertiliser alone that makes a plant strong, but the interaction between roots, bacteria, fungi and organic matter.
"Anyone who feeds the microorganisms in the soil indirectly strengthens their plants – the yeast-sugar mix uses exactly this lever."
The nutrients in yeast encourage root development, while the added sugar helps bacteria and fungi get going. This can lead to a looser, better-aerated soil that holds water more effectively. Strawberries are particularly sensitive to waterlogging and nutrient deficiency. A lively soil helps buffer both and promotes steadier, more balanced conditions.
Natural alternatives for gardeners who like to experiment
If you enjoy testing and comparing, you can combine or alternate different household fertilisers. A few proven options include:
- Stale bread fertiliser: soak old bread in water, leave it to ferment for a week, then dilute 1:10 with water and apply to the plants. It mainly provides readily available carbohydrates plus a little organic matter.
- Nettle feed: steep nettles in a bucket of water for several days to weeks, then dilute 1:20. It contains plenty of nitrogen and trace elements and works like a natural growth booster.
- Sour-milk compost: mix out-of-date milk with compost. This adds calcium to the soil, strengthens plant cell walls and can help prevent blossom-end rot.
- Diluted chicken manure: if you have access to poultry manure, dilute it 1:10 with water and apply before flowering. It supplies lots of nutrients, but must always be heavily diluted to avoid root damage.
Each option emphasises a different part of the nutrient spectrum. Strawberries do well when they are supplied in a balanced way rather than fed one-sidedly. Many gardeners rotate yeast fertiliser, nettle feed and organic compost over the course of the year.
How to get the most from your strawberry bed
Even the best fertiliser will not do much if the site and day-to-day care are wrong. Strawberries have clear preferences that are easy to meet.
| Aspect | Recommendation |
|---|---|
| Sunlight | At least 6–8 hours of direct sun per day |
| Watering | Keep the soil evenly moist; avoid waterlogging |
| Soil reaction (pH) | Slightly acidic, ideally between 5.5 and 6.8 |
| Plant spacing | 30–45 centimetres between plants |
A mulch layer made from straw or grass clippings helps retain moisture and keeps the fruit clean. At the same time, mulch suppresses weeds that would otherwise compete with strawberries for water and nutrients.
Common mistakes that hold back strawberry success
Many slip-ups in a strawberry bed are easy to avoid. Typical pitfalls include:
- Too much water: constantly wet soil encourages root rot and fungal diseases. Water less often, but more thoroughly.
- Too much nitrogen: straight nitrogen fertilisers produce lots of leaf growth but few fruits. Always aim for a balanced mix.
- Old plants: after three to four years, strawberry plants usually yield noticeably less. Replace them with young plants in good time.
- A dark, shaded spot: without sunshine you get little aroma-sweetness needs light.
How the yeast fertiliser fits into everyday life
The biggest advantage of the yeast recipe is that you can mix it up on the spot, without expensive specialist products from the garden centre. If you bake bread, for example, or simply keep yeast in the fridge anyway, you can put leftovers to good use. Even small balcony containers of strawberries benefit-as long as excess water can drain away properly.
For families with children, the process can feel like a small experiment: prepare the mixture, wait a day, then water together and watch the plants become visibly stronger over the following weeks. It creates a direct connection to food-from fertiliser through to a bowl of home-grown red fruit.
Health, flavour and storing XXL fruit
More nutrients in the soil often lead not only to bigger berries, but also to more aromatic ones. Strawberries develop sugars and flavour compounds especially well when they can ripen slowly and evenly. Stable water and nutrient availability-supported by the yeast fertiliser-encourages exactly this.
It is best to harvest in the late morning once dew and surface moisture have dried. Ripe fruit comes away easily and shows an even red colour. Freshly picked strawberries only keep for a few days in the fridge and quickly lose flavour. If you have a large crop, you can purée them, freeze them or cook them into jam-the intense taste of XXL berries is particularly well suited to that.
When you pair yeast fertiliser with a good location, a bit of mulch and regular care, you can notice a clear difference after just one season. A simple mix of yeast, water and sugar becomes a practical tool for anyone who wants to reach for their own summer strawberry bowl-rather than a plastic punnet from the supermarket.


Comments
No comments yet. Be the first to comment!
Leave a Comment