
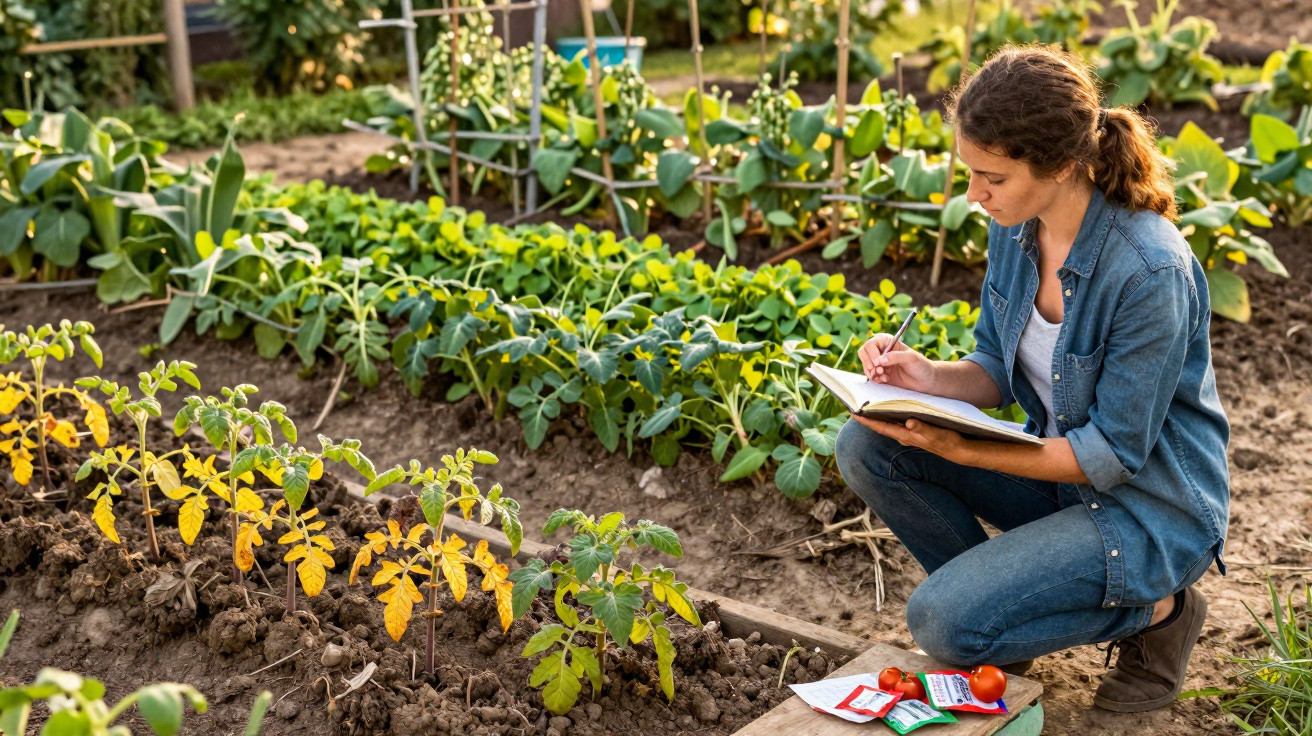
Many home gardeners plant their tomatoes in the very same spot year after year - then wonder why fungus takes hold, plants stay stunted and the fruits end up disappointingly small.
A seasoned vegetable grower down the road never does that. He sticks to one straightforward rule that keeps beds healthier, steadies yields and noticeably cuts the risk of the dreaded late blight. If you understand it and apply it in your own garden, you save yourself a lot of frustration - with no chemicals required.
Why tomatoes fail when they’re grown in the same place every year
Tomatoes are among the hungriest crops in the veg patch. They pull huge amounts of nutrients from the soil, especially nitrogen, potassium and calcium. If they sit in the same bed for several years on the bounce, that reserve is depleted little by little.
It isn’t only fertility that suffers - the soil’s structure does too. It can become compacted, crack, or slump into a sealed surface after heavy rain. Water either drains away too quickly or sits in the pores. Roots struggle, plants look frail and growth slows right down.
The knock-on effects are easy to spot:
- Leaves turn yellow or develop blotches
- Fruits stay small or don’t ripen properly
- Plants topple more readily in windy weather
- Water soaks in unevenly when you irrigate
On top of that, there’s a second issue: diseases and pests build up over time. Spores of potato and tomato blight (often loosely labelled as “mildew” or simply “fungus”) can persist in plant debris and in the soil itself. Putting tomatoes back in the same place each season effectively lays out a permanent buffet for those pathogens.
"That apparent ‘unlucky gardener’ with tomatoes often isn’t unlucky at all - they’re repeating the same growing mistake every year."
The most important rule: avoid the tomato spot for several years
Professional growers rarely improvise; they work to a planned rotation. For tomatoes, a simple rule of thumb applies: don’t return them to the same site until at least four years have passed.
In practice, that means this: if a bed carries tomatoes in 2026, keep that ground free of tomatoes until at least 2030. During the break, other plant families take over. This gives the soil time to recover, and many disease organisms lose the conditions they rely on.
One crucial detail is the nightshade family. It includes:
- Tomatoes
- Potatoes
- Peppers
- Chillies
- Aubergines
All of these crops share similar diseases and pests. So if you follow tomatoes with potatoes, you haven’t really changed much - the same issues can stay in the bed. From the soil’s perspective, it makes little difference whether those roots produce red fruits or underground tubers if they belong to the same plant family.
"What matters isn’t the individual variety, but the plant family. Separate the families, and you break the chain of disease."
What to grow after tomatoes
Once the tomato season is over, you get an opportunity: you can use that space to help the soil recover while still harvesting something worthwhile. Certain crop groups are particularly well suited.
Legumes as natural nutrient boosters
Beans and peas work with root-nodule bacteria. These tiny allies capture nitrogen from the air and convert it into a form plants can use. In other words, the bed starts refuelling.
- Peas: early in the year; prefer lighter soils that aren’t too wet
- Dwarf French beans: produce plenty of green growth while staying compact
- Broad beans: cope well with cooler temperatures; ideal in early spring
Green manures: plants that repair the soil
Between two vegetable crops, it can pay to add an intermediate step: sowing a green manure. These plants aren’t grown for harvest - they’re grown to improve the ground.
- Phacelia: forms a dense root network, loosens the soil and attracts plenty of insects
- Winter vetch or other clovers: add nitrogen and help protect against erosion
- Oats or rye: root deeply and improve soil structure
A practical sequence can look like this:
- Harvest tomatoes in summer and remove any diseased plant material completely.
- Lightly hoe the surface and sow a green manure, such as phacelia in late summer.
- In spring, chop and lightly incorporate the growth, or leave it on the surface as mulch.
- Then plant legumes or other suitable follow-on crops.
Gentle follow-on crops with lower nutrient demand
After nutrient-hungry tomatoes, it makes sense to choose vegetables that ask for less - and that aren’t in the same family. Typical options include:
- Radishes
- Turnips and baby turnips
- Lamb’s lettuce
- Leeks
- Spinach
They keep the soil active without stripping it bare. At the same time, the risk of passing on diseases is reduced.
Crop rotation in a tiny garden: how it works even in 20 square metres
Many people with small urban gardens think rotation is something only large farms can afford. It isn’t. Even a compact plot can be divided into zones.
A simple home-garden plan might look like this:
| Year | Area A | Area B | Area C |
|---|---|---|---|
| 2026 | Tomatoes and peppers | Salads, radishes, spinach | Beans, peas, kale |
| 2027 | Beans, peas | Tomatoes, peppers | Root vegetables (carrots, beetroot) |
| 2028 | Root vegetables | Beans, peas | Tomatoes, peppers |
That’s all it takes. Three broad areas are enough to move tomatoes each year and avoid the worst of the recurring problems.
"Better a simple plan you actually follow than a perfect system in your head that never gets used."
Why a garden notebook works wonders
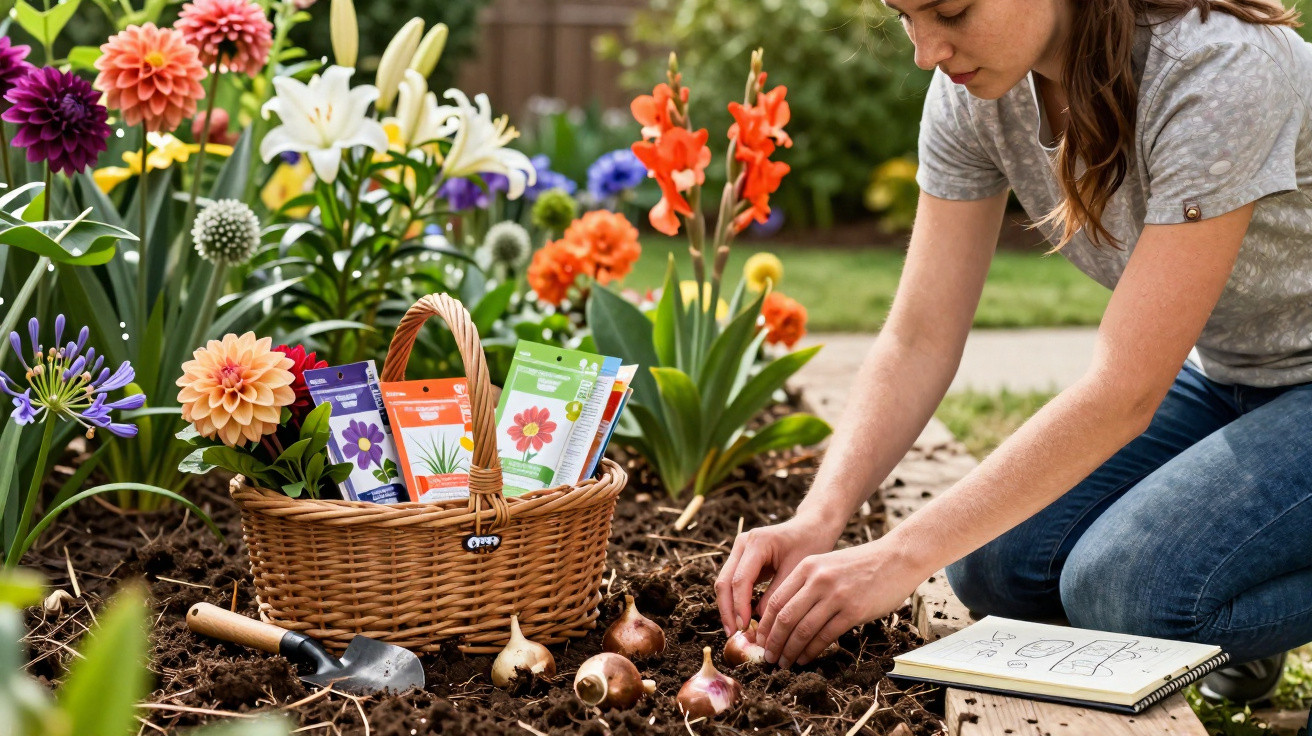
That neighbour with the robust tomatoes usually doesn’t have a photographic memory - they have a notebook. They jot down what grew where. Years later, they can see exactly which corner is ready for tomatoes again.
Just a few brief notes are enough:
- The year
- A sketch or bed numbers
- Plant families (for example: “nightshades”, “brassicas”, “legumes”)
That small effort stops tomatoes being planted on the same “old problem” ground again.
Tips for healthy tomato beds from autumn onwards
The groundwork for strong plants isn’t laid only when you set out young plants in May - it starts months earlier. Autumn, in particular, offers several useful steps.
- Spread well-rotted compost: 2 to 3 kilograms per square metre improves soil structure and adds nutrients.
- Don’t leave diseased material in the bed: remove blight-infected tomato debris thoroughly; don’t put it on the regular compost heap.
- Avoid constant digging: gentle loosening with a garden fork preserves soil life and earthworms.
- Use mulch: grass clippings or leaves keep the surface moist and reduce drying out.
Under glass or plastic cover, many of these effects become even stronger. In greenhouses and polytunnels there’s no rain, the soil dries faster, and pathogens can persist more easily within the system. That’s where a stricter rotation - or partial soil replacement - can be particularly worthwhile.
Why late blight keeps coming back - and how to slow it down
Late blight thrives on damp leaves and poor air movement. When you don’t change the bed, you often stack several disadvantages at once: exhausted soil, weakened plants and a setting full of lingering spores.
A few additional levers make a real difference:
- Grow tomatoes under an overhang or rain shelter where possible
- Don’t water from above onto the foliage; water at the base instead
- Regularly pinch out side shoots to improve airflow
- Avoid overcrowding - fewer plants with more spacing is better
Combine that kind of crop care with a sensible change of ground, and the disease pressure drops noticeably. And if blight does appear, it tends to spread more slowly - so the harvest doesn’t collapse completely.
How to apply the same principle to other vegetables
What works for tomatoes translates to many other crops: heavy feeders shouldn’t occupy the same spot every year. Cabbage-family crops, squashes, celeriac and leeks also benefit from breaks and from alternating with legumes or green manures.
Once you’re familiar with the main plant families, planning becomes much easier. Commonly repeated groups include:
- Brassicas (white cabbage, broccoli, Brussels sprouts)
- Carrot relatives (carrots, parsnips, parsley)
- Cucurbits (courgettes, cucumbers, winter squash)
- Alliums (onions, garlic, leeks)
Even a rough understanding of these families helps you avoid mistakes - without needing complicated charts.
If you stop stubbornly putting tomatoes back in the same place and switch the site consistently instead, you gradually build a tougher, more living soil. In return you get fewer diseases, stronger growth and fruits that taste of summer again - rather than disappointment.
Comments
No comments yet. Be the first to comment!
Leave a Comment