
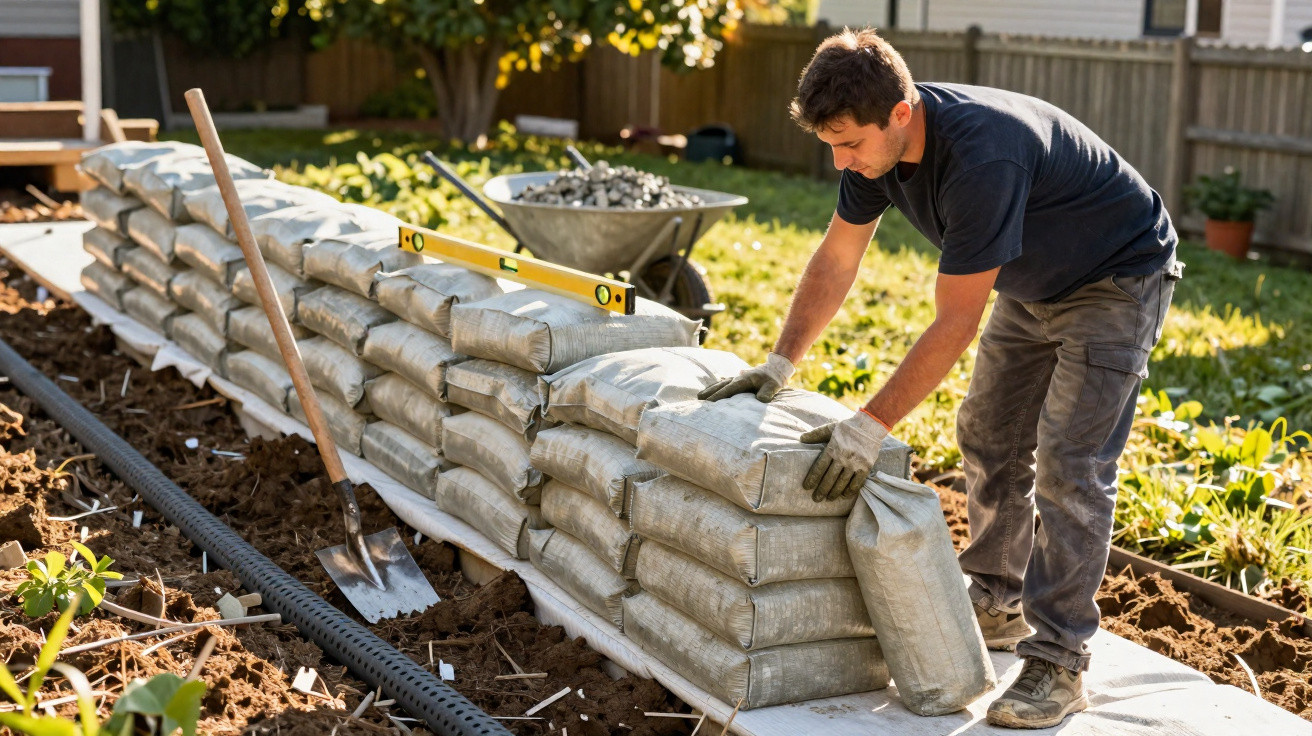
A slipping slope, a crumbling embankment, a wobbly terrace: plenty of gardens need support - but hardly anyone fancies shuttering, a mortar mess and a full-on professional building site.
That is exactly where a technique comes in that’s been familiar to the trade for years, yet still feels like an insider tip in private gardens: a retaining wall built almost entirely from stacked concrete bags. No traditional brickwork, no formwork, no concrete saw - more like a modular approach with clear rules, plus one crucial pitfall DIYers must avoid.
What a retaining wall made from concrete bags can do - and what it can’t
A retaining wall has a straightforward job: it must hold back soil and water and create a clear change in level across the ground. Typical locations include garden slopes, terrace edges or the strip alongside a driveway. Even low walls take significant load - especially when the ground is wet and water pressure builds.
The version made from dry concrete bags is classed as a gravity wall. In other words, it doesn’t rely on complex reinforcement to work; it relies on its own weight. Once cured, the many bags form a solid concrete mass that pushes back against the pressure of the earth.
"The concrete-bag method is excellent for small garden projects - not for tall, safety-critical structures by a house, garage or driveway."
For DIYers, that means it’s best suited to low walls in a private garden, such as for:
- supporting a small slope behind the terrace,
- a raised bed or elevated planting area,
- a seating step in the garden,
- stabilising an embankment beside a garden path.
As soon as the wall needs to be noticeably higher, the slope is very steep, or nearby buildings are involved, the job should be handed to a specialist contractor. On clay-rich, peaty or generally unstable ground in particular, the simple concrete-bag method is no longer sufficient.
Legalities and planning: without a sketch, it can get expensive
Before you even put the first bag in the trolley at the builders’ merchant, it’s worth checking local planning and building rules. Many councils require a formal notification or permission above a certain wall height, or for walls built directly on the boundary line. Starting blindly can mean trouble with neighbours and the local authority.
A rough plan on paper is genuinely useful:
- Note the wall length and the height you want.
- Estimate the layer thickness created by the concrete bags.
- Use those figures to calculate an approximate number of bags.
Even this basic preparation helps prevent running out of concrete mid-build - or ending up with a wall that is too weak simply because “there were a few bags left over”.
Preparing the ground: where most DIYers fail
By far the most common reason retaining walls end up leaning or cracking is poor ground preparation. If you place concrete bags straight onto soil or soft topsoil, you are effectively inviting future cracks.
Foundation depth and frost line
The wall needs a load-bearing foundation below the frost line. In many areas, a depth of about 40–50 cm is sufficient; in higher ground or regions with harsher frosts, up to 1 m may be necessary. Excavate a consistent trench line to that depth, keeping it as straight and even as possible.
Fill the trench with a layer of crushed stone (hardcore) or coarse gravel and compact it thoroughly. A spirit level is non-negotiable: even a few millimetres of fall can add up over the wall length and become a visible lean.
Geotextile and drainage to reduce water pressure
Water is the biggest enemy of any retaining wall. It collects behind the structure, puts the soil under pressure and can push entire sections outward. That is why a simple but effective drainage build-up is worth doing:
- Lay geotextile (landscape fabric) into the foundation trench and later pull it up behind the wall.
- Add a layer of drainage gravel or crushed stone.
- Optionally, install a perforated drainage pipe at the base of the future wall and run it to discharge to the side into a suitable outlet.
The geotextile stops fine soil particles from clogging the gravel zone. That allows water to drain away for many years without undermining the build.
Building the wall: stacking concrete bags like blocks
Once the foundation and drainage are in place, you reach the part most DIYers enjoy: stacking the bags.
Turning the bags correctly and laying the first course
The bags contain dry concrete, which only cures once water is added. Before placing, turn or flip each bag fully so the cement-richer portion ends up facing the visible side of the wall. That improves appearance and gives a tougher surface.
Lay the first course on the prepared stone base, butt-jointed with as few gaps as possible. This course must be perfectly level. Minor adjustments can be made with a rubber mallet and gentle settling.
Staggering joints and adding reinforcement
Place the next course in a staggered bond: each bag is shifted by roughly half a bag length compared with the row below. This crosses the joints and makes the structure behave more like masonry. The stagger significantly improves stability.
For extra security, insert vertical steel reinforcing rods (rebar). Push them down from above through the concrete bags so they extend into the foundation zone. This allows the wall and sub-base to cure into one unified mass.
"The cardinal mistake many hobby builders make: they skip the reinforcing rods. The wall may feel stable at first, but over the long term it loses a great deal of safety."
Watering in: how the wall cures from bags into concrete
Once you reach the intended height, the critical stage begins: watering. Soak each bag thoroughly with a garden hose until the paper outer is evenly wet and the bag settles slightly. The water then distributes through the contents; the dry concrete begins to react and harden.
The first 24 to 48 hours are crucial. During this period, nobody should pull at the wall, knock it or apply heavy pressure. Only after several days - around seven days is often recommended - does the concrete reach a strength that allows you to start backfilling carefully.
The paper outer of many concrete bags is made from biodegradable material. Sun, rain and frost break it down over time until only the concrete “block” remains visible. Bags with a plastic inner liner are not suitable for this approach - they prevent moisture exchange and look unsightly over the long term.
Backfilling, drainage and appearance: keeping the wall stable long term
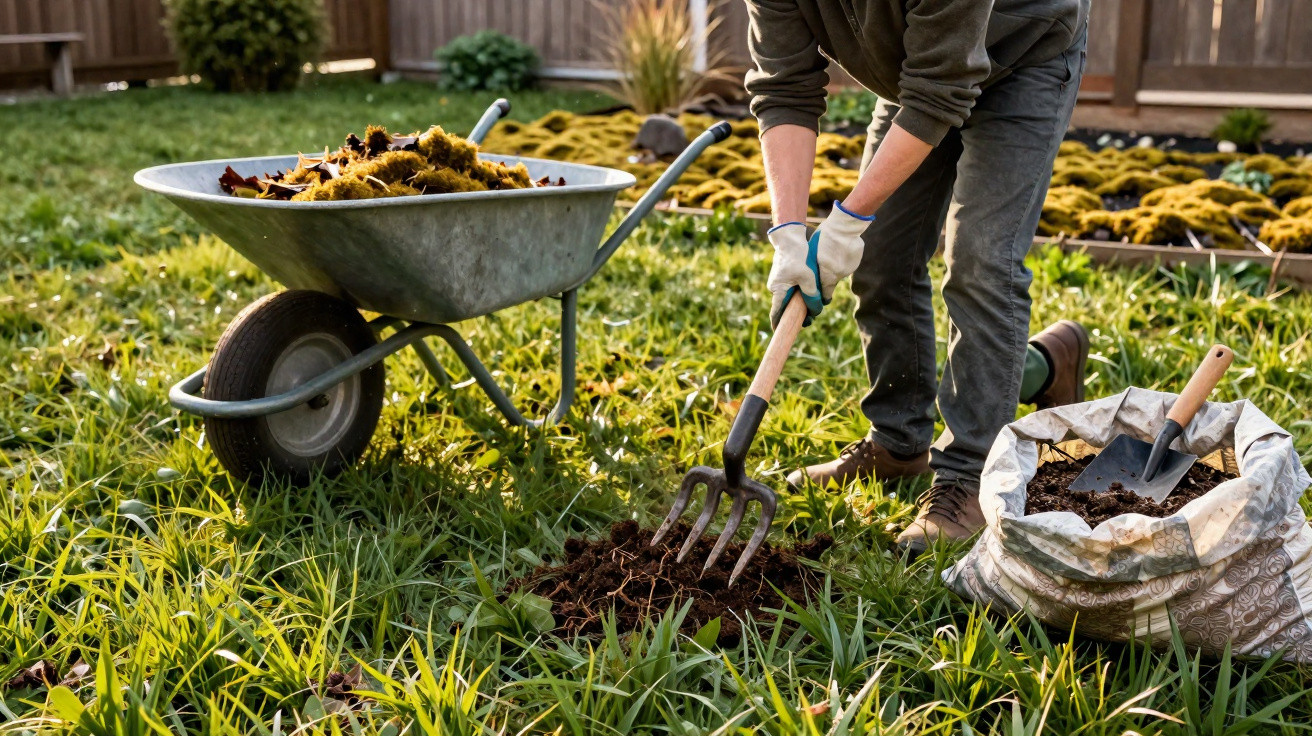
When the concrete has cured sufficiently, the final major task is filling the area behind the wall. Keep drainage gravel directly against the wall; further back you can use the existing soil or a well-compacted mix of crushed stone and sand.
Important: do not place water-holding material right up against the wall. Pure clay soil or fine earth without a drainage layer absorbs water like a sponge and generates substantial pressure.
Depending on the site, small openings or weep holes at the bottom can be useful so water can exit in a controlled way. Together with a drainage pipe, this can significantly reduce hydrostatic pressure on the wall.
If you care about looks, there are several options:
- render the wall and match the colour to the house or terrace,
- clad it with natural-stone slips,
- use climbing plants such as ivy or climbing hydrangea,
- add timber facing or create a gabion-style front.
The one failure point that can ruin everything
With this method, one factor is absolutely decisive: water management around the wall must be right. Too little drainage, missing geotextile or simply backfilling with heavy, wet soil is the most common cause of later damage.
"If you cut corners on drainage and the base, you build a time bomb into the slope - even if the wall feels rock-solid at the start."
On top of that, many people underestimate the weight involved. Once a concrete-bag wall has cured, it is virtually impossible to adjust. A crooked first course, poorly compacted ground or missing reinforcement is very difficult to disguise later.
Practical advice for DIYers and sensible add-ons
If you are planning a project like this, a short checklist helps:
- Confirm local building rules and boundary distances.
- Check the soil type: is the slope more sandy, clay-heavy or rocky?
- Choose a realistic maximum wall height - if in doubt, build lower.
- Calculate enough concrete bags and steel rods in advance.
- Include drainage pipe, geotextile and gravel from the start.
If you are using this technique for the first time, start with a short section of around 2–3 m. That lets you practise handling the bags, compacting the stone and watering safely before you tackle a full run along a slope.
It can also be combined with other methods. For example, a low concrete-bag wall can serve as a solid base for a dry-stone wall built above. The technique also works well as the rear wall for a raised garden bed, provided the inside is filled with a free-draining growing medium.
If you are unsure, it can be worth getting help at least for the planning. A brief visit from a structural engineer or an experienced landscaper costs less than a wall collapse later - and helps you use the concrete-bag method safely and sensibly.




Comments
No comments yet. Be the first to comment!
Leave a Comment