
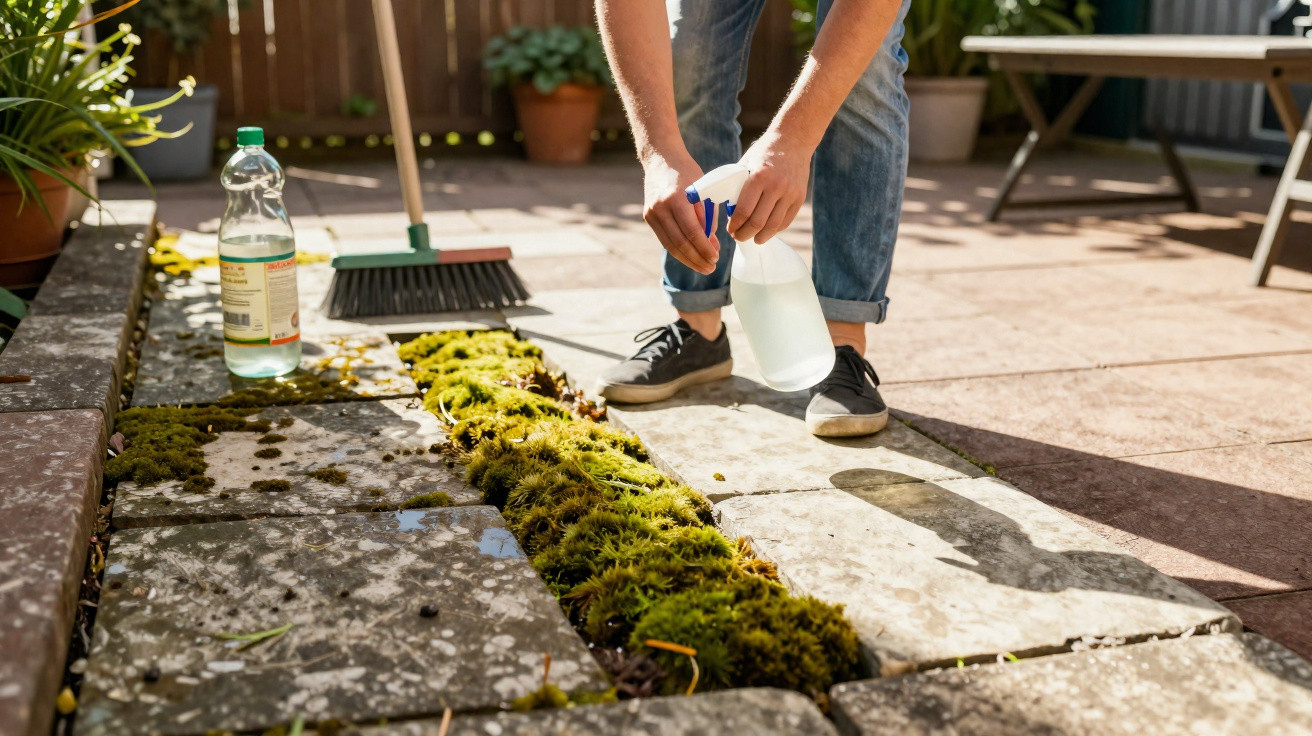
Many homeowners and flat owners look out at their outdoor space in spring and feel instantly deflated: the paving is slippery, covered in moss and, in places, has turned black. The idea of hours of scrubbing - or firing up a noisy pressure washer - can wipe out any weekend enthusiasm. Yet a very cheap everyday cupboard staple can make a real difference to the surface, without specialist cleaners and without much kit.
Why so much moss builds up on patios after winter
Damp conditions, limited sunshine and cool temperatures are ideal for moss and algae. After a long, wet winter, patio slabs often stay damp for weeks. Any tiny pore in concrete holds moisture, and shaded patches take a long time to dry.
Common causes of the green takeover include:
- large potted plants that sit in the same place for months
- rainwater that drains poorly and sits in the joints
- covered or north-facing balconies that get very little sun
- rough, porous finishes where dirt and spores can lodge
It does not just look neglected. That green film can be extremely slippery - a genuine hazard for children, older people or visitors who are unsteady on their feet.
"Moss and algae can turn attractive patios into dangerous slipways very quickly - even a few millimetres of growth is enough."
The 30p kitchen staple that loosens moss: white vinegar
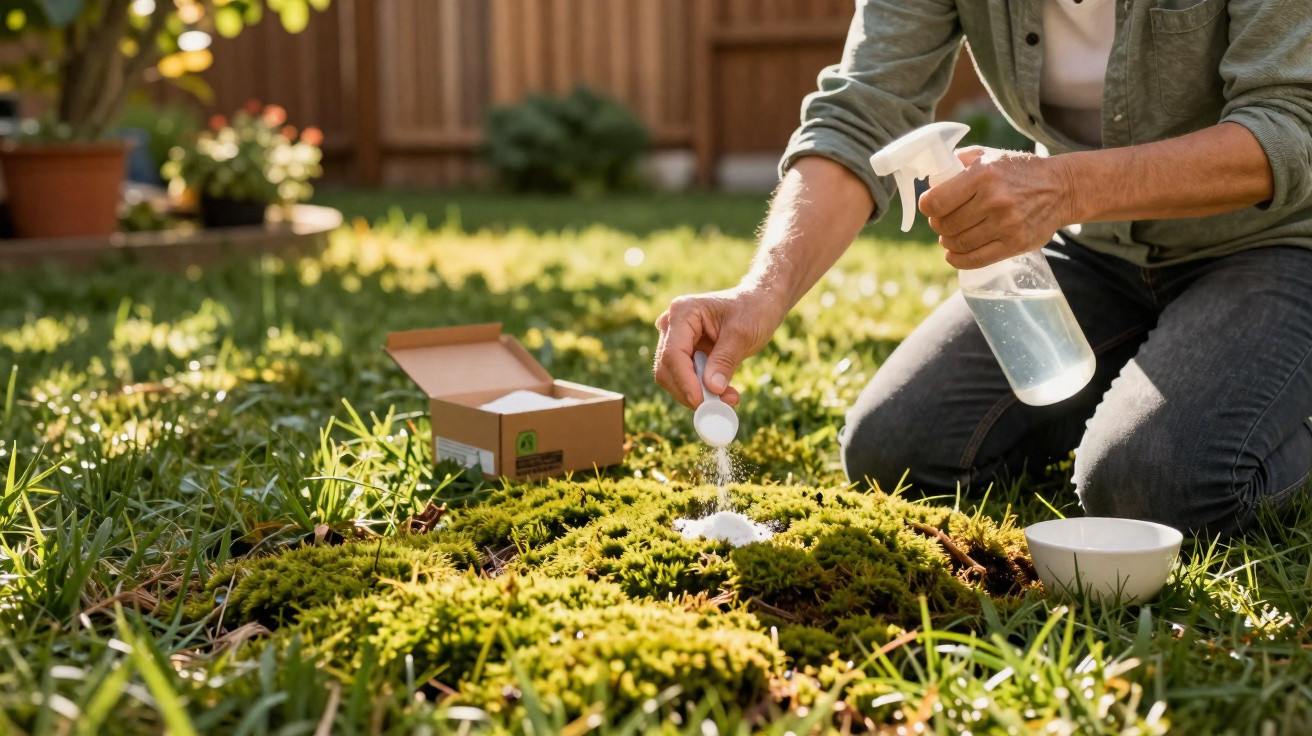
Rather than paying for expensive specialist products or relying on a pressure washer, more and more garden fans are reaching for a familiar pantry classic: clear distilled white vinegar.
In UK shops, a bottle can cost the equivalent of around 30p. For an average patio, half a bottle is often enough, which keeps the cost per clean down to just a few pence. All you need alongside it is water and a sturdy outdoor broom.
How the vinegar trick works (the chemistry)
The active ingredient in white vinegar is acetic acid. At typical kitchen strength, it helps break down organic films such as algae and weakens the cell structure of moss. It can also assist in lifting thin layers of grime and light limescale marks.
On many concrete slabs and basic paving blocks, a modest dilution is often enough to noticeably loosen the green haze. Compared with harsh industrial chemicals, the strength is also relatively easy to control.
Step-by-step: clear moss from a patio in an hour
If you want to try it, you can think of the process as four broad stages. The hands-on work is usually under an hour - the rest is waiting for it to work.
1. Clear the area and sweep well
Start by moving chairs, pots and smaller items off the slabs. Then sweep the entire area with a stiff broom. Remove leaves, loose dirt and sand as thoroughly as you can so the solution can reach the growth directly.
2. Mix the vinegar solution
For many types of stone, a 1:1 ratio works well:
- one part white vinegar
- one part water (ideally lukewarm, not hot)
Mix it in a bucket or watering can. Important: do not use boiling water, as the acid evaporates more quickly and the effect is reduced.
3. Apply and leave it to work
Pour the liquid generously over the slabs. Make sure you thoroughly wet stubborn green patches or black marks. If there is fine moss in the joints, give those areas an extra soak.
Then leave the surface alone. An exposure time of about one hour is a good guide. During this period, the vinegar begins to soften the build-up and the mixture seeps into small surface imperfections.
"The real ‘secret trick’ is giving the vinegar time - if you start scrubbing immediately, you waste its effect."
4. Scrub with the broom
Once the time is up, scrub the slabs firmly with the same stiff broom. Many people find the green growth lifts far more easily at this point. You can rinse away the loosened dirt with water, or sweep it towards a drain.
If particular areas are very troublesome, a second round may be needed. Even then, the effort is usually far less than doing a full pressure-wash.
Which surfaces vinegar suits - and where to avoid it
Despite being inexpensive, this kitchen staple is not suitable for every patio. The reason is the acidity: some natural stones are sensitive to it.
| Surface | Suitable for vinegar? | Note |
|---|---|---|
| Concrete slabs | often yes | Use a diluted mix; do not apply too frequently |
| Concrete block paving / interlocking pavers | usually yes | Test on an inconspicuous spot first |
| Sandstone | generally no | Can cause blooming and a roughened surface |
| Limestone / Jura limestone | no | Acid visibly attacks the material |
| Old joints made with cement mortar | with care | Strong or repeated use can weaken them |
If you are unsure, proceed cautiously: dampen a tiny test patch in a hidden corner, leave it briefly, rinse it off, then inspect the stone carefully once dry. If you see pale marks or a rough texture, vinegar is not a good option.
What argues against moss - and what argues for it
Many people treat moss as the enemy. On paths and steps that makes sense, because it increases the risk of slipping. On purely decorative areas or on top of walls, a little growth can look appealing.
- Problem areas: steps, narrow paths, entrances, balcony paving
- Less critical: old garden walls, quiet corners without foot traffic
- Positive: moss retains moisture and provides habitat for tiny organisms
If your priority is maximum safety, keep all walking surfaces clear. In purely decorative spots, you can choose to leave moss in place or simply thin it out.
When a pressure washer or specialist products are the better option
The vinegar method does have limits. On large areas with very thick moss or blackened deposits built up over years without maintenance, a kitchen solution will only go so far. Delicate natural stone also calls for different approaches.
In those situations, many people opt for:
- gentle patio cleaners based on mildly balanced ingredients
- low-pressure washing with a patio attachment to protect joints and stones
- specialist green-deposit treatments designed to keep working for several weeks
If you are thinking about environmental impact, always follow the label guidance and make sure heavily contaminated run-off does not flow into borders, lawns or surface water.
How to keep the patio cleaner for longer after cleaning
One hour of work per year is rarely enough if conditions are consistently perfect for moss. However, a few straightforward habits can significantly reduce how quickly it returns.
Practical tips for less moss
- Rotate pots regularly: heavy containers often create a damp ring underneath; shift or lift them from time to time.
- Keep drainage routes clear: do not let channels, gullies and joints clog so water can run away quickly.
- Remove leaves promptly: wet leaves stick to slabs and create ideal conditions for spores.
- Plan a spring check: inspect the area properly at least once a year, before thick moss pads form.
If you build the vinegar method into your spring routine, the workload stays manageable. A yearly deep clean combined with occasional sweeping helps prevent the patio from going fully green again.
Legal and environmental points to consider
Vinegar sounds harmless, but strictly speaking it is not something that should be used as a cleaner directly on open soil or poured into beds. The acid can damage sensitive garden plants and affect tiny soil organisms. Extra-strong mixes should not end up where roots are growing.
If you are working close to borders or grass, apply the solution precisely to the paving and manage run-off so nearby plants are protected as much as possible. On balconies where water drains into the sewer system this is slightly less of a concern, but it is still worth using it thoughtfully.
Why it pays to check the kitchen cupboard
A quick trip to the kitchen can often save a springtime dash to the DIY store. White vinegar is cheap, keeps for a long time and has plenty of uses - not only for salad, but also for windows, kettles and, yes, patio slabs.
If you understand your surface, run a small material test and use the mix carefully, you can shift a large share of moss with a simple 30p trick. That makes the first coffee on a freshly cleaned balcony feel far more relaxed - without loud machines or heavy-duty chemicals.

Comments
No comments yet. Be the first to comment!
Leave a Comment