
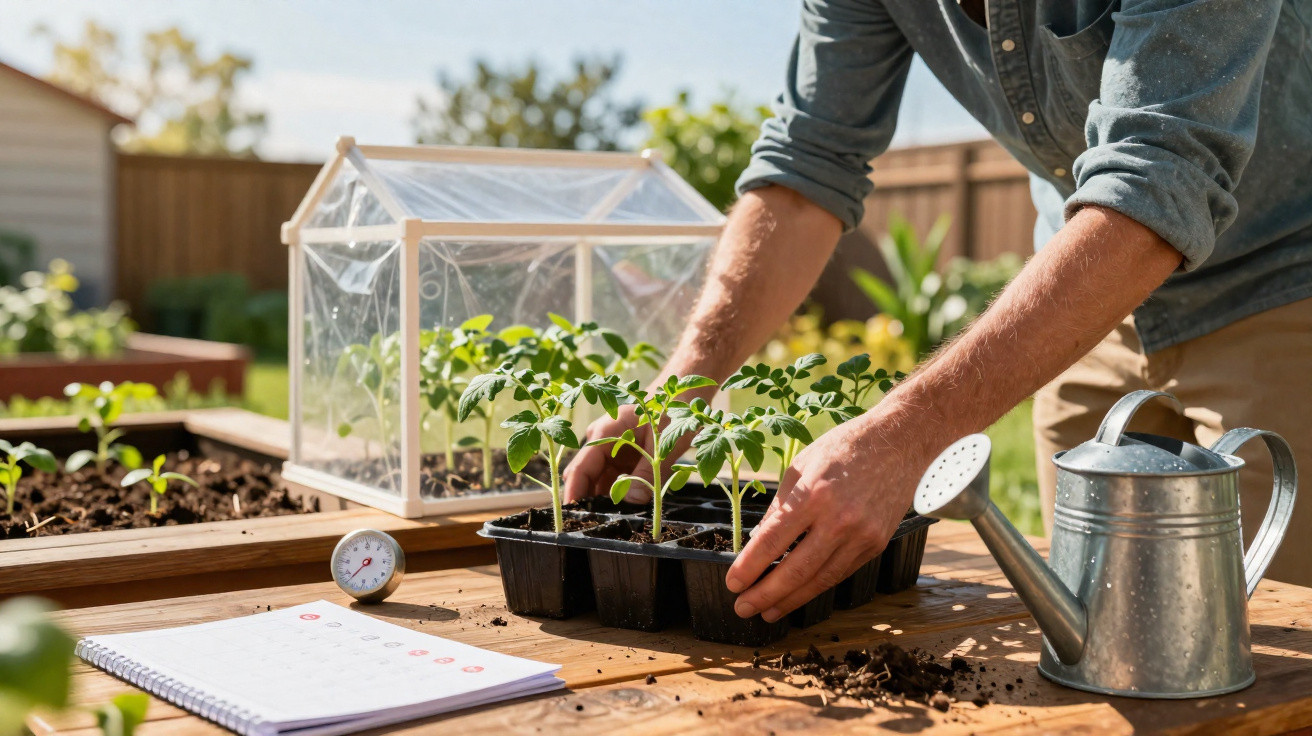
Spring sunshine, warmer days and the first sturdy seedlings on the windowsill: this is exactly when the same mistakes crop up in German gardens every year. A common misunderstanding-especially with tomatoes and other heat-loving vegetables-means plants can flop within days, leaves can scorch and growth can stall. The calendar may say “planting time”, but outside conditions can knock delicate young plants flat.
The classic spring mistake: moving tomatoes straight “from indoors to outdoors”
Many people recognise the scene. The first proper spring day arrives, the thermometer climbs, and strong green seed trays are sitting on the living-room table. So the door opens, everything gets carried out, and the plants go into the bed-or at least into full sun for the day. Two days later comes the nasty surprise: leaves turn pale, develop white or brown patches, stems feel soft, and the plants simply stop.
The issue isn’t only the date-it’s the abrupt change. Under a roof, tomatoes, peppers or aubergines grow as if they’re in a spa:
- filtered light instead of harsh midday sun,
- barely any wind,
- steady temperatures around 20°C,
- even moisture in the compost.
The result is very tender foliage, only a thin protective layer on the leaf surface, and roots that so far have only explored a loose potful of compost. The plants may look perfect-yet they’re only “fit” for their sheltered indoor microclimate.
Outdoors, conditions are a different world: intense UV, drying wind, cold nights, and beds that can be very wet after spring rain. Put plants out there without a transition, and they’re overwhelmed.
"A direct switch from a warm living room to full spring sun hits young tomatoes like sunburn and a circulatory collapse on the same day."
Radishes or carrots that are sown straight into the ground cope well with such swings. Tomatoes, peppers, chilli plants or basil are far more sensitive if they’ve been raised in protection.
The essential step people forget: harden off tomatoes instead of transplanting in shock
The technical term for the missing stage is “hardening off” young plants. It means deliberately acclimatising them to real garden conditions. It may sound like extra work, but it’s easy to build into your routine-and it often decides whether you get a great harvest or lose the lot.
When should hardening off start?
Begin when the weather has settled into a mild, reliable spell. A practical rule of thumb is:
- daytime temperatures of about 15°C or higher,
- no severe night frosts in the forecast,
- start at least a week before you plan to plant into the bed or a large container.
During this time, your plants experience a little more “real life” each day-sun, moving air, and gentle temperature variation.
Nine-day plan for tough, garden-ready tomato plants
This simple schedule helps young plants arrive in the bed noticeably stronger:
- Day 1–3: 1–2 hours outside, fully shaded and sheltered from wind. Afterwards, bring them back indoors or to a protected corner.
- Day 4–6: 4–5 hours outside; give them mild morning sun, then move them back to partial shade or shade towards midday.
- Day 7–9: 6–8 hours at their intended final position; if nights are chilly, still bring them in.
As they acclimatise, the leaf surface thickens, plants learn to cope with stronger sun and breeze, and the root system builds up reserves.
"If you give yourself these nine days, you often avoid six weeks of frustration with stunted plants, replacement purchases and poor yields."
How to plant tomatoes correctly in the bed
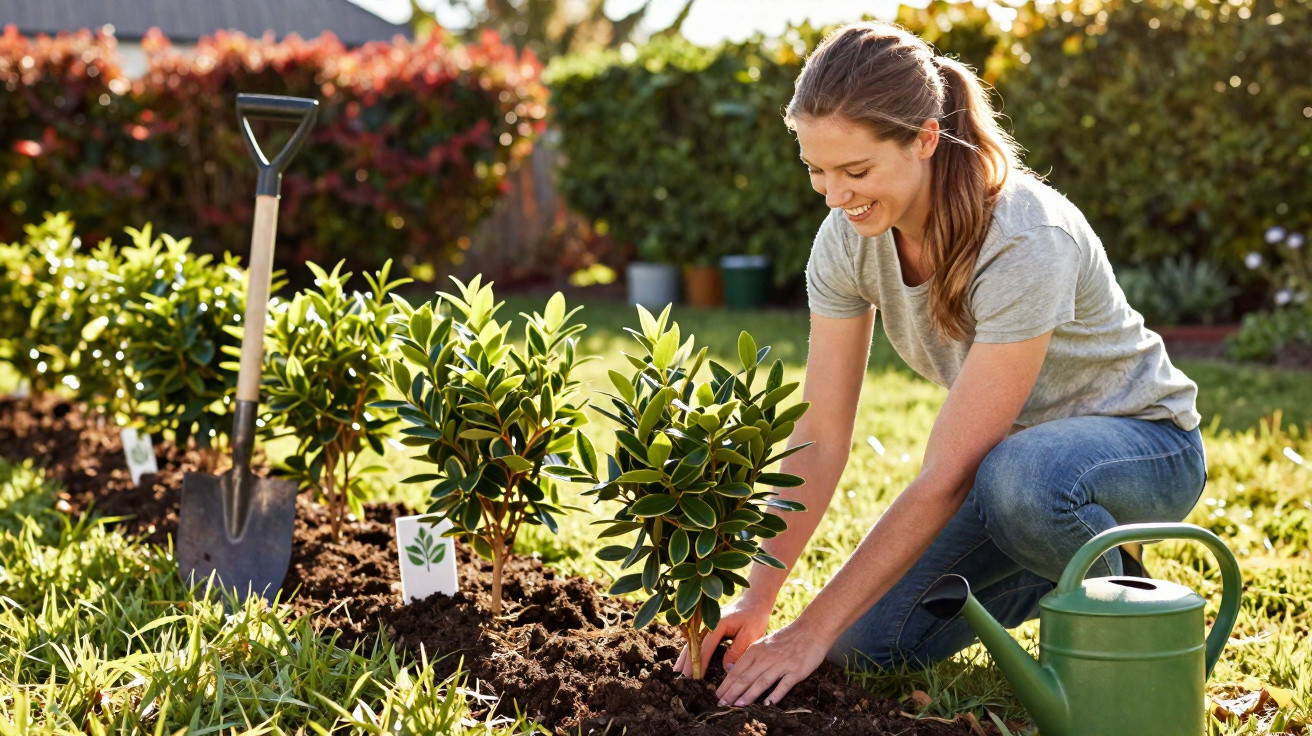
Once the plants are hardened off, the next crucial point arrives: planting them out. Mistakes here are common too-and they can slow development.
Step by step to a stable tomato plant
- Water well before planting: The root ball should be thoroughly moist so the plant can draw water immediately in its new soil.
- Dig a generous hole: Make it about 20 centimetres deep, loosen the soil, and mix in mature compost if you have it.
- Plant deeply: Position the tomato so that around 10 centimetres of the stem sits below the soil surface; it will form extra roots there.
- Support immediately: Put in a cane or other support at planting time, then tie the plant on loosely so it doesn’t whip about in the wind.
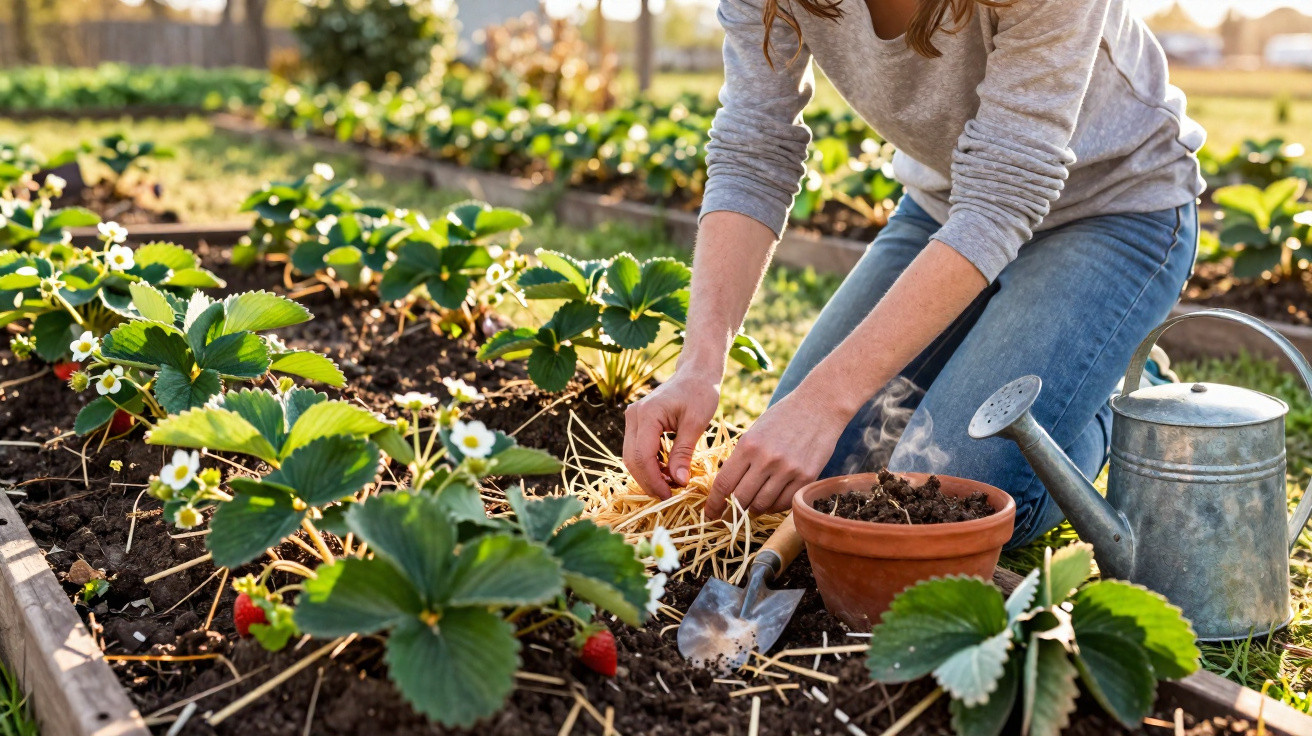
- Add a mulch layer: Straw, grass clippings or leaves around the root area help keep moisture more even and reduce temperature swings.
Keep spacing generous; depending on the variety, it’s usually 60 to 80 centimetres between plants. Better airflow means leaves dry faster and fungal diseases have a harder time.
Wetness and fungi: keeping tomatoes healthy after planting
Tomatoes like plenty of water-just not in the wrong places. Wet foliage, constantly humid air and tightly packed plants are among the most common causes of fungal problems such as late blight or powdery mildew.
Watering the right way to reduce fungal risk
- Water at soil level only-never over the leaves.
- Water in the morning or evening, not under blazing midday sun.
- Water less often but more deeply, encouraging roots to grow downwards.
- Avoid waterlogging; excess water must be able to drain away.
Dense, poorly ventilated rows can stay damp for a long time after rain or dew. That’s when spores spread quickly-especially with sharp temperature changes between day and night.
Milk as a gentle ally for leaves
Many gardeners swear by a milk-and-water mix to make tomato leaves more resilient. Use ordinary cow’s milk, whole or semi-skimmed. The proportion is usually around 10 to 20% milk in the watering or spray mix.
Spray the solution directly onto the foliage every 10 to 15 days. The idea isn’t to replace chemical treatments, but to support leaf strength and make the surface environment less welcoming for fungal spores. Some also report fewer cases of blossom end rot when they start early and keep the routine consistent.
"Milk isn’t a miracle cure, but as part of ongoing care it’s well suited to keeping tomato plants more robust."
Why “sun vegetables” can be so delicate at the start
Tomatoes, peppers, chilli plants and aubergines originally come from much warmer regions. They thrive in long, bright summer days, yet during their early weeks they need careful handling. Indoors they often grow faster than their tissues can properly strengthen, and outside they’re immediately hit by wind and UV.
Once you understand that these plants may love warmth but are effectively “soft” in their first weeks, you naturally become more cautious about moving them outside. Switching abruptly from 20°C, still air and indoor light to a cool breeze, hard sun and cold nights simply demands too much from the plant.
Practical extras for a low-stress tomato season
A simple halfway spot can help enormously-such as a covered balcony, an open greenhouse, or a carport with shelter from side winds. These places let you park plants during the day while hardening off. If you don’t have anything like that, you can improvise with crates or low polythene tunnels.
It’s also worth taking a closer look at both variety choice and siting: robust, disease-tolerant types in a slightly raised bed with good airflow forgive far more mistakes than delicate exotics placed by a cool, shaded fence. And if the start does go wrong, having a second batch of later young plants as a backup can often rescue the season.

Comments
No comments yet. Be the first to comment!
Leave a Comment