
Nutsedge may look like just another grass at first glance, but it spreads quietly via underground tubers. If you simply tug it out quickly, you often make matters worse. With a few targeted steps, however, this persistent weed can be brought under control-and on many areas, pushed back completely.
What makes nutsedge so persistent
Visually, nutsedge resembles a finer, slightly paler grass. It grows faster, often sits a little taller than the rest of the lawn, and creates unsightly, irregular patches. Garden and botany enthusiasts typically distinguish two forms: yellow nutsedge and purple nutsedge. Both thrive in wet, poorly drained soil.
Typical signs in the garden:
- a triangular stem (you can feel the edges between your fingers)
- leaves sit in a V-shape and feel stiffer than lawn grasses
- noticeably faster and taller growth than the surrounding turf
- often a yellow‑green colour that looks slightly “out of place” overall
Nutsedge is not a normal grass, but a sedge with underground tubers that can survive for several years.
Those tubers-small, nut-like swellings in the soil-are exactly what makes control so laborious. A single plant can produce hundreds in one season, and many remain viable for three to five years. If you only remove the top growth, you leave a store of reserves underground. New shoots can emerge from even small remaining pieces.
Site check: Where nutsedge thrives
Nutsedge is best read as a warning sign: it often indicates soil that is too wet and poorly aerated. Common trouble spots include:
- low areas where rainwater collects
- sections with heavy, clay-rich soils
- places watered too often or too lightly
- edges of paths or driveways where the ground is compacted
Unless you tackle these underlying causes, each round of weeding simply creates room for the next flush of nutsedge. That’s why drainage and watering habits matter just as much as any spray or hoe.
Removing nutsedge by hand-does it work?
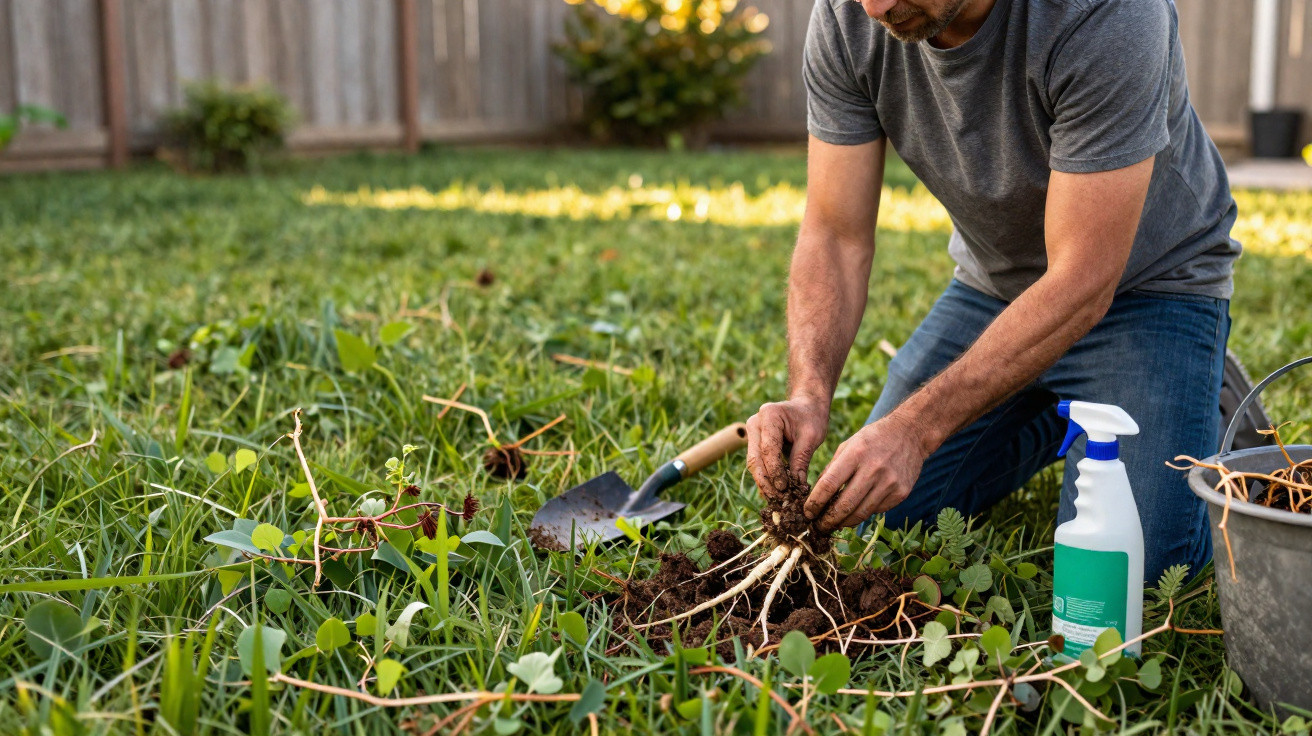
For small patches, hand removal can be worthwhile. Pulling it out is rarely effective, though, because the stem usually snaps above the tubers. A more reliable approach is careful digging-out.
How to dig it out properly
- Lightly water the soil the day before so it’s loose, but not soggy.
- Use a narrow spade or a hand weeding tool to cut around the plant to a depth of about 10–15 cm.
- Lift the entire root mass with the tubers-don’t yank it upwards.
- Check the hole for any remaining tubers and dig again if needed.
- Do not compost the plant waste; dispose of it with general waste.
In vegetable beds, around perennials, or anywhere you don’t want to use sprays, this is the preferred option. It takes time, avoids chemicals, and can effectively contain small outbreaks.
Using good lawn care to push nutsedge out
A stronger lawn leaves nutsedge fewer openings. Dense, healthy grass limits both light and space for seedlings. Several routine care steps directly improve weed control.
Key cultural measures at a glance
- Adjust watering: Water less often but more deeply, rather than short daily watering. The soil should dry slightly between watering sessions.
- Mow correctly: Avoid cutting too short. For most lawns, a cutting height of 4–5 cm is ideal for shading weeds.
- Use fertiliser thoughtfully: Balanced feeding strengthens lawn grasses; excessive nitrogen, by contrast, can also encourage nutsedge.
- Close gaps: Reseed bare areas or top-dress so nutsedge doesn’t find “building plots”.
- Loosen compacted soil: Use an aeration fork or a scarifier to open up dense areas and reduce waterlogging.
Any weakness in the lawn-nutrient deficiency, waterlogging, mowing too low-gives nutsedge an open invitation.
In beds and beneath shrubs, a thick mulch layer also helps. Applying 3–4 cm of bark mulch or other organic material blocks light from emerging shoots. Where grasses aren’t meant to grow, mulch is one of the easiest ways to keep nutsedge suppressed.
Herbicides for nutsedge: When chemicals make sense
With widespread infestation, many gardeners find it hard to avoid chemical control. The key is choosing products that target nutsedge specifically while largely sparing the lawn.
Key active ingredients and when to use them
| Active ingredient | Best time to apply | Interval between treatments | Suitable lawn types |
|---|---|---|---|
| Sulfentrazone | early growth stage | every 3–4 weeks | many warm-season grasses |
| Halosulfuron | mid stage through flowering | every 5–7 weeks | suitable for most lawn types |
| Imazaquin | active growing period | every 4–6 weeks | certain warm-season varieties |
These products perform best when nutsedge is growing strongly, because the active ingredient is then carried down into the tubers and roots. A single application is rarely enough: dormant tubers in the soil tend to sprout in waves.
If you use these treatments, read the label closely-recommended dose, intervals, temperature range, and lawn compatibility. Cool, wet weather or extreme heat can change performance significantly.
When only a total herbicide will do
If an area is completely overrun, a total herbicide containing glyphosate may be the only practical option. These products kill all green growth, including lawn grasses and ornamental plants, so they are only appropriate where you plan to rebuild the area afterwards.
- Spray only in still conditions to prevent drift onto neighbouring plants.
- Use a spray shield or a brush-on application when treating individual clumps.
- After vegetation dies back, improve soil structure and drainage.
- Only then reseed the lawn or lay pre‑laid turf.
The best strategy: Combine methods
For lasting results, rely on a combination of approaches. The goal is less about “eradicating” nutsedge in a single year, and more about steadily making the site unattractive for it.
Manual removal, better soil conditions and targeted herbicides complement each other-no single measure solves the problem on its own.
A workable plan for heavily affected gardens:
- Identify wet problem zones, reduce waterlogging, and adjust your watering routine.
- Treat larger clumps with a suitable herbicide.
- Dig out single plants and remaining small patches, especially close to beds.
- Strengthen the lawn: feed, overseed, and stick to the right mowing height.
- In following years, check regularly and remove new shoots early.
Why patience is the most important “active ingredient”
Nutsedge isn’t a weed for quick fixes. The tubers stored in the soil can sprout over several years. If you stop after one good season, those yellow‑green patches often return.
A simple garden log can help: where did the first shoots appear, when did you spray or dig, and which spots keep coming back? Patterns often point to areas that stay consistently wetter than the rest.
Practical tips and risks to keep in mind
Many gardeners initially confuse nutsedge with clover or ordinary grassy weeds. A quick feel of the stem usually settles it: if it’s triangular, it’s nutsedge. Acting promptly at that stage can save years of frustration.
When handling herbicides, wear proper protective gear: gloves, closed shoes, and ideally safety glasses. Children and pets should stay off treated areas until the spray solution has fully dried. In vegetable beds or near edible plants, only use products explicitly approved for that use-when in doubt, digging out remains the safer option.
If you consistently address soil conditions, lawn care, and timely control, even badly affected lawns can be reclaimed step by step. It may rarely be perfect, but each managed patch reduces this persistent weed’s comfort zone and brings your garden much closer to the well-kept green space you want.





Comments
No comments yet. Be the first to comment!
Leave a Comment