
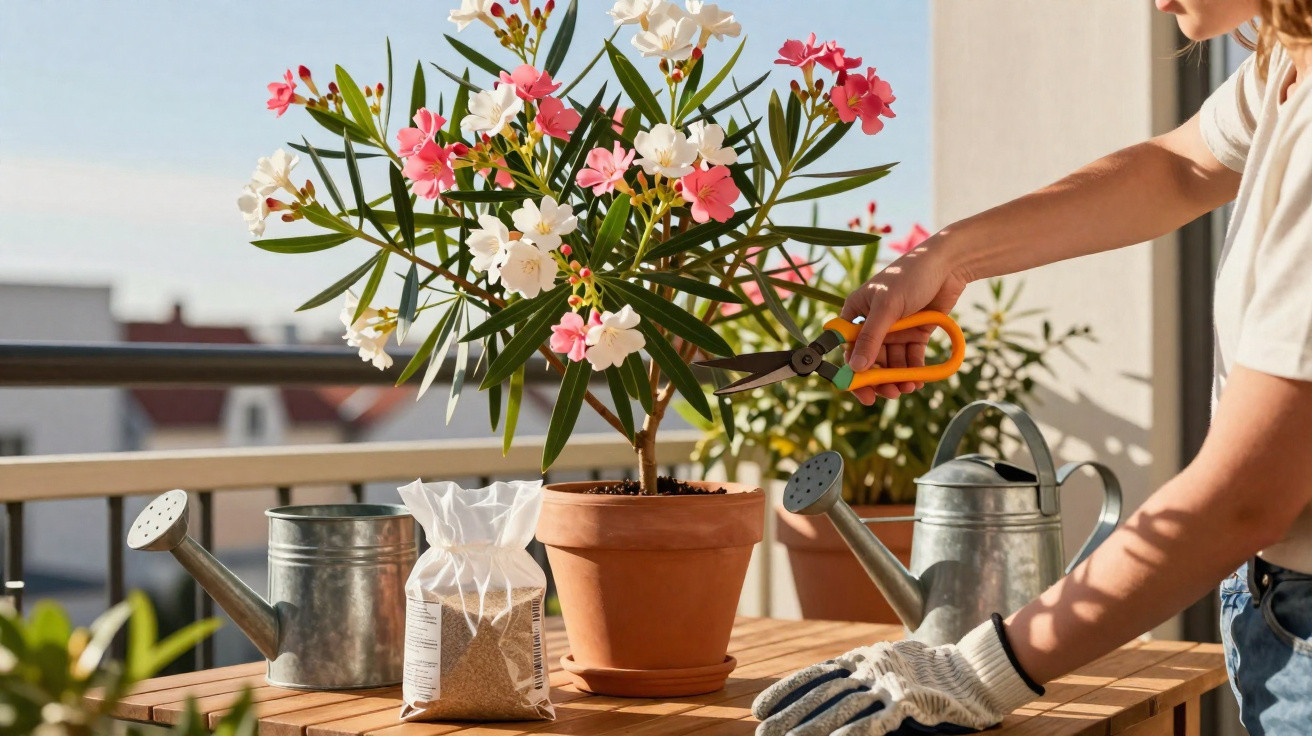
Many keen gardeners look forward to the first oleander flowers every year, only to end up with plenty of foliage and hardly any colour. Professional gardeners and plant nurseries approach it very differently: they don’t wait and hope - they actively manage the plant’s run-up to flowering. What matters is timing, a light pruning session, the right nutrient balance, and deliberate watering. If you understand these levers, you can turn your oleander into a serious flowering machine as early as this spring.
When the oleander is genuinely ready to get going
Oleander doesn’t take its cue from the calendar - it responds to the evening air. Only once nights stay reliably mild does the plant shift into gear. That’s exactly the point where nurseries intervene.
"The signal for the flowering turbo arrives when night-time temperatures stay consistently above 10 to 12 °C."
While nights are cooler than that, the oleander’s metabolism remains sluggish. If you start heavy feeding or watering too early, you’re essentially wasting effort - the plant can’t make good use of it yet.
As soon as that warmth threshold is reached, a clear, practical plan works best:
- Don’t move the plant straight outdoors all at once; acclimatise it gradually.
- Keep it in partial shade for the first week to prevent leaf scorch.
- Then introduce it to full sun step by step.
This short “in-between” phase reduces stress and gently prepares the oleander for the high-performance period ahead.
The prune that produces flowers - not just leaves
Many people hesitate to cut back oleander because they fear removing potential flower buds. Professionals do the opposite - and end up with more flowers, not fewer.
The best window is from around mid-March, once severe frost is no longer likely. Then carry out a targeted, stimulating prune:
- Shorten older, woody shoots by roughly one third.
- Trim back overly long, awkward shoots a little as well, so the plant thickens up.
- Remove weak branches and any growth heading inwards.
"Pruning forces the oleander to push fresh growth on young wood - and that’s where most flower clusters form."
At the same time, the shrub develops a more compact, sturdier shape. Later on, it not only looks better, but it also supports a heavier load of blooms.
Refreshing the top layer of compost: a small step with big impact
A common container mistake is to keep watering and feeding year after year without paying attention to the compost at the surface. That top layer is often exhausted and can barely hold nutrients.
Nurseries therefore use a quick but highly effective routine that takes only a few minutes:
- Carefully remove the top roughly 5 cm of the growing medium.
- Dispose of the old, spent material.
- Top up with mature, high-quality compost or a well-pre-fertilised compost for container plants.
This gives the root zone fresh nutrients and better aeration again. Combined with the right fertiliser, it lays the groundwork for abundant bud formation.
Without the right fertiliser, the oleander stays green - and little else
The most underestimated factor is nutrient balance. Oleander is considered tough, yet it responds surprisingly strongly to the wrong feeding strategy.
For abundant flowering, the plant primarily needs:
| Nutrient | Main effect |
|---|---|
| Phosphorus (P) | Supports bud formation and strong roots |
| Potassium (K) | Strengthens flowers, cell structure, and resilience |
| Nitrogen (N) | Mainly drives leaf and shoot growth |
"Too much nitrogen turns the oleander into a magnificent leafy bush - but that’s exactly when the flowers fail to appear."
Balanced complete feeds such as NPK 10-10-10 work well, as do specialist flowering-plant fertilisers that lean slightly more towards potassium and phosphorus. If you’ve mainly relied on grass clippings, nettle tea, or very nitrogen-heavy “green plant” feeds, it’s worth switching as a priority.
A typical scenario: on a city terrace, there’s a vigorous, deep-green oleander, packed with leaves but still without a single flower by mid-July. The cause is ongoing use of nitrogen-rich fertiliser. Only when that source is stopped and feeding is consistently shifted to potassium-leaning products do buds finally appear on the new shoots.
Watering correctly: plenty in one go, then a break
Oleander enjoys water - but not as a constant drizzle. Continually keeping the pot slightly wet leads to lazy, soft roots. Professionals stick to clear watering cycles:
- Water thoroughly until it runs out of the drainage holes.
- Then wait until the top roughly 3 cm of the growing medium has dried out well.
- Only then water generously again.
This encourages roots to work actively without leaving them waterlogged. For the first proper watering in spring, many nurseries use lukewarm water at about 20 °C. This “root wake-up call” nudges the metabolism back into action gently.
If your oleander isn’t flowering: how to pinpoint the cause
Before you reach for more fertiliser or rush into repotting, it pays to check things systematically. Three areas matter most:
- Check the temperature: Are night-time temperatures truly stable above 10 to 12 °C yet? If not, be patient and water only moderately.
- Review the feeding history: Have you used lots of grass clippings, compost tea, or green-plant fertiliser? If so, excess nitrogen is very likely the issue.
- Assess the shoot structure: Is the oleander mostly made up of long, old branches with little younger branching? Then it’s missing a focused stimulating prune.
"The skill is to ‘wake’ the oleander without overwhelming it: a gentle temperature start, limited pruning, a clear nutrient strategy."
Work through these points one by one and it becomes clear which lever to adjust. Often, small corrections are enough for new buds to show within a few weeks.
Additional professional tips for abundant blooms
The right position makes all the difference
Oleander originates from warm Mediterranean regions and, in summer, wants as much sun as possible. A full-sun, sheltered spot is ideal - for example near a house wall that stores warmth. In partial shade the plant will survive, but it will produce noticeably fewer flowers.
Container size and growing medium
In pots that are too small, the root ball dries out quickly; in oversized containers, the compost stays wet and cool for too long. A better approach is repotting in modest steps, moving up one pot size at a time. The growing medium should:
- drain freely, for example with a little sand or expanded clay mixed in
- still be able to hold nutrients
- not be a fine, moisture-retentive houseplant compost that stays too wet
Risks many people underestimate
Oleander is highly poisonous - all parts of the plant. Wear gloves when pruning, and keep children and pets well away from snapped-off leaves and stems. Prunings should not go on the compost heap; dispose of them in the general waste.
One more point: if you take the oleander out of its winter shelter too early in spring and place it straight into harsh sun, you risk leaf scorch. The brown, dried patches won’t disappear and they weaken the plant. That one-week “half-shade stopover” really is worth it.
How to combine oleander with other plants
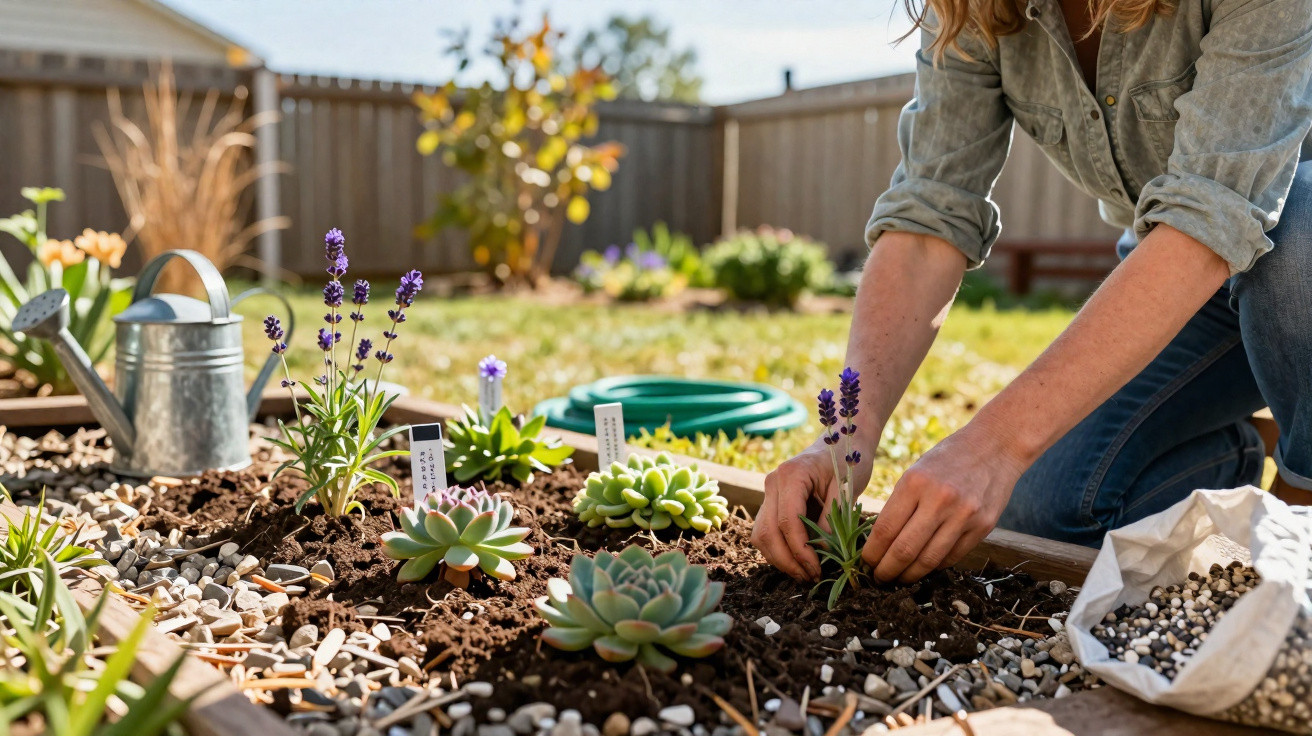
Around an oleander, you can place Mediterranean container companions with similar needs. Suitable choices include lavender, rosemary, or sage, as they enjoy sunny, warm positions and cope with occasional dry compost. This quickly creates a Mediterranean feel on a balcony or terrace - and upkeep stays manageable because the requirements are broadly alike.
If you combine this nursery-style approach - timing, pruning, refreshing the surface layer, balanced feeding, and thoughtful watering - you’ll often see a completely different plant in the very same season: less guesswork, more flowers.
Comments
No comments yet. Be the first to comment!
Leave a Comment