
The morning you decide, “Today I’m finally putting the new plants in,” always feels like a fresh start. You’re standing in the garden with a mug of coffee, and the bed in front of you looks like an empty stage waiting for its cast. The pots of tomatoes, perennials or summer bedding are practically itching to stretch their roots. In your head, a little gardening series is already playing: everything grows, everything flowers, and you end up harvesting baskets of vegetables. Then you crouch down and spot the hard crust on the soil, old root remnants, a bit of moss here and there. And suddenly that doubt hits: is it really enough to dig a hole and crack on?
It’s a familiar moment-anticipation and uncertainty briefly having it out. Right there, you set the course: either your bed becomes a summer fairy tale, or it turns into a quiet graveyard of brown plant leftovers.
The real starting point is below the surface
From above, a bed can look “ready” in no time. Smooth it over a bit, maybe clear away the last of the autumn leaves, and your hands are already twitching to plant. But the real story is happening underground, out of sight-where your plants will later fight for every centimetre of root space. A lot of gardeners treat soil like a stage that only needs sweeping. In reality, it’s closer to an overstuffed wardrobe: old clutter, forgotten surprises, and the occasional genuine treasure all piled together.
Before you even think about introducing new plants, it’s worth throwing that wardrobe doors wide open and taking a proper look. And yes-sometimes you find rather more than you bargained for.
A gardening friend on my street learned that lesson the hard way. Full of enthusiasm, she planted a whole car boot full of perennials in April into a bed that had previously been a decorative area covered in bark mulch. She loosened the surface a little, planted everything close together, and watered diligently. By June she was standing there baffled, looking at grey-green plants that just weren’t thriving. When she dug down, she uncovered old root balls, half a sack of rubble, and a compacted layer of heavy clay soil. Her perennials simply had no “living space”.
A year later-after digging everything out, loosening the ground properly and adding plenty of compost-the very same strip suddenly looked like a small show garden. Same plants, different foundation. And everything finally made sense.
The plain truth is this: plants don’t grow in “beds”; they grow in structure. In pores, air gaps and fine channels that move water and oxygen. When soil is compacted, water sits and roots suffocate. When it’s too coarse and low in nutrients, plants slowly starve-even if you water every day. Well-prepared soil is like a home that’s been set up properly: enough room to expand, food on the table, and a stable environment.
If you skip this stage, you’re forcing your plants into a studio flat with a mouldy bathroom. They might survive-but they’ll never look like the catalogue photo.
Garden bed check: what you really should do before planting
The first step sounds unglamorous, but it often works like magic: clear out thoroughly and loosen deeply. Pull out old root fragments, weeds including their roots, larger stones and-crucially-any old mulch layers that have formed a firm barrier. Then it’s time for a garden fork or spade. Work down to roughly one spade’s depth and gently rock the tool to loosen the ground, without fully turning the soil over.
That creates a crumbly, open structure that roots can move into with ease. If your soil is very hard, tackle it in stages and take breaks. You’ll notice it quickly: the resistance eases and the ground almost seems to “breathe” again. That’s the point where you know your plants won’t be pushing against something like concrete-they’ll be growing into living soil.
A classic mistake when starting a bed is thinking, “I’ll just add fertiliser and it’ll be fine.” But soil doesn’t work like an empty tank you simply top up. It’s more like a complex buffet that plants can use-provided the kitchen behind it is actually running. Organic matter is your strongest ally here. Well-rotted compost, mature manure or leaf mould mixed into the existing soil creates a long-term nutrient store.
By contrast, many people throw fresh lawn clippings or immature compost on the surface. As it breaks down, it steals nitrogen from the soil, and the plants suddenly look as if they’ve become “anaemic”. Let’s be honest: hardly anyone measures every value carefully before picking up a spade. Still, a little preparation is what separates lucky wins from dependable results.
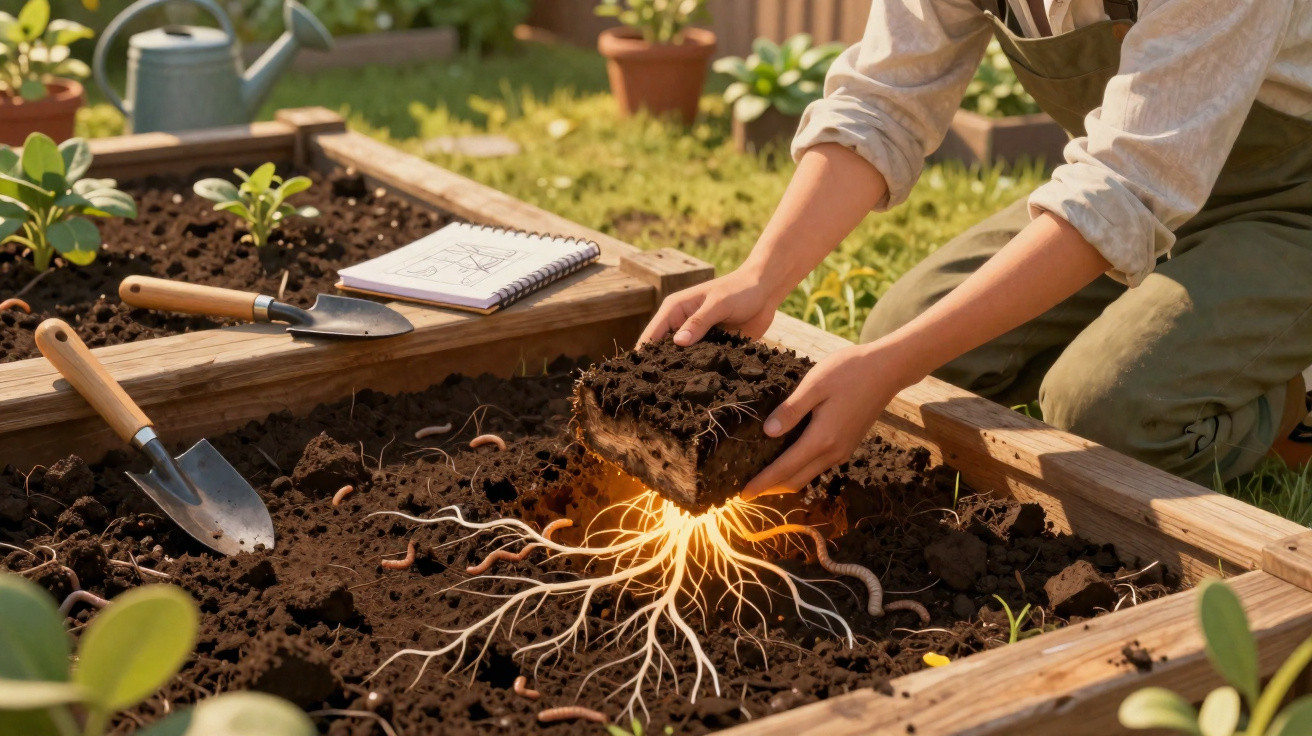
At this point, it’s worth paying attention to something you can barely see: life in the soil. Worms, springtails, bacteria, fungi-an invisible gardening crew doing the heavy lifting. If you dig and don’t find a single earthworm, take it as a warning sign. Drought, compaction, too many chemicals, or leaving the soil bare for years can all starve it.
This isn’t a situation for half measures. What helps is layering organic material, allowing rest periods, and perhaps even sowing green manure before the main planting season. Many experienced gardeners swear by giving a bed a few weeks “on a health retreat” before the star plants move in. When soil is alive again, it’s far more forgiving of missed watering, temperature swings and the odd lapse in attention-which is exactly what you want when summer turns hectic.
Strategy rather than impulse buying: how to prepare your bed like a pro
Before you tip a single pot out, it pays to make a tiny plan. What kind of bed are you actually working with? Full sun? Partial shade? Is it exposed to wind? Heavy clay or light sand? Take five minutes, walk around the area slowly, and look at it as if you’ve never seen it before. Where does the morning dew linger? Which spots bake hard quickly? That’s where you decide whether a Mediterranean sage corner makes sense, or whether you’d be better off choosing perennials that cope well with higher moisture needs.
Then comes the fine-tuning: test the soil-not in a laboratory, but with your hands. Pick up a handful, dampen it, and knead it. If it moulds like clay, you’re in the heavy-soil zone. If it trickles through your fingers, you’re dealing with sand. Both can work, as long as you understand what you’re working with.
Most of us have caved at the garden centre in front of a trolley of flowering favourites that don’t actually suit the conditions at home. The good news is that you don’t need perfect matching to see a big improvement-just a few rules of thumb. Don’t put a thirsty hydrangea in a scorching, sandy bed without adding extra humus. Don’t plant Mediterranean herbs in waterlogged clay without providing drainage. And leave gaps.
A newly planted bed doesn’t have to look Instagram-ready on day one. Plants expand, fill out and shift the picture over time. If you cram everything in, in three months it becomes a fight for light and space.
A bit of breathing room in a bed is like slack in a schedule: priceless when the season goes differently from what you expected.
It gets especially useful when you combine your own observations with other people’s experience. An older gardener once told me:
“Beds are like children’s bedrooms. Before you shove new furniture in, you need to know who’s meant to live there and how much chaos they’ll make.”
That’s the heart of it: you’re not merely “prepping soil”-you’re building the framework in which your plants can show their full potential. In practical terms, that means:
- Before planting, loosen to at least one spade’s depth and remove major obstacles
- Work organic material into the soil, rather than only scattering it on top
- Get a rough sense of location and soil before choosing plants
- Avoid planting too tightly; allow room for growth
- In the first few weeks, watch new beds carefully instead of watering on autopilot
A bed isn’t a project-it’s a relationship
Once you’ve seen how a properly prepared bed carries itself through a season, it changes how you look at gardening. You start to sense the soil almost physically when you step onto it. It has a slight spring, and it smells like woodland earth rather than dust. Plants you wrote off the year before as “difficult” suddenly grow with an ease that surprises you.
They manage without daily drama-watering, they hold a rich green, and their flowers don’t flop after two days. And you realise the work you do before planting pays you back on the hottest days of summer-in the form of calm.
Perhaps that’s the real invitation: away from the smash-and-grab approach of “quick, plant something or it’ll look empty”, and towards a small yearly ritual. Once a year, really look at the bed, feel it, open it up, and feed it. Like a conversation with someone you like and want to understand better.
Instead of placing new plants into old problems, you make a quiet pact with the earth: you give it time, air and nourishment. In return, it gives you stability, fewer losses and more enjoyment. And maybe one morning you’ll catch yourself walking barefoot along the bed, feeling its structure underfoot, and thinking: “Right-now we’re ready. Now the new plants can truly move in.”
| Key point | Detail | Benefit for the reader |
|---|---|---|
| Loosen the soil thoroughly | Use a garden fork or spade to loosen to one spade’s depth without turning it fully | Roots establish more easily, less waterlogging, healthier growth |
| Work in organic matter | Mix in mature compost or leaf mould; avoid fresh, coarse material | Long-lasting nutrient supply, more active soil life, better crumb structure |
| Match site and plant choice | Observe light, soil type and moisture and choose suitable species | Fewer failures, less maintenance, visibly more vigorous beds across the season |
FAQ:
- How long before planting should I prepare my bed? Ideally, prepare the soil one to three weeks before planting. That gives the structure time to settle, lets micro-organisms get to work, and shows you where water might still collect or weeds reappear.
- Is it enough to spread compost on top? A thin layer on the surface works like a mulch and is better than nothing, but you get the full benefit only when you lightly work well-rotted material into the top layer of soil. That puts nutrients where the young roots will grow.
- Do I really need to remove every stone? Small stones aren’t a problem and can even help structure. What causes trouble are large lumps, old root balls or rubble. Anything that dominates a planting hole should come out-the rest can stay.
- Is a professional soil analysis worth it? For hobby beds it isn’t essential, but it can be interesting if you’ve battled the same issues for years. Often a mix of a simple hand test, observation and comparison with healthy neighbouring beds is enough to make better decisions.
- Can I plant straight after heavy rain? If the soil smears, sticks to your boots and forms clumps, wait. Working it while wet compacts the structure. Choose a moment when it’s moist but loose and crumbly.
Comments
No comments yet. Be the first to comment!
Leave a Comment