
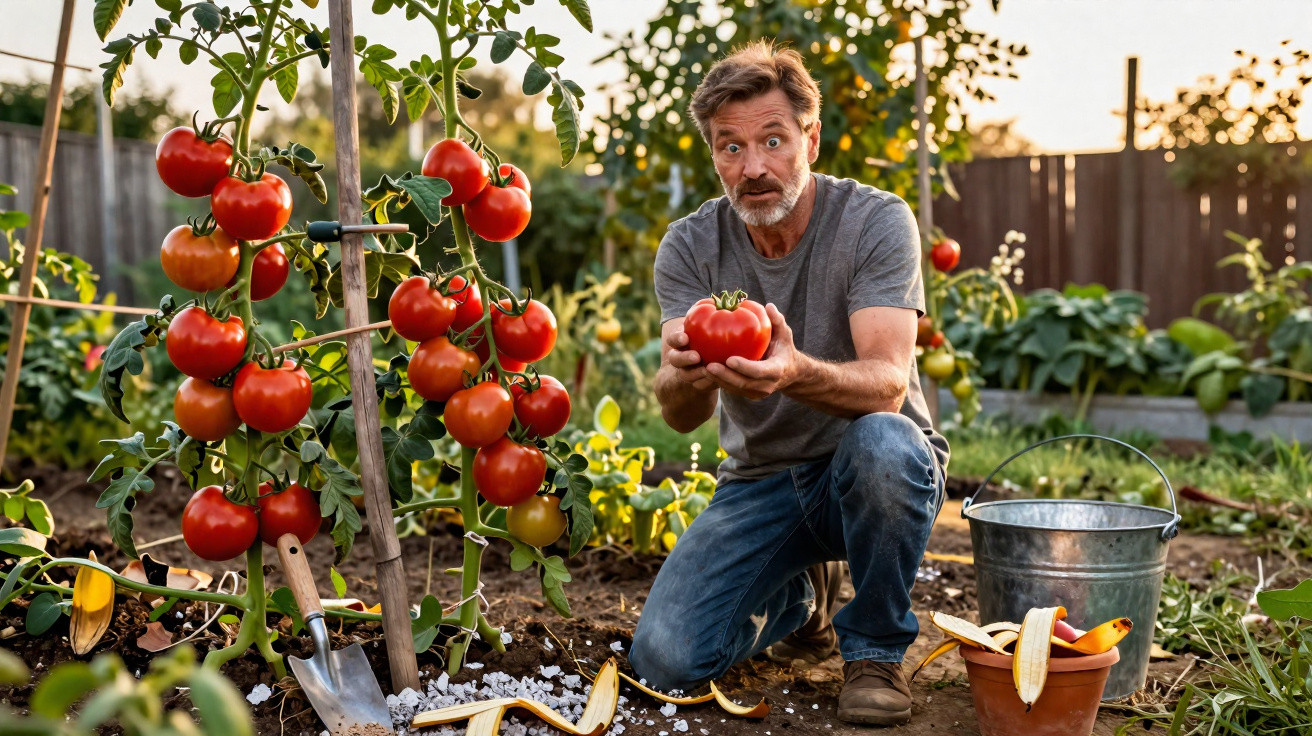
Tomatoes thrive on warmth, water and light - yet without the right nutrients, the crop stays disappointing. Rather than buying expensive specialist feed from the garden centre, two everyday leftovers from home can turn a tomato plant that’s all leaves into one that’s impressively productive within a few weeks. What matters most is timing, quantity and a handful of simple steps.
Why many tomato plants look lush but barely produce
It’s a familiar summer sight: a tomato plant stands from knee to chest height, deep green and packed with foliage - and still there are only a few small, hard fruits hanging on. In most cases the issue isn’t watering or where the plant is positioned, but the balance of nutrients.
Tomatoes are heavy feeders. Compared with lettuce or herbs, they require far more nutrition, especially:
- Potassium - for plump, large and flavoursome fruits
- Magnesium - essential for metabolism and photosynthesis
- Nitrogen - drives leafy growth, but must not dominate
- Phosphorus - supports roots and flower formation
Many general-purpose garden fertilisers are high in nitrogen. The plant then pours its energy into leaf production, looks impressive, but forms noticeably fewer flowers. And without flowers, there are no tomatoes.
"A good tomato feed doesn’t create even more foliage - it steers the plant’s energy directly into flowers and fruit."
This is exactly where natural nutrient sources come into their own: they release more slowly, are more balanced, and can be matched to the plant’s stage of growth.
The secret booster: two free leftovers from home and garden
Many gardeners throw them away or tip them into the ash bin, yet they’re incredibly useful: banana skins and wood ash. Used together, they supply tomatoes with precisely the minerals that are often lacking during the fruiting stage.
Banana skins: a potassium hit for sweet, juicy tomatoes
Banana skins are rich in potassium and also contain magnesium, phosphorus and a little calcium. That makes them ideal once the first green fruits begin to appear on the plant.
Two straightforward approaches work well in the garden:
- Burying them near the roots
Chop the skins into small pieces and work them into the soil 5 to 8 centimetres deep around the root area. They break down quickly this way, without smelling or attracting pests. - Liquid feed made from skins
Soak chopped skins in a bucket of water for 24 to 72 hours, then strain and water the tomatoes with this “banana water”. In containers, use very sparingly to avoid smells and fruit flies.
Important: choose bananas that are ideally organic, and don’t overdo it. In the fruiting period, one to two skins per plant every two to three weeks is usually sufficient.
Wood ash: a mineral boost against small fruit and blossom end rot
If you use a fireplace, stove or fire pit, you may already have the second valuable resource: ash from untreated, natural wood. It contains plenty of potassium, plus calcium and phosphorus - a combination that supports plentiful, healthy fruit.
Wood ash is particularly helpful for a problem many tomato growers dread: so-called blossom end rot. The underside of the fruit turns black and may partially rot away. A lack of calcium and irregular watering are among the typical triggers. Ash provides calcium in a form the plant can access quickly.
How to apply it safely:
- Use only ash from untreated, natural wood
- Sieve the ash to remove nails, charcoal remnants or larger pieces
- Between mid-July and early August, sprinkle around 20 to 30 grams per plant - roughly one level tablespoon
- Apply ash to the soil only, not onto leaves or stems
"Wood ash acts like a targeted mineral boost - it won’t turn a pretty but lazy tomato plant into a record-breaker, but it does noticeably improve fruit quality."
A second, lighter application about 14 days later can work, provided the soil is dry. In wet weather the ash is quickly washed out and can push the soil pH up too far.
The basics still matter: turning tips into an XXL harvest
As effective as banana skins and wood ash can be, they won’t deliver much without a solid foundation. Anyone serious about tomatoes lays the groundwork at planting time.
Spring start: feed, don’t just plant
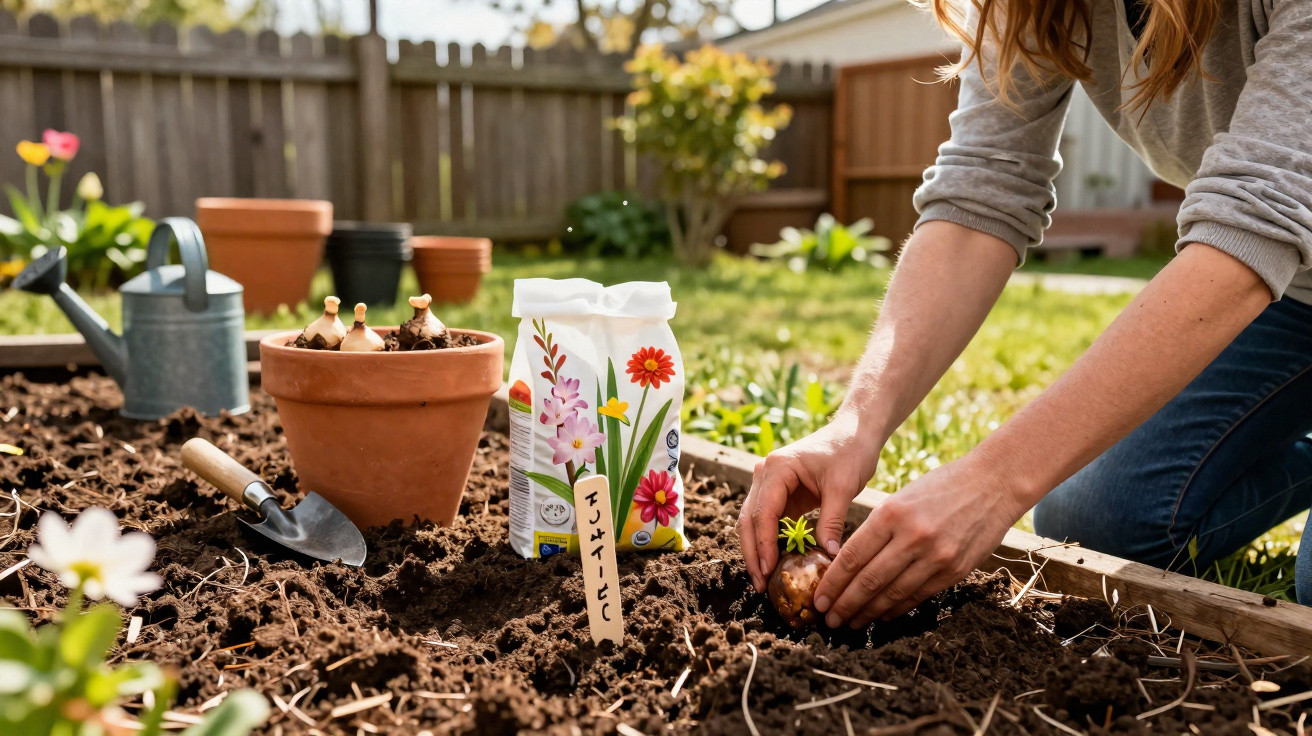
When setting out young plants, it pays to create a small “nutrient pocket”:
- Mix mature compost or well-rotted farmyard manure into each planting hole
- Optionally add a little horn meal (horn shavings), which provides slow-release nitrogen
- Plant the root ball deep enough that the lower part of the stem is covered with soil - extra roots will form there
This helps the plant support itself for the first few weeks. From June onwards, it needs regular top-ups.
The right summer rhythm
From early summer, a two-stage plan is worthwhile:
- At the start of the season (June): every 14 days, use a mild organic feed such as diluted nettle liquid fertiliser. This supplies nitrogen for growth.
- Once fruiting begins: shift the focus to potassium-rich additions - banana skins, comfrey liquid feed or specialist organic tomato feeds.
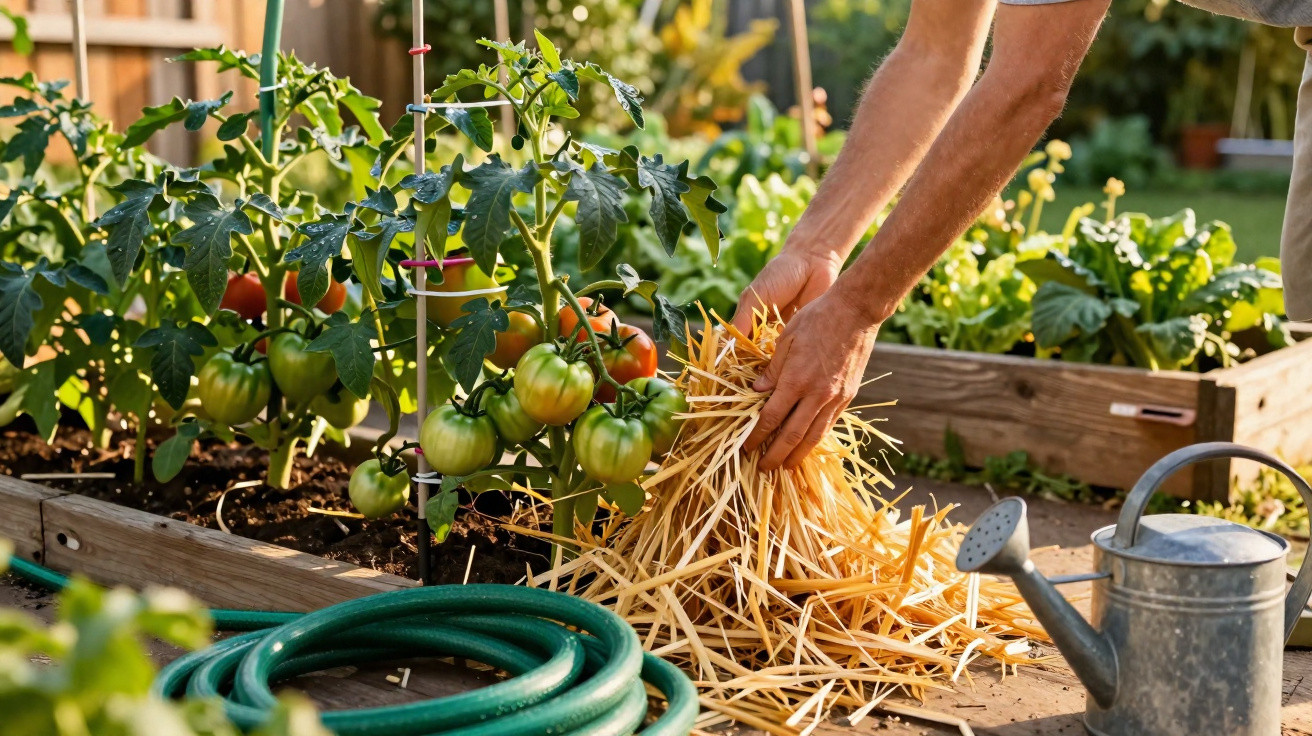
Alongside this, consistent watering remains crucial. The soil should neither dry out completely nor stay waterlogged. Mulching with grass clippings or chopped straw helps retain moisture and nutrients.
Common mistakes that hold back the crop even with natural fertiliser
If you’re using kitchen and garden leftovers as feed for the first time, it’s easy to make mistakes - but they’re simple to avoid with a few basic rules.
- Too much of a good thing: generous amounts of ash can make the soil strongly alkaline. Tomatoes prefer slightly acidic to neutral conditions, not an “ash desert”.
- Skins left too large or too exposed: whole banana skins on the surface attract slugs and flies and decompose too slowly.
- Poor timing: heavy nitrogen feeds late in summer push leaf growth just when the plant should be putting its energy into fruit.
- Neglecting side-shoot removal: too many side shoots drain the plant’s energy. Combined with strong feeding, this can produce a huge, overloaded bush that still doesn’t fruit well.
How long does it take to go from leaf monster to an XXL harvest?
If, in high summer, your tomatoes look healthy but are barely producing, you can correct course with the banana-skin-and-ash duo. Depending on variety, weather and the plant’s starting condition, you’ll usually notice a change after two to four weeks: more flowers form, and existing fruits develop more smoothly and with better flavour.
Patience still matters. Vegetables don’t respond like a chemically boosted quick fix from the fertiliser shelf. Natural nutrients act more slowly, but more sustainably - and they also improve soil structure along the way.
Extra tips for anyone who wants to go a step further
If you’d like a steadier yield, you can sensibly broaden the natural feeding approach. Marine lime, rock dust or a small amount of algae lime can widen the mineral profile and bind excess acidity in the soil. In companion planting with basil, French marigolds or pot marigolds (calendula), tomatoes often benefit as well: these neighbours help keep pests under control and can improve soil condition.
It’s also worth looking at other heavy feeders: peppers, chillies and aubergines respond in a similarly grateful way to banana skins and carefully measured ash applications. Once you start, you’ll think twice before throwing kitchen scraps and stove ash in the bin - the vegetable patch shows its appreciation clearly.

Comments
No comments yet. Be the first to comment!
Leave a Comment