
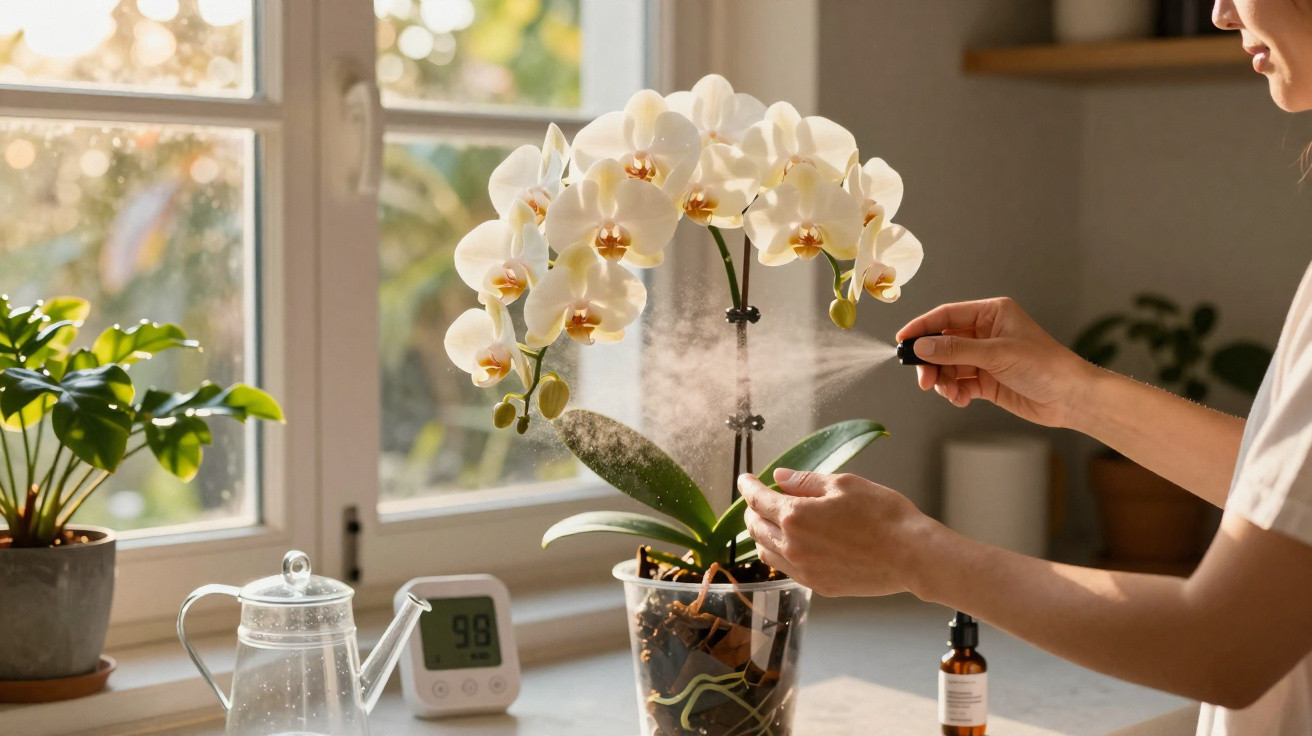
Anyone who has ever kept an Oncidium ‘Sharry Baby’ in the living room tends to remember it for years. This espresso orchid fills the air with a chocolate-and-vanilla scent and produces countless small, wine-red flowers. To stop it collapsing after a few weeks, it needs different conditions from the typical Phalaenopsis picked up from the garden centre. With a few well-chosen tweaks, however, this diva can be persuaded to grow and flower with surprising reliability.
Light and temperature: without the right climate, no cloud of blooms
The espresso orchid originates in tropical regions, where it usually grows on trees and receives bright, filtered light. That is exactly what you should aim to recreate at home.
“Bright, indirect light and a small temperature difference between day and night are the ignition key for flower formation.”
Where to place the espresso orchid
An east- or west-facing windowsill is usually best: plenty of light, but no punishing midday sun. Direct sun in the early afternoon can scorch the leaves, turning them yellowish or leaving brown patches.
- East-facing window: morning sun followed by bright light – ideal for beginners.
- West-facing window: evening sun – provide light shade in high summer (for example, a thin curtain).
- South-facing position: only set back from the glass or behind a net curtain, otherwise it is too hot.
- North-facing position: often too dim; in many homes, a supplemental grow light is needed.
In winter, an LED grow light can make a real difference. Position it roughly 30 to 45 centimetres above the plant and run it for 10 to 12 hours per day. This helps mimic the longer, brighter days of its natural habitat.
Warmth with a day–night drop
The espresso orchid likes warmth, but not baking heat. During the day it is comfortable at around 18 to 27 degrees. At night, it can be 5 to 8 degrees cooler – that gentle dip encourages new flower spikes to form.
Key rules of thumb:
- Avoid constant heat directly above a radiator.
- Avoid cold draughts from a tilted winter window.
- Avoid major temperature swings from one day to the next.
Big fluctuations put the plant under stress. A common result is that buds dry out and drop before they ever open.
Humidity: tropical, but not wet
Humidity can happily sit between 40 and 70 per cent. In many homes, winter heating pushes it well below that. A simple fix is to place the orchid on a tray of pebbles filled with water. The pot should rest on the stones, not in the water, so the root ball stays dry while the air around it becomes more humid.
If you have several houseplants, clustering them together also helps: plants create a small shared microclimate. In very dry rooms, a small humidifier nearby is worth considering.
Watering properly: almost dry is better than soaking wet
Most espresso orchids die from too much water, not too little. Their roots need air and do not tolerate waterlogging.
“Use a finger test instead of watering on autopilot: only water when the medium is almost dry.”
How often does the espresso orchid need water?
Push a finger about 1 centimetre into the potting medium. If it still feels slightly damp, wait. Only water once it feels close to dry.
- Growing period (spring to early autumn): usually about once a week.
- Resting period (late autumn and winter): every 10 to 14 days – depending on the room conditions and pot size.
Use water at room temperature, ideally rainwater or filtered tap water. Very hard, limescale-heavy water can build up on roots and in the medium, weakening the plant over time.
The right watering technique
The easiest approach is to place the inner pot in the sink and water until it drains freely from the bottom. The medium should be thoroughly moistened once, then allowed to drain completely before returning the plant to its outer pot.
Never leave the pot standing in water. In stagnant wetness, the roots are starved of oxygen; they rot, becoming soft and brown. Water in the morning so leaves and medium can dry again by evening – this reduces the risk of fungal problems.
Feeding: weak, but regular
The espresso orchid grows in a very airy bark-based medium, which contains hardly any nutrients. That makes feeding necessary – but only at a low dose.
“Weekly, but weak”: a quarter of the recommended fertiliser amount is more than enough.
| Growth phase | Fertiliser type | Frequency |
|---|---|---|
| Active growth (spring–early autumn) | Balanced orchid fertiliser (e.g. 20-20-20) diluted to 1/4 strength | At every watering or every other watering |
| Flowering period | Fertiliser with higher phosphate (e.g. 10-30-20), also heavily diluted | About every two weeks |
| Winter rest period | Standard orchid fertiliser, lightly diluted | About once a month |
Important: only fertilise when the medium is already slightly damp; never pour feed onto completely dry bark. Otherwise, the roots can “burn”.
Repotting: fresh bark every two years
Over time, bark breaks down. The pieces become finer, hold too much moisture, and allow far less air to reach the roots. At the latest after 18 to 24 months, the espresso orchid should move into fresh medium.
Timing and the right container
Spring is ideal: you will often see new growth starting, but flower spikes are not yet developing. Choose a pot that is only slightly larger than the previous one – orchids prefer being snug. Terracotta pots with multiple drainage holes work well because they release moisture more quickly.
Repotting step by step
- Prepare fresh orchid mix made from bark, perlite and a little charcoal, and soak it for a few hours.
- Ease the plant out of its old pot and shake off the decomposed medium.
- With clean scissors, remove any soft, brown or hollow roots.
- Keep only firm roots that are white to greenish.
- Add a little medium to the new pot, place the root ball centrally, and angle new growth slightly towards the middle of the pot.
- Let the medium fall gently between the roots; do not pack it down.
After repotting, water only lightly and be more cautious for two to three weeks. The plant needs time to produce fine new roots, and during this stage it is more sensitive to waterlogging.
Keep an eye out for pests
Espresso orchids are not exceptionally prone to pests, but dry air and a weakened plant can quickly turn an infestation into a nuisance. Typical culprits include spider mites, scale insects and mealybugs.
“If you check the undersides of the leaves once a week, you’ll spot problems early - before they spread.”
Watch for fine webbing, sticky residue or white, cottony nests. With light infestations, a damp cloth and a bit of persistence are often enough: wipe the leaves thoroughly, remove any visible pests, and keep the plant in slightly more humid conditions.
If the infestation is heavier, products based on soft soap (potassium soap) or neem oil can help. Make sure you wet all parts of the plant, including leaf sheaths and crevices. Keep affected orchids away from other houseplants until they are clean again.
Not flowering? How to get the espresso orchid moving again
Many people report: “It grows, but hardly flowers.” In most cases, the issue comes down to light levels, the day–night temperature difference, or an absent rest period.
What to do after flowering
Once the flowers have faded, do not cut the flower spike right down to the base. Instead, trim it back to the second or third node above the base. A new side shoot can sometimes emerge from these “sleeping” eyes.
While it is in bloom, keep the plant properly supported: water consistently, feed moderately, and ensure it gets enough light. Flowering takes energy. Remove individual spent flowers so the plant can channel its effort into the buds that are still closed.
Recreating a rest period
After a generous flowering, the espresso orchid benefits from a brief breather. For four to six weeks, reduce watering slightly and lower the night temperature as much as your home allows. The position should remain bright.
This “mini winter” signals to the plant that it is time to set new flower spikes. If everything stays the same – always warm, always equally moist – flower production can easily stall.
Why the effort pays off: fragrance, looks and a learning curve
Seeing the espresso orchid in full display makes it obvious why collectors swear by it: hundreds of small blooms, a distinct chocolate-vanilla fragrance, and weeks of performance – few other houseplants deliver that combination.
At the same time, it is an excellent “training plant” for sharpening your care instincts. You learn to judge light more realistically, notice humidity more consciously, and stop watering by the calendar in favour of watering according to the plant.
One more practical advantage: espresso orchids pair well with other tropical houseplants – such as ferns or smaller aroids – as long as they keep their own pot and their airy bark medium. That way you can create a mini indoor jungle where both appearance and microclimate work together.
If you stick to these key rules – plenty of filtered light, an airy medium, restrained watering, and a gentle rest after flowering – you have an excellent chance of establishing the espresso orchid in your living room long-term, with its signature dessert-like fragrance returning several times a year.

Comments
No comments yet. Be the first to comment!
Leave a Comment