
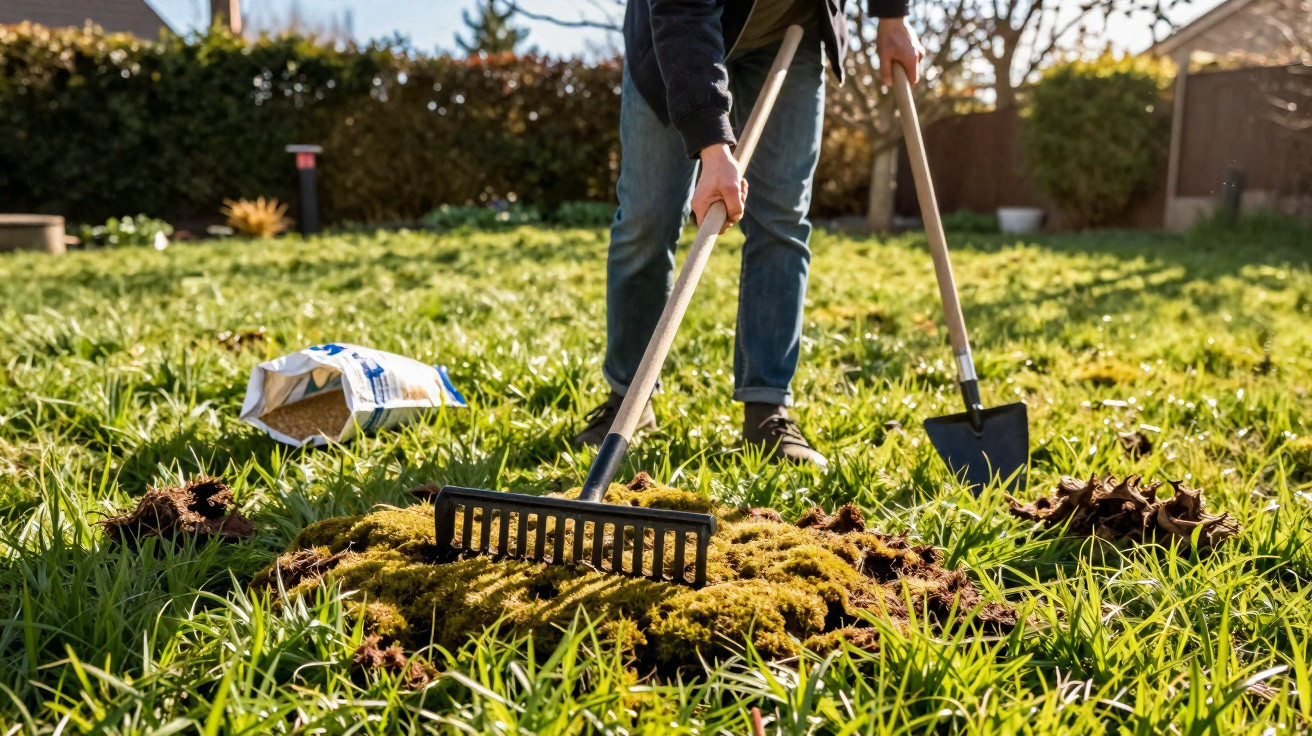
After winter, the garden can feel a bit dispiriting: instead of a lush green carpet, a slippery layer of moss takes over - but the fix is surprisingly straightforward.
Plenty of keen gardeners reach for pricey machines or harsh specialist treatments. In most gardens, though, a smart approach with two simple hand tools, good timing and a few targeted steps is enough to turn that slick surface back into a tough, dense lawn.
Why your lawn is suddenly full of moss in spring
Moss doesn’t appear at random. It’s a clear sign your lawn isn’t thriving in its current spot. Common causes include:
- compacted soil where water sits on the surface
- shaded positions beneath trees or dense shrubs
- very acidic soil with a low pH
- mowing too low and weakening the grass
- nutrient shortages after long, wet winters
Moss isn’t a “typical” weed; it’s a master survivor. When grass is struggling, moss spreads into a soft, continuous carpet. It reproduces via spores carried everywhere by the wind. If it finds damp, tightly packed soil with little competition, it will take advantage of that space without hesitation.
Garden experts stress that late winter through to early spring is the best time to act. This is when the lawn begins growing again. If you remove the moss now and improve conditions, the grasses can quickly reclaim the bare patches.
"Anyone who only scrapes off moss without tackling the cause will certainly see it again next spring."
The simple duo: these two tools are enough for most gardens
Rather than lugging a powered scarifier home, many professionals stick to a small, practical kit. At its heart are just two tools:
- Lawn rake or hand scarifier - for combing out moss and thatch from the surface
- Lawn aerator - for opening up the soil and easing compaction
For the first tool, a sturdy lawn rake with steel tines is often all you need. If you’re working a larger area, a hand scarifier with blades can be useful, as it lightly scores the turf. This lifts moss, old clippings and dead plant material so it can be removed.
The second helper - the aerator - can look very different depending on the type: a standard garden fork, a hollow-tine aerator (with hollow spoons), or a roller fitted with spikes. The design matters less than the outcome: air, water and nutrients can reach the roots again, the ground loosens, waterlogging reduces - and that’s exactly what moss dislikes.
The right moment: when to work the lawn - and when to wait
A common mistake is getting started the moment the first mild days arrive. Specialists advise holding back: while temperatures are still swinging and the ground remains cold and wet, the lawn suffers more than the moss.
A simple rule of thumb helps:
- Nights should be mostly frost-free.
- The soil should no longer be permanently waterlogged.
- The lawn should already be showing clear, visible growth.
It’s better to wait a few weeks for more settled weather than to rake too early and further strain already weakened grasses. March can be particularly deceptive: spring-like by day, but still chilly at night. In these spells, keep any work gentle rather than aggressively scarifying.
Step by step: how to get the area lawn-ready again
1. Mow high - don’t scalp
Before you tackle the moss, start with the mower. Set the cutting height to about 5 centimetres. That shortens the lawn without severely weakening the blades. Cutting hard down to 2 or 3 centimetres straight after winter makes it easier for moss to return, because the grasses have very little in reserve.
2. Remove moss and thatch with a lawn rake
Once mowing is done, focus on the surface. Work over the lawn in overlapping passes lengthways and crossways using a rake or hand scarifier. Key points:
- don’t yank violently; apply firm, even pressure instead
- pause now and then to clear moss from the tines
- remove all piles of moss and thatch from the lawn completely
Shady areas under trees or along hedges often yield surprisingly large amounts. It can look harsh at first - but in reality you’re making room for healthy new growth.
3. Optional: use an iron-based moss treatment sparingly
Many gardeners also use products containing iron, often combined with some fertiliser. These typically turn moss black quickly while strengthening the grass at the same time. It’s important to follow the dosage on the pack carefully and apply on a dry day.
After one to two weeks, the dead, dark moss can be raked out thoroughly once again. If you’d rather avoid chemical options altogether, focus on mechanical removal and good aftercare - it works too, but usually takes a little longer.
4. Let the soil breathe with an aerator
Once most of the moss pads have been cleared, bring in the aerator. Push a garden fork or purpose-made aerator into the ground at regular intervals. On heavily compacted lawns, a hollow-tine aerator is worthwhile, as it removes small plugs of soil.
You can then brush sand - or a blend of sand and fine lawn topdressing - into the holes. This improves drainage, reduces waterlogging and supports a more stable soil structure over the long term.
"Aerated, looser soil is the best long-term insurance against new moss patches."
How to keep your lawn strong, dense and healthy long term
A one-off spring clean won’t solve it on its own. If you want a lawn that stays low in moss, a simple routine repeated through the year is what helps. A proven approach is:
- Spring: mow high, rake out moss, aerate in spots, overseed, fertilise
- Summer: don’t mow too short (at least 4–5 cm), and in dry weather water less often but more deeply
- Autumn: clear leaves, lightly scarify or rake, apply a light feed, reseed bare areas
With consistent care, the lawn roots more deeply, forms denser growth and leaves moss far fewer opportunities. Where very little light reaches the ground, however, even good maintenance has limits. In the darkest corners of a garden, a more radical choice can make sense: rather than forcing a lawn to survive, shade perennials or groundcover plants are often better suited.
Common mistakes that practically invite moss
Avoiding the same recurring habits puts you well ahead. Typical pitfalls include:
- mowing too low: an “English lawn” cut to 2 cm weakens the grasses
- constant light watering: it’s better to water less often but thoroughly than to keep “dampening” the surface
- leaving clippings behind: thick layers of cut grass encourage thatch and, in turn, moss
- skipping overseeding: gaps remain open - and moss moves in
- neglecting the soil: very acidic ground without lime gives moss an advantage
If you’re unsure, a simple soil test can check the pH. If it’s very low, a targeted lime application in late autumn or very early spring often helps bring it back into a range where lawn grasses feel more comfortable than moss.
Practical tips for everyday use and problem areas
In spots with heavy foot traffic - for example in front of the patio or along a well-used garden path - the soil compacts especially quickly. These areas benefit from more frequent aeration, or even installing stepping stones. That takes pressure off the grass and reduces the risk of moss.
Under trees, lack of light is usually the main issue. Carefully thinning the canopy can allow more daylight onto the ground. If you’d rather not do that, choose alternatives to grass, such as barrenwort (Epimedium), sweet woodruff, or other shade-loving plants that naturally cope better there.
In small city gardens, one focused day with a lawn rake and aerator is often enough to dramatically improve the starting point. The real skill comes afterwards: mow regularly, avoid overwatering, and set aside a little time for care in spring and autumn - then the lawn not only looks good, but also stands up better to heatwaves, heavy rain and that stubborn moss layer that spoils so many people’s mood in March.






Comments
No comments yet. Be the first to comment!
Leave a Comment