
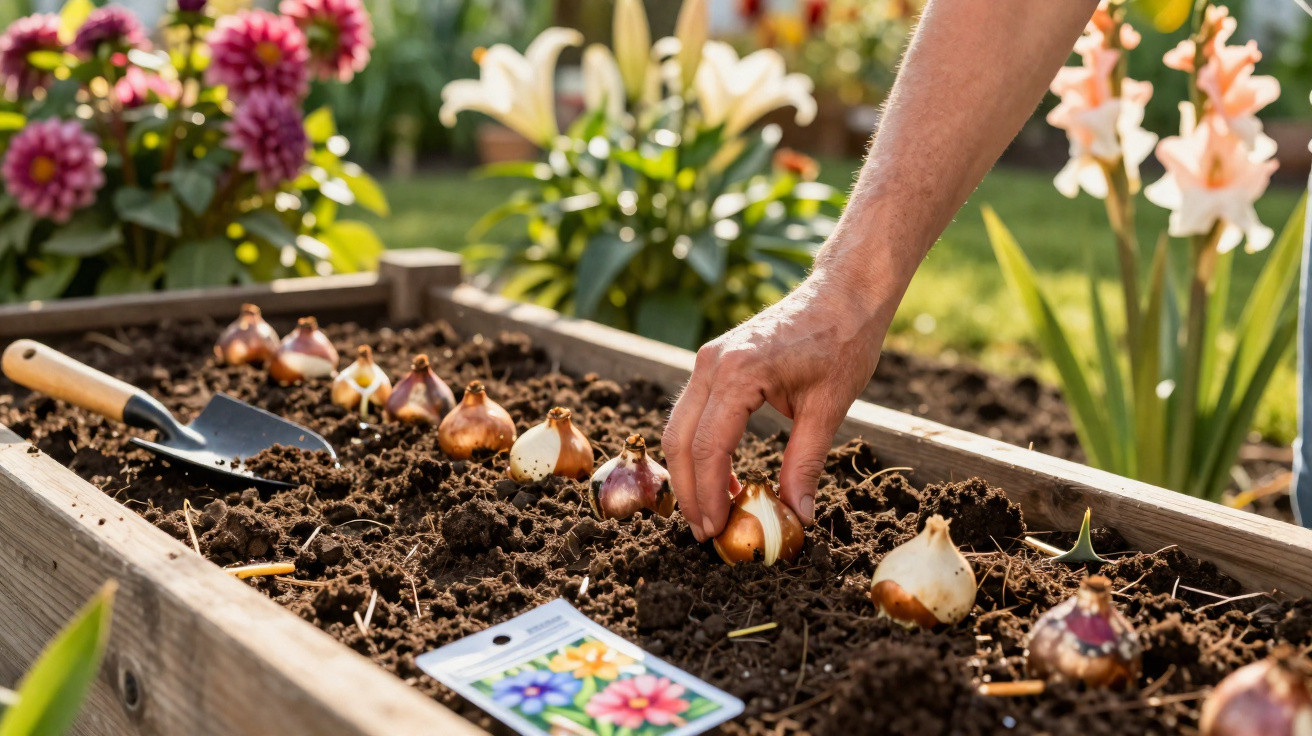
If you want to be standing in front of metre-high flowers, packed window boxes and glowing borders in June, March comes with one clear job. Gardening legend Alan Titchmarsh and plant expert Sarah Raven agree: summer-flowering bulbs and tubers need to go into the ground now - otherwise the big display simply won’t happen.
Why March is so crucial for summer flowers
March hits the sweet spot: daylight is increasing, the soil is starting to warm and thaw, and the sun has real strength again. That is exactly what summer-flowering bulbs need so they can establish roots in time.
Planting now gives them a head start of several months. During that period they can build a robust root system before high summer turns hot and dry. The payoff is sturdier stems, bigger blooms and a longer flowering season.
"A calm hour in March can decide weeks of colour in June, July and August."
In spring, many gardeners instinctively reach first for the lawnmower and the hoe. Titchmarsh suggests flipping that order: lay the foundations for colour first - in other words, plant bulbs and tubers - and then deal with everything else.
These summer bulbs should go in the ground now
Summer-flowering bulbs and tubers come in every size, from bold dahlias to delicate freesias. The key is choosing what suits your garden or balcony.
For tall, dramatic borders
If you want real “wow” moments in your beds, these are the types to prioritise in March:
- Lilies: elegant, often scented flowers, depending on the variety 60 to 150 centimetres tall.
- Gladioli: slim flower spikes, excellent for cutting.
- Freesias: fine blooms with a strong fragrance, ideal at the front of a border or in pots.
- Crocosmias: fiery reds and oranges that add movement to a planting scheme.
- Dahlias: from ball to cactus forms - the classics for walls of colour in late summer.
- Allium (ornamental allium): spherical flower heads that appear to float among perennials.
- Bearded iris: striking individual flowers, particularly good for sunny, dry spots.
Specialists advise against planting these as single bulbs. Instead, place them in small clusters of four to six bulbs of the same variety. This creates blocks of colour that still read well from a distance.
For balconies, patios and small gardens
With limited space, you can achieve a surprising amount using pots, window boxes and hanging baskets. Titchmarsh is especially enthusiastic about:
- Begonias: long flowering, tolerant of partial shade, perfect for boxes and pots.
- Petunias: trailing and very free-flowering - they fill baskets and balcony boxes quickly.
- Verbenas: form dense carpets of bloom, well suited to sunny containers.
- Rudbeckias (coneflower types): tough, long-flowering plants in warm yellows and oranges.
Many of these combine well: taller focal plants in the centre of the pot, with trailing varieties around the edge. This creates properly “cushioned” arrangements that stay attractive well into autumn.
Planting properly: depth, spacing and position
A simple rule of thumb for bulbs is to plant them around two to three times as deep as the bulb is tall. Large dahlia tubers sit a little shallower, while allium bulbs usually go slightly deeper.
| Plant | Planting depth | Spacing | Position |
|---|---|---|---|
| Lilies | 10–15 cm | 20–30 cm | Sun to partial shade |
| Gladioli | 8–10 cm | 10–15 cm | Full sun |
| Dahlias | 5–8 cm | 40–60 cm | A warm, sunny spot |
| Begonias | 3–5 cm | 20–25 cm | Partial shade |
In borders, it’s worth checking the soil quickly: almost no bulb plant enjoys waterlogging. Heavy, clay-rich ground can be opened up with sand or fine gravel. Lilies in particular benefit from a free-draining layer of sand or grit in the planting hole.
Pot and container planting like a professional
Titchmarsh often opts for large terracotta pots. The drainage hole must remain clear so excess water can run away freely. Place a shard of broken pot or a little gravel over the hole, then add a layer of peat-free compost.
Set the bulbs with the pointed end facing up, leave adequate space between them, cover with compost and keep a small watering lip free at the top. That way, water won’t spill over when you irrigate later.
Watering, care and ensuring a wall of flowers
Water thoroughly once straight after planting so the soil settles around the bulb. In the weeks that follow, a measured routine is usually enough: water less often but more deeply, and let the compost dry a little in between.
"Water consistently, but not frantically - and the plants will repay the effort with sturdy stems and dense flower clusters."
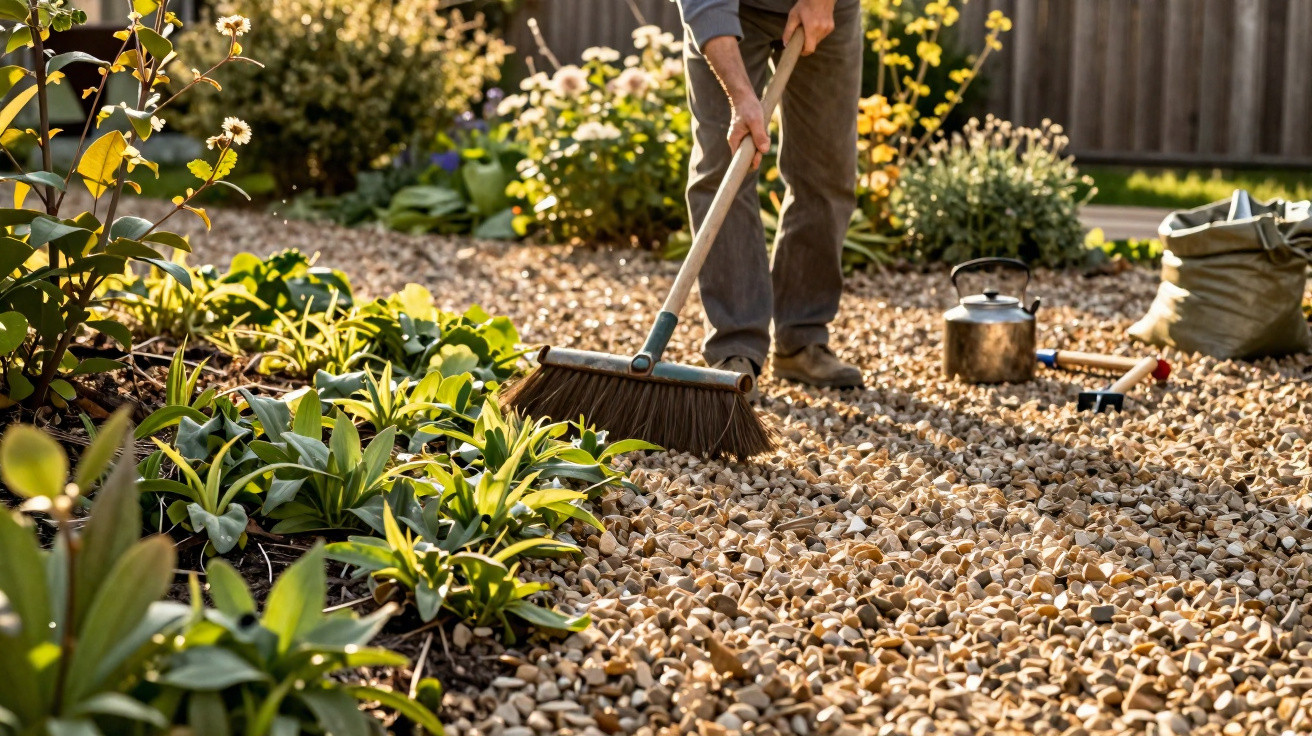
Titchmarsh likes to prepare his kit before the season begins: spade, dibber, watering can, gloves - all cleaned, oiled and to hand. If you’re not rummaging in the shed in June, you keep your momentum and don’t put off essential care.
The underestimated enemy inside bulbs: thrips
A pest can be hiding inside many bulbs that look perfectly healthy: thrips. These tiny insects are hard to spot with the naked eye. They tuck themselves between the layers, lay eggs there, and survive the winter that way.
The damage often only becomes obvious in summer:
- stunted buds
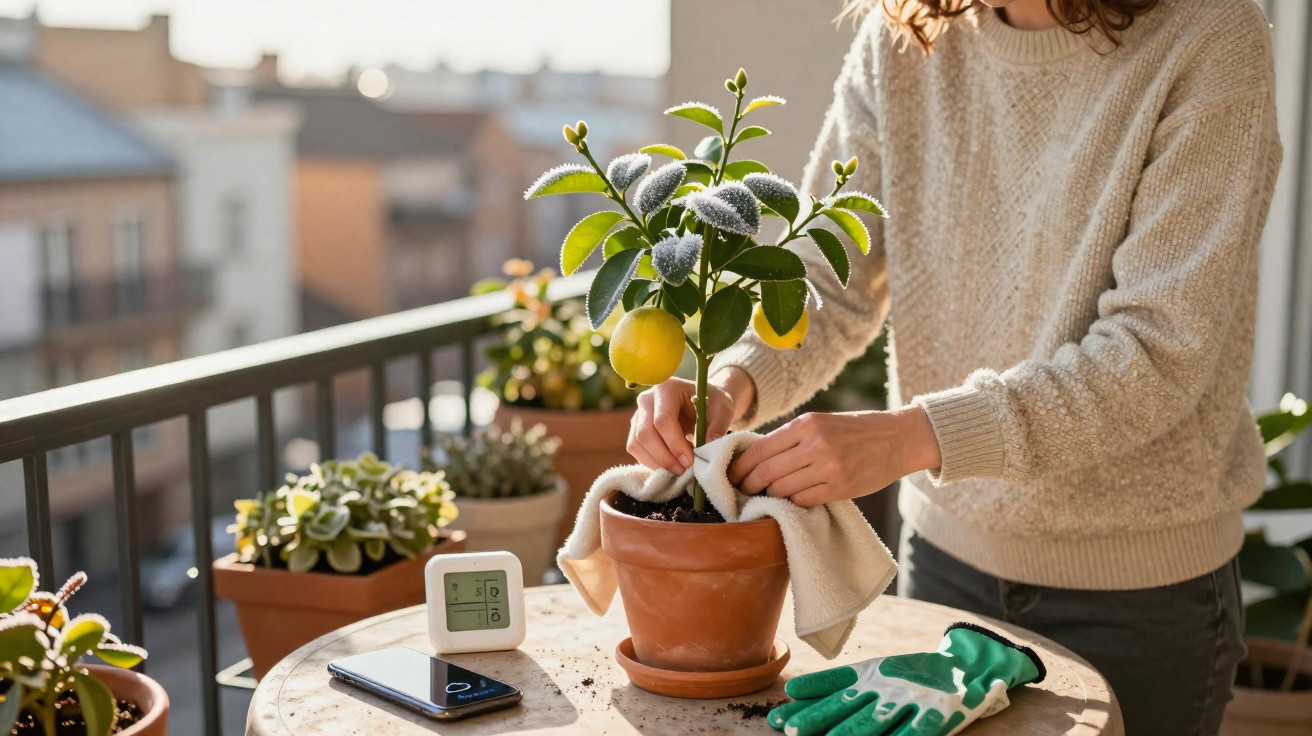
- bluish, silvery-looking patches on petals
- brown, scarred areas on leaves
If you’re planting bulbs from winter storage or from a garden centre, give them a quick inspection: use only firm, clean specimens, and discard anything soft or mouldy.
Gentle treatment before planting
A simple mix can stop thrips before they cause harm. Recommended is:
- 1 litre of water
- 1 tablespoon of insecticidal soap based on potassium salts of fatty acids
or a mild soft-soap/Castile-soap solution, and if necessary a small squirt of washing-up liquid
Spray the bulbs, let them dry briefly, and repeat after three days. This helps catch newly hatched larvae too.
With gladioli, ranunculus or anemones, some gardeners also recommend a short soak of a few hours in water with a household disinfectant based on oxygen or ammonium compounds. Tulips, daffodils and dahlias are far more sensitive to these baths and are best left out.
What if the damage is already visible?
If you spot scarred blooms or silvery traces in summer, you haven’t lost the battle - but you should act:
- Mist the leaves in the evening with a five per cent soft-soap solution.
- Hang yellow sticky traps among the plants - they attract many flying thrips.
- Remove severely distorted plants rather than letting them drag on.
- Dry stored bulbs thoroughly before winter and keep them at 2–4 °C.
Bulbs that have sat for months in a warm, dusty-dry garage should be checked especially carefully before planting. Without that inspection, hidden pests can end up right back in the border.
Common March mistakes - and how to avoid them
Many issues with summer bulbs come down to a few straightforward causes. Three repeat offenders show up again and again:
- Planting too late: if bulbs go in only in late April or May, there is often not enough time to form strong roots. Plants stay weaker and flower for less time.
- Soil that is too wet: waterlogging quickly leads to rot. If you see a puddle sitting over the planting hole after rain, rethink the spot or improve the soil structure.
- Lone bulbs in the border: scattered single bulbs get visually lost. Planting in groups creates far more impact, even in small gardens.
How March effort pays off over the long term
Many summer bulbs return year after year when the site suits them. Lilies and alliums can even multiply slowly. Plan well now and you’ll build a reliable backbone that only needs topping up from time to time.
One practical tip: sketch each bed on paper and mark where each set of bulbs is planted. This prevents accidental digging when adding perennials later, and it makes it easier to fill gaps deliberately in late summer.
On small city balconies, a different strategy pays: choose a few large containers rather than lots of small ones. They hold moisture better, heat up less, and offer enough room for combinations of dahlias, begonias and trailing plants such as petunias. Even on a few square metres, that can create genuine miniature flower landscapes.
So if bare beds make you hesitate in March, you have two options: wait - or fill the soil with bulbs and tubers. The plants then get on quietly with the work, and only weeks later does it become clear what that single planting session really achieved.

Comments
No comments yet. Be the first to comment!
Leave a Comment