
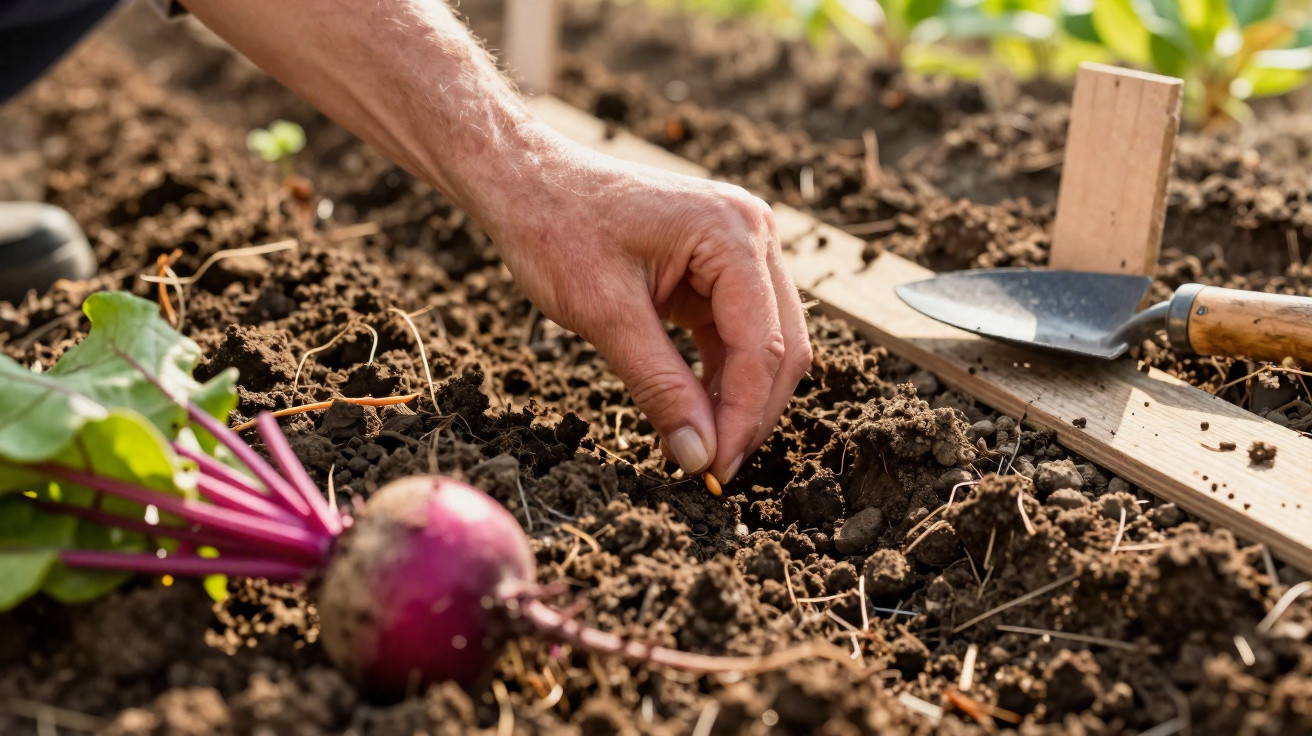
Many gardeners sow beetroot diligently in spring - then later wonder why they end up with long, misshapen roots instead of neat, round bulbs.
The sowing date is right, the soil seems friable, and yet the roots stay small or turn pointed. The secret behind perfectly rounded beetroot is often not a miracle fertiliser, but a nearly forgotten move in the seed drill: it costs nothing and takes only seconds.
Why beetroot so often fails to grow round
Beetroot is one of the tougher vegetables you can grow in a bed. Sowing in April is generally spot on. Even so, the results are frequently disappointing: elongated roots, twisted growth, splits, or knobbly shapes.
"The shape of the bulb is decided in the first few weeks after sowing - especially in the zone directly beneath the seed."
At first, the taproot grows straight down. If the soil underneath is deeply loose, it simply keeps heading downwards. The plant then puts its energy into depth rather than width. The outcome is a more spindle-like root instead of the sought-after, rounded storage bulb.
That is exactly where the “forgotten” step comes in: deliberately firming the soil at the bottom of the seed drill.
A good seedbed: the first step towards attractive bulbs
Before the main trick makes a difference, beetroot still needs a properly prepared seedbed. Without that groundwork, even the best technique will have limited effect.
Preparing the soil correctly
Loosen only the top centimetres rather than digging deeply. A light cultivation with a garden fork or cultivator is usually quite sufficient.
- Prepare the top 5–10 cm to a fine, crumbly texture, ideally like small semolina grains
- Remove stones and large clods thoroughly
- Work in mature compost, but don’t overdo it
- Wait until the soil has warmed after a few sunny days
Cold, wet ground encourages the seeds to rot. A little patience is often rewarded with more even germination and stronger young plants.
The almost forgotten trick: pressure at the base of the seed drill
Now comes the key movement that encourages the root to grow outwards rather than down.
How firming the seed drill works
First, draw a seed drill about 2 to 3 cm deep. Normally you would place the seeds in and cover them - but here is the change: before sowing, deliberately compact the soil at the bottom of the drill.
Use the back of a rake, the edge of a wooden board, or simply your heel to press the base of the drill down firmly. This creates a solid layer directly beneath where the seeds will sit.
"When the taproot hits this compacted layer, it stops driving down - and the beetroot starts to grow wider."
The plant shifts sideways; energy no longer goes into producing a long, straight root, but into building a more compact, rounder bulb. That’s what delivers the desirable shape.
Common mistakes with this step
- Merely tapping the soil instead of pressing it down properly
- Compacting the whole bed rather than only the narrow line at the bottom of the drill
- Firming the surface after sowing as well - which makes emergence harder
Important: firm only the base of the drill. The soil above should remain loose so seedlings can push through easily.
Correct sowing distances: less is more
Beetroot “seeds” come in small clusters known as glomerules. Each cluster contains several seedlings. If you sow too densely, you’ll later get a tangle of roots competing for space.
A simple rule helps:
| Step | Spacing |
|---|---|
| Placing the glomerules in the drill | approx. 5 cm between glomerules |
| Final spacing after thinning | approx. 20 cm between plants |
After laying out the glomerules, cover them with fine, crumbly soil. Pull it over lightly rather than pressing it down. A gentle smoothing with your hand is enough for seedlings to break through in around ten days.
Thinning: the painful but necessary cut
Once the young plants have three to four true leaves, the bed quickly becomes crowded. This is the time for thinning. Many home gardeners hesitate because every seedling looks healthy. But leaving them all in place ultimately sacrifices yield and quality.
"Only those who consistently remove weaker seedlings create room for strong, well-shaped bulbs."
Leave about 20 cm between the remaining plants. Don’t yank the extras out; instead, twist them out carefully or cut them off with a small knife so you don’t disturb neighbouring roots.
Care during the growing phase
Even moisture rather than soaking with the hose
Beetroot reacts badly to sharp swings between drought and waterlogging. Irregular watering often causes splitting and tough texture.
- Water regularly but moderately during dry spells
- Apply water directly to the root zone rather than spraying widely
- Keep foliage as dry as possible to reduce fungal problems
A thin mulch of dried grass clippings or chopped leaves helps retain moisture, reduces surface capping, and protects the soil from drying out too quickly.
Remove weeds consistently
Weeds compete with beetroot for both water and nutrients. In the first few weeks, many weeds grow faster than beetroot seedlings.
It’s better to hoe or pull briefly every few days than to struggle later with dense, rooted mats. A tidy bed pays off clearly when the bulbs are forming.
How to spot the right harvest time
Depending on the variety and weather, harvest typically comes 2 to 4 months after sowing. A quick look at the bulb “shoulders” tells you a lot.
- The top of the bulb pushes slightly out of the soil
- The surface looks smooth, without deep cracks or heavy woodiness
- The skin shows an even colour, without glassy patches
That’s the ideal moment to lift the root gently with a garden fork and pull it out. Waiting too long can lead to woody flesh and a loss of flavour.
What the compacted drill base actually does
Firming the base of the drill acts like an invisible barrier. Professionals describe it as interrupting the taproot. In response to this obstacle, the plant forms more side roots and increases bulb growth in the upper zone.
Farmers have used this principle for a long time with various root crops. In home gardens, however, it has often been forgotten because soils are now commonly loosened deeply. This is where a deliberate counterbalance helps: keep the surrounding soil open, but compact just the narrow track at the bottom of the seed drill.
Further practical tips for even better results
If you want to refine bulb shape further, also pay attention to variety choice and companion planting. Naturally rounder varieties tend to stay more compact. Combined with a compacted drill base, the result looks especially balanced both in the bed and in the kitchen.
Beetroot grows well alongside onions, lettuce, or bush beans. Right next to heavy-feeding brassicas it often suffers from competitive pressure. Rotating the position every few years reduces disease pressure and helps keep plants healthy.
With finely prepared soil, a firmly pressed drill base, restrained sowing and consistent thinning, a simple technique becomes a reliable method. Many disappointing beetroot harvests come down less to a lack of “green fingers” and more to this small, easily overlooked step in the seed drill - which ultimately decides between thin, drawn-out roots and plump, round bulbs.

Comments
No comments yet. Be the first to comment!
Leave a Comment