
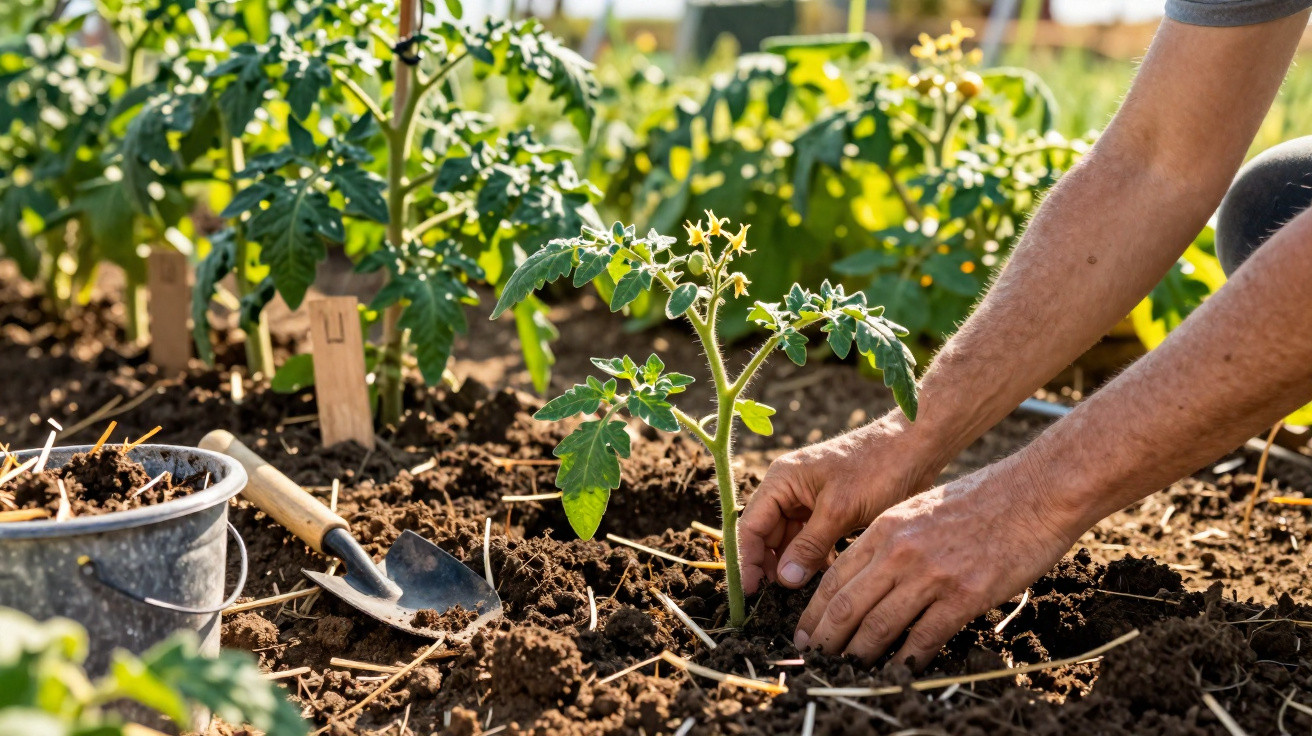
Many hobby gardeners set tomatoes perfectly upright - professional vegetable growers do it differently and get noticeably more from every bed.
In commercial vegetable production, one approach is regarded as a real secret weapon for sturdy tomato plants and generous harvests: instead of going into the ground vertically, the tomato plant is laid on its side in a shallow trench. Although it looks odd at first glance, it encourages an underground root network that conventionally planted tomatoes rarely develop.
Why tomatoes should be planted on their side
Tomatoes have a useful trait that many other veg plants lack: along any part of the stem that is covered with soil, they can produce adventitious roots. In other words, every centimetre of buried stem can potentially turn into new root growth.
If you simply drop a tomato plant straight into a hole, you barely take advantage of this ability. The roots tend to remain concentrated around the original root ball. With sideways planting, however, the plant builds a far wider root system, allowing it to exploit a much larger volume of soil.
“The more stem disappears into the soil, the denser and stronger the root system becomes - and that makes the whole plant tougher.”
During dry spells, these plants can draw water from deeper and more lateral layers of soil. They are slower to become stressed, their leaves don’t droop as quickly, and they bounce back faster after hot weather. In the bed they look more secure, grow more evenly, and quite literally seem better anchored.
The right time for planting tomatoes on their side
The best moment is when young plants are already around 20 to 30 centimetres tall, but the stems are still flexible. Depending on location and weather, many nurseries sell plants at this stage in April or early May.
Slightly “leggy” tomatoes - long, thin plants caused by insufficient light - are actually especially well suited to this method. Rather than throwing them away, you can lay them down and convert that overlong stem into extra roots.
Even so, tomatoes still need warmth. Hard late frosts should be over, and the soil should be neither ice-cold nor waterlogged. Waiting a few extra days often results in stronger plants than rushing out too early into chilly ground.
Step by step: how trench planting works
It sounds more involved than it is. Essentially, you swap the usual planting hole for a shallow trench.
The key steps at a glance
- Make a trench about 10 to 15 centimetres deep.
- Make it long enough for almost the entire stem to fit.
- Remove the lowest leaves and any side shoots near the base cleanly.
- Leave only the top section with a few leaves above the soil surface.
- Lay the stem gently into the trench without creasing it.
- Cover with fine, crumbly soil and press lightly with your hand.
- Water thoroughly straight away, but do so gently.
An L-shaped trench is particularly handy: the horizontal section holds the stem, while the short upward section helps the growing tip point almost vertically towards the light. Within a few days, the tomato’s head will turn towards the sun on its own anyway.
“Tomatoes consistently orientate themselves towards the light - you can start with the pot laid down, and the plant will still end up standing straight.”
What to put in the trench
Professionals rarely rely on bare garden soil alone. Adding one or two handfuls of mature compost to the bottom of the trench gives the plant a strong start. Within a few days, the new roots reach it and find a loose, nutrient-rich zone.
If you like, you can mix a thin layer of fine soil into the compost so the transition isn’t too abrupt for young roots. In some gardens, chopped nettle leaves are also added. They provide nitrogen and trace elements; a small handful per plant is enough.
On very nutrient-poor soils, a little sifted wood ash can help top up potassium. Use it sparingly: too much ash raises the pH and can slow the plant down. The aim is balanced, open soil - not a concentrated feed mix.
If your soil is heavy and prone to holding water, there’s a key risk: rotting on the buried stem. In that situation, work in plenty of mature compost or coarse sand to improve aeration. Tomato roots need oxygen; without it, sideways planting can quickly backfire.
Why the sideways method produces more resilient plants
A broad root system does more than improve water uptake. It also acts as a buffer against temperature swings. A longer section of the plant sits protected underground, rather than being exposed to wind and cold air.
As a result, the above-ground growth tends to start the season more steadily. Leaves are often held a little higher and freer, and the plant appears more upright even though the stem is laid flat beneath the surface. That, in turn, improves airflow around the foliage.
“Well-aerated foliage dries faster - so fungal diseases such as blight have far poorer conditions to get started.”
As the weeks pass, the tomato develops more side shoots and the flower trusses tend to be spaced more generously. Many gardeners find the plants stay productive and structurally sound well into late summer, rather than collapsing early or running out of steam.
Common mistakes when planting tomatoes on their side
Burying grafted plants incorrectly
With grafted tomatoes, the critical point is the graft union. It must remain clearly visible and well above the soil line. If it is buried, the scion can form its own roots and the benefit of grafting is lost.
Snapping the stem instead of bending it
One rushed movement can kink the flexible stem. That weakens the plant and gives pathogens an easy entry point. Place the tomato into the trench gently rather than forcing it down. If the stem is already very stiff and woody, it is less suitable for this method.
Forgetting support
Put a sturdy cane, string support, or spiral stake in place at planting time. The tomato grows upward while it is simultaneously forming new roots underground. If you add support later, you risk damaging the fresh root system while pushing it in.
Does the technique work in a pot?
Yes - sideways planting also works in large containers or planters. What matters is sufficient depth and, above all, dependable drainage. Water sitting in the lower part of the pot will cause problems for any tomato, whether planted sideways or upright.
Tall, so-called indeterminate varieties are particularly interesting because they keep producing new shoots and flowers for months. They benefit greatly from a strong root system. That said, compact bush tomatoes can also be started on their side, as long as they are still young and flexible.
Practical tips for day-to-day care in the bed
After planting, pay close attention to your watering routine. Give the tomato one thorough watering immediately after planting, then allow a short dry spell so the roots actively grow out into the surrounding soil. Soil kept constantly wet right against the stem encourages rot.
A thin mulch layer of grass clippings, straw, or shredded leaves helps retain moisture and shields the new roots from overheating. Important: don’t pack mulch directly against the stem - leave a small air gap.
| Aspect | Upright planting | Sideways planting |
|---|---|---|
| Root reach | fairly localised | widely spread |
| Stability in wind | medium | high |
| Behaviour in dry periods | quickly stressed | noticeably more tolerant |
| Infection risk from fungal diseases | higher with dense foliage | reduced through better airflow |
Who benefits most from this method
Anyone gardening on light, sandy soils will know how quickly tomatoes can dry out. This is where sideways planting shows its biggest advantage, because the roots can exploit far more soil volume. In very rainy areas, it can help too, as a larger root mass smooths out fluctuations in water availability.
Beginners may also find the technique especially worthwhile: it forgives spindly or slightly overgrown young plants that didn’t get enough light on a windowsill. A “failed” tomato can still turn into a strong plant once the stem becomes a root-making engine under the soil.
Extra tips for even stronger tomato plants
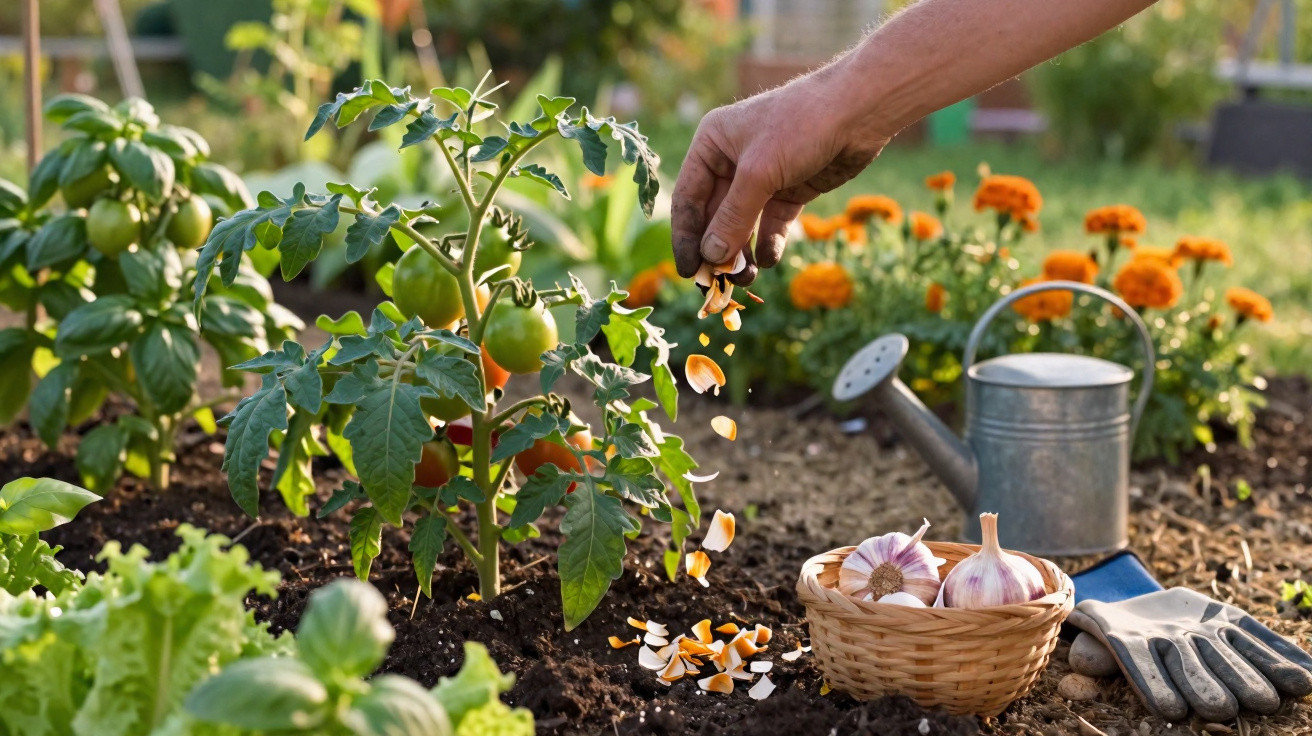
While you’re preparing the soil, it’s worth considering companion plants. Basil or marigolds between tomatoes can break up the planting visually and may confuse pests. Some gardeners also swear by lightly removing the lowest tiers of leaves over the summer to further improve airflow.
One more point: regular, moderate feeding tends to work better than a single heavy “full throttle” dose at planting time. A tomato uses its expanded root system best when nutrients are supplied steadily but not excessively. This helps the plant stay robust, grow in a controlled way, and produce flavourful fruit over many weeks.


Comments
No comments yet. Be the first to comment!
Leave a Comment