
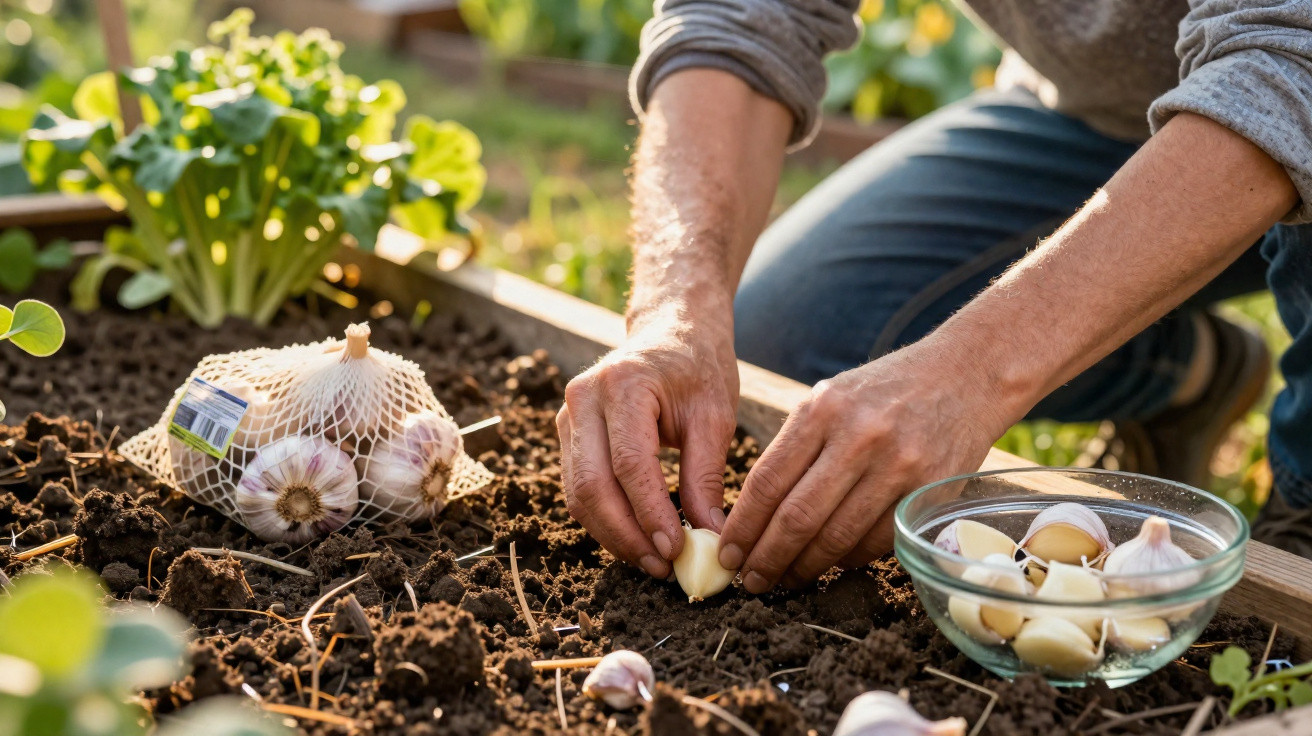
Many amateur gardeners spend good money on planting bulbs, yet online a different approach has been doing the rounds for ages: push supermarket garlic into the soil and, a few months later, lift your own crop. It sounds like a magic shortcut, but it only pays off if you pay close attention to what you’re planting, how your soil drains and how you handle moisture.
Why supermarket garlic can suddenly make sense in the garden
Garlic is a staple in the kitchen, but it’s often overlooked as a garden crop. Plenty of people assume a “proper” harvest is only possible with certified planting stock from a garden centre. In reality, shop-bought cloves can perform surprisingly well - and in some situations they’re a handy, almost free extra project for the veg patch.
"Each individual garlic clove can, if handled correctly, grow into a fully formed bulb - without any high-tech kit or specialist fertiliser."
The biggest plus is how undemanding garlic is. It copes with relatively poor soil, provided the ground is loose, well-draining and in full sun. If you have a sunny bed, a raised bed or even just a deep container on a balcony, you can get started.
That’s exactly where the appeal lies: instead of binning a slightly shrivelled net of garlic, you put part of it in the soil - a simple anti-waste move with real potential for a worthwhile harvest.
The one thing that can ruin your garlic harvest
The catch is in the detail. Some supermarket garlic is treated to delay sprouting. That’s convenient in the cupboard, but in the garden it’s a disaster. Those cloves emerge late or not at all, stay weak and take up space for nothing.
If you fill an entire bed with treated bulbs, months later you may be staring at bare rows. A quick check before you commit can prevent that.
- Test first, then plant at scale
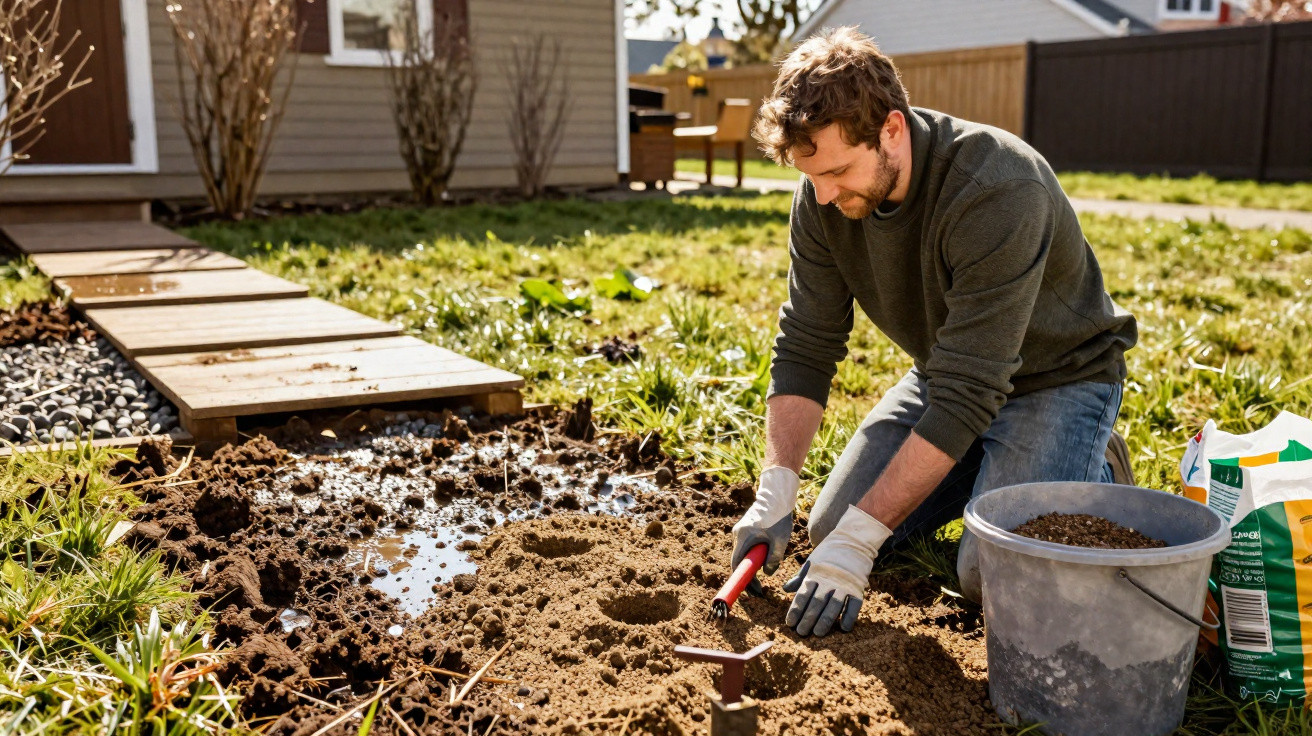
- Never plant garlic into waterlogged, heavy soil
- Keep a good crop rotation to reduce soil-borne disease
"The cardinal mistake: planting whole beds with supermarket garlic in waterlogged soil - that’s how you breed rot and disease for years."
How to choose suitable bulbs from the shops
If you want to plant garlic from the supermarket, it pays to be fussy. At this point it’s no longer about flavour - it’s about vigour.
What to look for when buying
- Ideally choose organic garlic, as it is less often treated with sprout inhibitors
- Firm, plump bulbs with no soft patches
- No signs of mould or dark marks around the base
- White or pink varieties usually do well in a typical home garden
At home, carefully split the bulbs into individual cloves without removing the skins. The papery skin protects the clove underground from rot and fungal issues.
A pro preparation: a cold spell in the fridge
One simple step can noticeably improve your chances: a brief cold period. Many gardeners chill planting cloves in the fridge for one to two weeks.
- Split the bulbs into cloves and leave them unpeeled
- Place the cloves loosely in a paper bag or an open bowl
- Store in the salad drawer; don’t seal them airtight
- After a few days, check: prioritise cloves showing a visible white or greenish shoot
Cloves that are clearly sprouting go into the bed; the rest can go straight into the pan without any guilt. That way you waste nothing and only plant the strongest candidates.
Planting correctly: spacing, depth and the water factor
When you plant is where it’s decided whether your supermarket cloves turn into a full crop - or rot away in wet soil.
The ideal spot
- Full sun, with at least a few hours of direct sunlight each day
- Loose, sandy-loam soil that dries quickly after rain
- No low-lying area where rainwater collects
If your ground is very heavy, a straightforward fix is to plant on a slightly raised bed or on small ridges, roughly a hand’s breadth high. This helps excess water run off.
How to set the cloves properly
| Step | Recommendation |
|---|---|
| Planting depth | 3–5 cm of soil above the clove |
| Spacing within the row | 10–15 cm between cloves |
| Row spacing | 25–30 cm |
| Orientation | Pointed end of the clove facing upwards |
A common mistake is planting too deep. The shoots then take ages to appear and the bulbs often end up smaller. Too shallow is also risky, because frost can lift the cloves and they dry out more easily.
Right after planting, one thorough watering is enough to settle the soil. After that, water sparingly - garlic prefers it on the dry side rather than sitting in soggy ground.
Low-effort care: garlic is an easy-going companion plant
If you’re used to labour-intensive crops, garlic will feel refreshingly simple. It grows steadily, but it doesn’t demand constant attention.
Watering, weeding, loosening - there’s not much more to it
- Water only during prolonged dry spells
- Stop watering completely in the final weeks before harvest
- Remove weeds regularly and shallowly, as garlic has shallow roots
- Lightly hoe the surface now and then to prevent compaction
"If you water garlic the way you water tomatoes, you’ll harvest disease rather than bulbs. It tolerates dryness better than constant moisture."
In normal garden soil, garlic barely needs feeding. On very poor ground, a thin layer of well-rotted compost in autumn or early spring is sufficient.
Harvesting, storage and smart bed planning
The right harvest timing has a big impact on how well your bulbs store. Lifting them too early or too late reduces both size and shelf life.
Signs your garlic is ready
- Around two thirds of the foliage has turned yellow or has already dried back
- Some leaves start to flop over without being completely brown
- The bulbs feel firm and are clearly well formed
A dry spell is ideal. Pull the bulbs gently by hand or loosen them with a garden fork, taking care not to damage them. Then dry them somewhere airy and shaded.
Many people dry garlic in plaited strings or in bunches hung up for several weeks. Once dry, you can trim the roots and shorten the dead leaves. Stored in a cool, well-ventilated place, the bulbs will keep for months.
Crop rotation and companion planting: keeping the soil healthy
To give soil diseases and pests as little chance as possible, it helps to plan ahead over several seasons:
- Don’t plant garlic straight after leeks, onions or other alliums
- Leave at least three to four years between garlic crops on the same patch
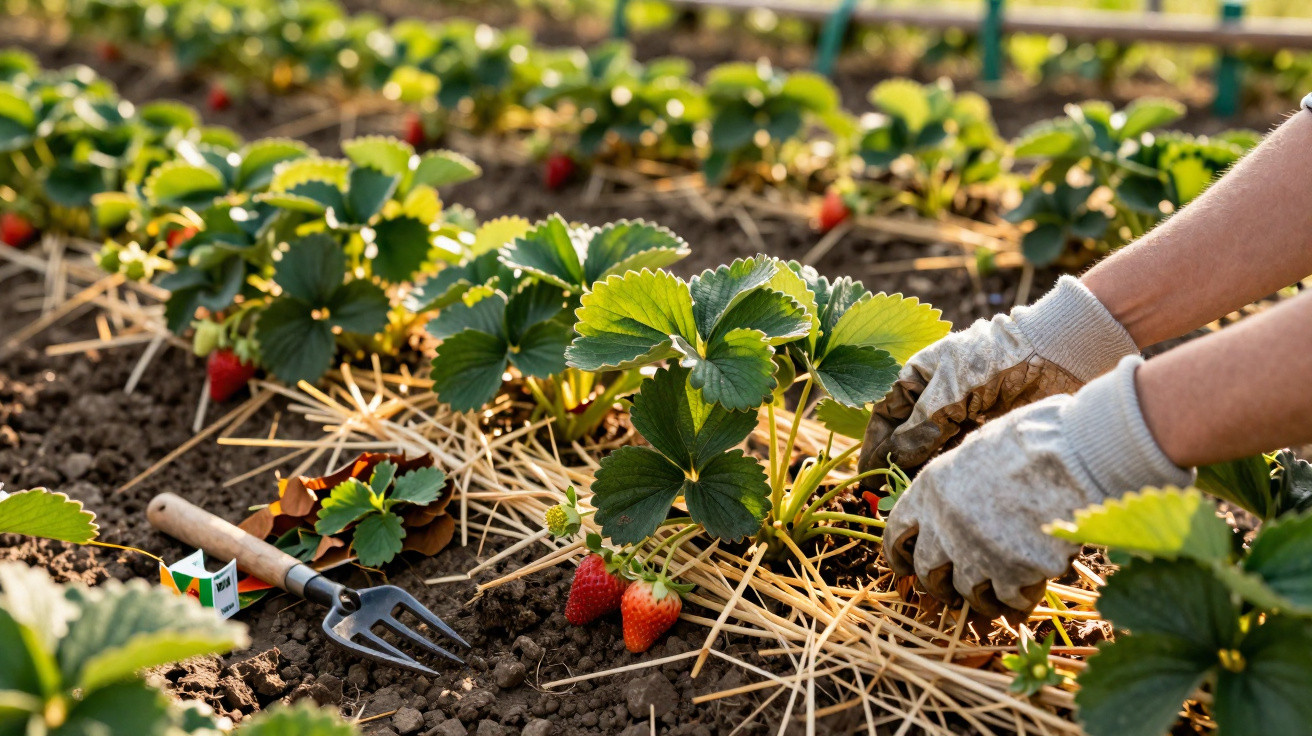
- Good neighbours include carrots, strawberries and roses
- Keep more distance from peas and beans; they tend not to do well alongside garlic
The sulphur compounds in garlic have a mildly deterrent effect in the bed against some pests and fungal problems. Roses, in particular, can benefit when a few garlic plants are grown nearby.
How to increase your yield on purpose
A small habit can produce noticeably larger bulbs: grade your cloves before planting.
"The largest, healthiest cloves go into the bed. The small ones go into the pan - that’s how you increase your yield step by step."
If you repeat this approach each year, you gradually build your own “home line” of sturdy, vigorous plants. What began as a basic supermarket purchase can become a surprisingly reliable crop that improves from season to season.
If space is tight, you can even grow garlic in a window box or a deep pot. The key is a very free-draining compost mix with a bit of sand, plus a position where rainwater can escape easily. Containers make it much easier to control moisture, which helps prevent rot.
The risks stay manageable as long as you avoid waterlogging and don’t rely solely on supermarket bulbs across a whole plot without rotating the area. If you’d like to try new varieties, you can mix certified planting bulbs with strong shop-bought cloves - giving you more security and more variety in the bed.
Comments
No comments yet. Be the first to comment!
Leave a Comment