
Many hobby gardeners wait until it is properly warm before they even think about sowing. Yet late winter opens a window in which you can give your soil a serious head start - not with bagged fertiliser, but with a plant no one harvests, few people notice, and that is precisely why it works so well.
The understated helper: why one plant does the work for your soil
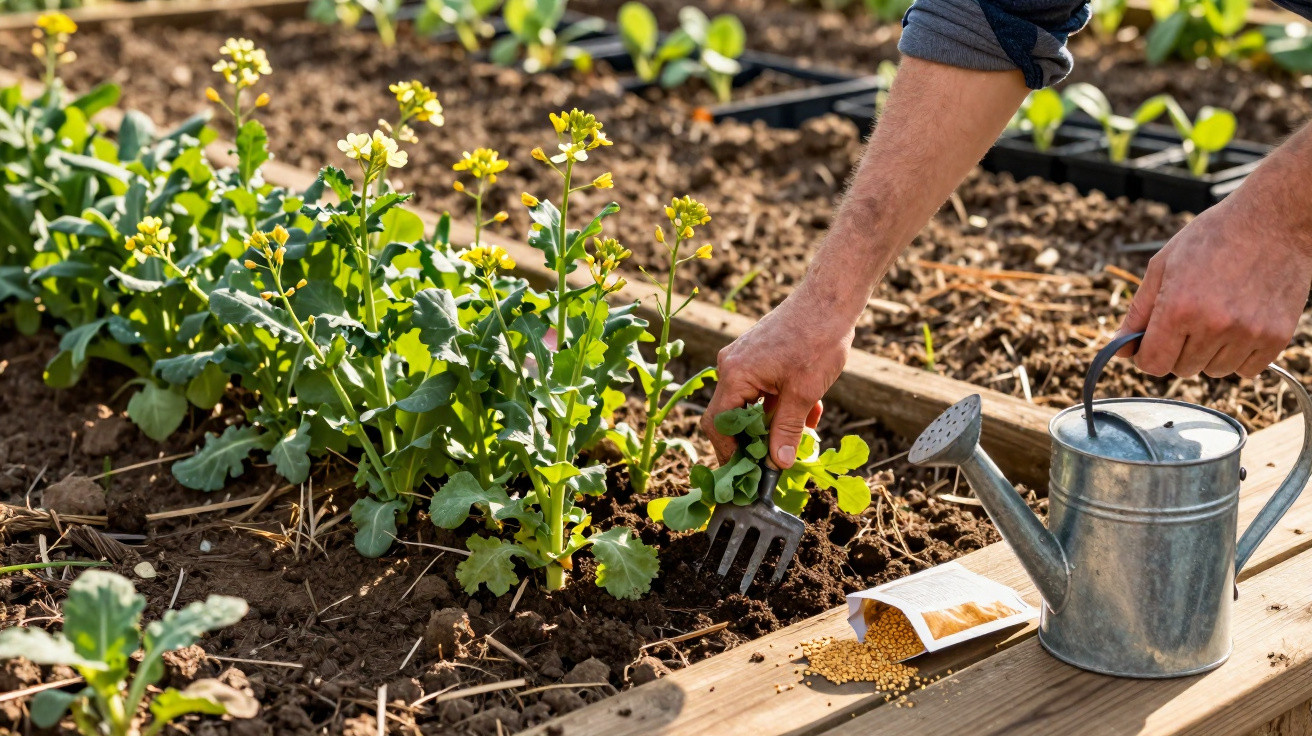
This is about a classic green manure: white mustard (Sinapis alba) - often sold simply as “mustard mix” or “mustard green manure”. You do not sow it to pick it; you sow it purely for the soil. And that is exactly its strength.
As soon as the soil reaches about 5 degrees, this plant gets moving. While vegetables are still holding back, mustard takes advantage of the cool spell to quickly form a dense green cushion. The result is that the ground is not left bare; it is wrapped in a living cover.
"A living plant carpet protects the surface, takes up nutrients and releases them again at exactly the right time."
That helps on several fronts:
- Fewer weeds, because the soil is shaded
- Less erosion from rain and wind
- Roots loosen compacted areas without any machinery
- More nutrients in organic form for the next crop
Why now is the right time
Late winter - roughly from mid-February - can look like standstill in the garden. For this specialist crop, however, it is the starting gun. In many regions, soil temperatures are already high enough, even if nights are still cold.
While others are still planning, you can lay the groundwork for your next vegetable run in a single job. The plant uses the remaining winter moisture, germinates quickly and covers the ground before weeds really get going.
How much seed you actually need
For hobby gardeners, it is a case of a small quantity delivering a big effect. You need surprisingly little seed to see a noticeable benefit.
| Area | Recommended seed quantity |
|---|---|
| 1 m² bed | approx. 1–2 g |
| 5 m² bed | 5–10 g |
| 10 m² bed | 10–20 g |
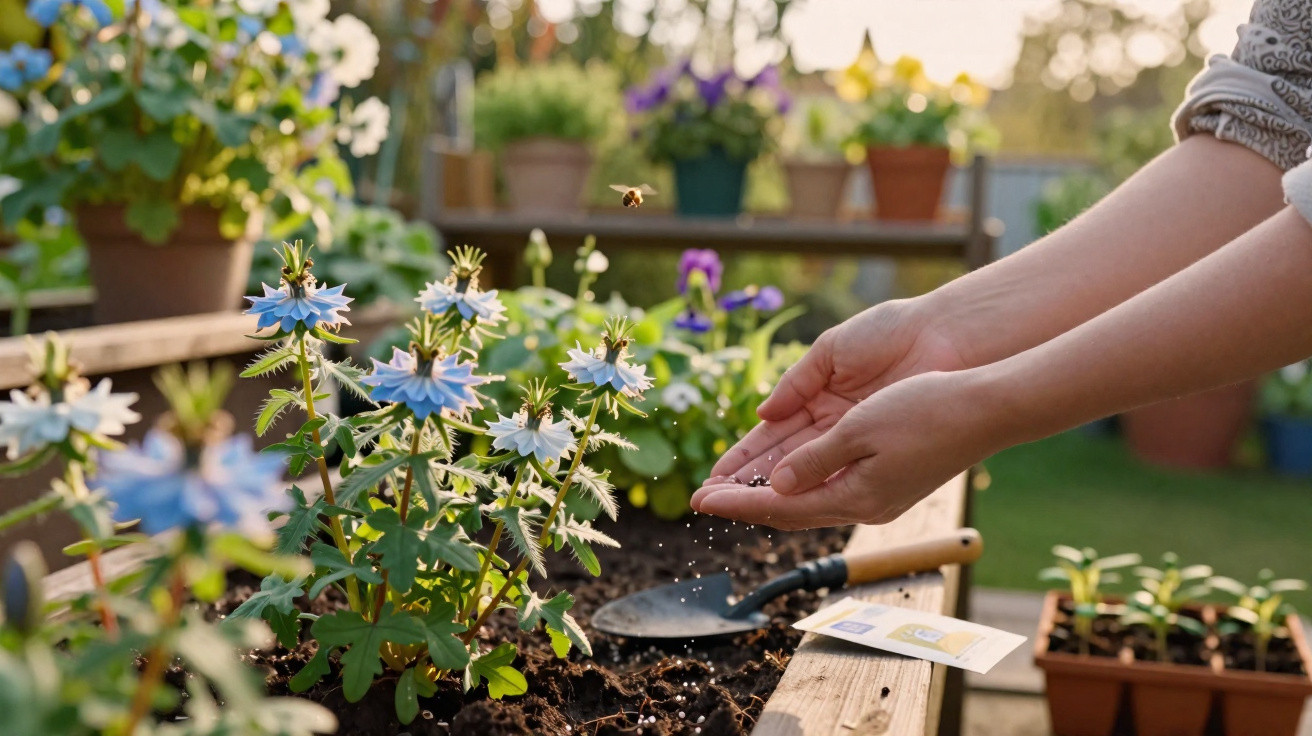
Sow it by broadcasting: scatter over the lightly raked surface. The seed should only go in very shallowly, at most 1–2 centimetres. The aim is good soil contact, not burying it deep.
Preparing the soil: less really is more
You do not need to dig the bed over completely. In fact, gentle preparation is usually more than enough:
- Lightly scratch the top layer with a rake or cultivator
- Only loosen crusted patches; do not turn them over
- Break up large clods so the seed can sit against the soil
If a patch is heavily compacted, push in a garden fork and gently rock it back and forth without flipping the soil. This opens air channels; the roots will find their way on their own.
How to sow correctly - step by step
The sowing itself is straightforward and, in a small garden, rarely takes longer than half an hour.
- On a frost-free day, loosen the soil lightly.
- Mix the weighed seed in a bucket with a little dry sand - this helps it spread more evenly.
- Broadcast over the area, both lengthways and crossways.
- Firm in lightly with the back of a rake or by briefly walking over the bed.
- If conditions are dry, water once gently.
In damp weather, you often see the first lines of seedlings after about ten days. In mild spells it can be quicker. Before long, the young plants knit together into a closed carpet.
Care, cutting and incorporating: timing is everything
At heart, this method only works properly if you control the plant’s life cycle. The key moment arrives around six weeks after sowing.
By then, the crop has built plenty of leaf mass and is full of nutrients, but has not yet gone fully into flower. That stage delivers the biggest return for your soil.
"Green manure has the best effect when it returns to the soil while it’s still young and succulent - not once it has turned into a tough stem."
When and how you should cut
- Cut just before flowering, or right as flowering begins.
- Use a hand scythe, a sharp knife, or grass shears.
- Let the plants wilt for a few hours; they are then easier to work in.
If you leave it too long, you end up with fibrous, woody stems that break down slowly and can get in the way when you plant later on. Worse still, if seed ripens, the plant can start to spread and become a nuisance.
How to get the plant material into the soil
Do not bury the cut material deeply. A shallow depth is enough to speed decomposition while also feeding soil life.
A sensible range is 3–5 centimetres. You can do this effectively with a rake or cultivator. Alternatively, leave the material on top as a mulch and incorporate it shallowly later - around two weeks before you plant or sow vegetables.
What the soil gains - and your harvest, too
Recent agricultural trials show a fairly clear pattern: plots that had green manure before the main crop produce noticeably higher yields on average. Across several evaluations, the increase was around 18 percent.
There are several reasons for this:
- Deep roots loosen the soil and create channels for water and air.
- Plants capture nutrients that would otherwise be leached out, then release them later.
- The closed cover suppresses weeds - reducing competition for your vegetables.
- Soil organisms get plenty of food and become more active.
Used consistently, you will often notice after just one season that beds become more crumbly, rainwater soaks in better, and young plants establish faster. Tomatoes, brassicas, lettuces and beans tend to respond especially well to well-prepared soil.
Important notes for hobby gardeners
Keep a few points in mind so the method does not backfire:
- Only sow on soils that are not waterlogged - standing water slows germination.
- Do not leave the plants until seeds are fully ripe, to prevent uncontrolled spread.
- If you have known issues with certain pests, incorporate the cut material promptly or move it to the compost.
- If you plan to grow brassicas, watch out for close relatives used as green manure in the same bed, so you do not increase disease pressure.
Practical examples from everyday gardening
A simple scenario: a 10-square-metre bed sits empty after the autumn harvest. Instead of leaving it bare until May, you sow green manure in February.
At the end of March, you cut down the thick green growth, work it in shallowly, and wait two to three weeks. In April, you plant lettuces and early kohlrabi. The plants meet loose, nutrient-rich soil that is full of life. Weed pressure stays low, and you water less because the humus layer holds moisture more effectively.
The same approach works very well ahead of heat-loving crops such as tomatoes or peppers. The difference is that you can leave the green manure standing a little longer because the transplants go out later. What still matters is this: keep at least a two-week gap between incorporating and planting so decomposition can get properly under way.
What green manure actually does in the soil
Many gardeners talk about “charging up” the soil without being clear on what is happening. When the plant mass decomposes, microorganisms get to work. They turn leaves and stems into humus and, in the process, release nutrients in forms plants can use.
Organic nitrogen from the material is gradually converted into ammonium and nitrate - nutrients that vegetables respond to particularly strongly. At the same time, stable humus compounds form, improving soil structure and water-holding capacity. All of this happens in the background; your job is simply to sow in good time and cut at the right stage.
Once you understand the principle, you can plan your garden year differently. Instead of leaving beds empty for months, you “park” nutrients in a layer of green growth that is later handed back to your vegetables. This cycle reduces reliance on expensive fertiliser and increases your chances of sturdy plants and generous baskets at harvest time.

Comments
No comments yet. Be the first to comment!
Leave a Comment