
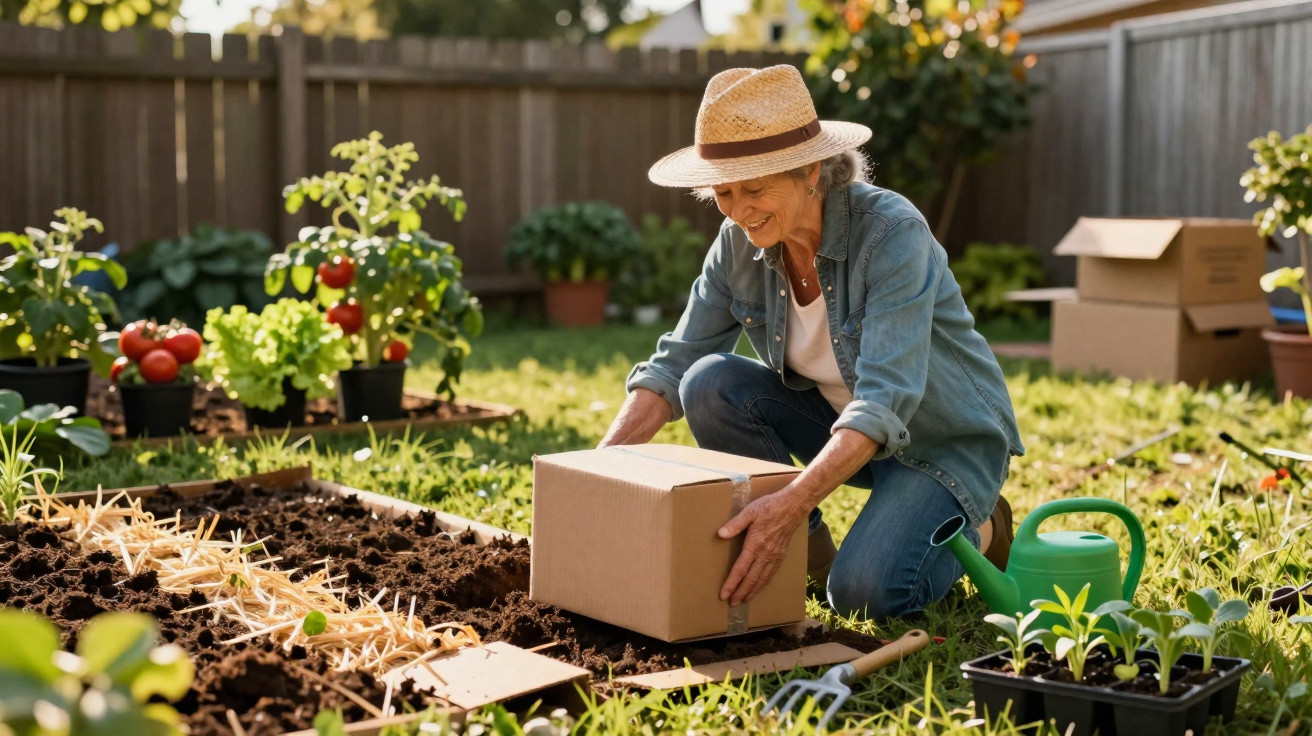
What sounds at first like a neighbour’s odd tip is, in fact, a surprisingly effective permaculture technique. No digging, no aching back, no chemicals: with nothing more than plain packing cardboard, you can turn an ordinary lawn into a productive garden bed in just a few weeks-so long as you follow a few key rules.
How a sheet of cardboard does the gardening
The concept is almost laughably straightforward: lay a tight layer of brown corrugated cardboard over a closely mown patch of grass. No holes, no gaps where light can sneak through. Add compostable material on top and you’re done. Initially it can look like a makeshift rubbish heap-but beneath the cardboard, a remarkably intricate process gets underway.
The cardboard blocks the light, the unwanted plants die off-and at the same time become food for new life in the soil.
With light cut off from the turf and weeds, they can’t photosynthesise. In around 3 to 6 weeks, most root systems run out of stored energy. The plants then break down directly under the cardboard layer, contributing organic matter.
At the same time, soil life gets to work: earthworms pull cardboard fibres down, digest dead grass and blend everything into the existing soil. The pay-off is a dark, moist, crumbly growing layer-something that, in conventional gardens, often takes years of spade work and composting to achieve.
Research shows this light-exclusion method can eliminate up to about 99 percent of weeds-more than chemical total herbicides. And it uses a material many supermarkets are happy to give away for free.
The right cardboard: not every box belongs in a garden bed
Before you drag every box out of the shed, pause for a moment. Not all cardboard is suitable for the garden. The wrong type can introduce contaminants into the soil-or simply refuse to rot down properly.
How to spot suitable cardboard
- Use only brown, unbleached, corrugated cardboard
- Avoid glossy finishes, coatings and any plastic layers
- Skip brightly coloured or heavily inked printing
- Remove all tape, labels, staples and leftover film before laying it down
Good choices include plain delivery boxes or neutral produce cartons from supermarkets. Colourful toy packaging or greasy pizza boxes don’t belong in a vegetable patch, as they’re often coated or heavily printed.
Turning lawn into a bed: step by step
The build is simple, but the results depend on the finer points. If you cut corners here, you may later find persistent roots returning-or patches of the bed drying out.
1. Prepare the base
Only mow the area; don’t dig it over. You can leave the cut grass where it is, as it becomes an extra organic layer. Very woody stems or thick root crowns can be removed or trimmed so the cardboard can sit as flat as possible.
2. Lay the cardboard
Overlap the pieces generously-15 to 20 centimetres is ideal. This stops even a thin line of light getting through. Tiny openings are enough for rampant plants such as bindweed to force their way back up.
Once everything is in place, water thoroughly. Wet cardboard hugs the ground, won’t blow away, and starts decomposing more quickly.
3. Build the organic layers
The system works like a lasagne: layer by layer, waste turns into a complete growing medium.
Now add alternating “brown” and “green” materials on top of the cardboard:
| “Brown” materials (carbon-rich) | “Green” materials (nitrogen-rich) |
|---|---|
| Leaves, straw, woodchip, shredded paper | Grass clippings, plant-based kitchen scraps, fresh plant trimmings |
| Dried perennial cuttings, sawdust (untreated) | Coffee grounds, tea leaves, manure from herbivores |
Aim for a total depth of at least ten centimetres-more is fine. If you finish with mature compost, you can plant straight away. Without a compost top layer, it’s worth allowing a little more time.
When you can start planting
The big question for many home growers is whether the cardboard must fully rot away before vegetables go in. The answer is more relaxed than most people expect.
Plant immediately or wait?
- With a compost finish: sturdy young plants such as tomatoes, courgettes or pumpkin can go in right away.
- Without compost: wait 4 to 6 weeks for the layers to settle.
- For the impatient: cut planting holes directly through the cardboard and set seedlings into those openings.
Roots will push through the damp, softened cardboard and down into the soil beneath. That’s perfect for vigorous crops. It becomes trickier for neat rows sown from tiny seeds.
Which plants thrive early-and which should wait
Particularly well-suited for the first year in a “cardboard bed” are:
- Tomatoes, peppers, chillies
- Courgettes, pumpkin, cucumbers
- Brassicas, chard, salads
- Strawberries and many herbs
More delicate root crops such as carrots, parsnips or parsley root do better once the base is deeper-rooted and looser. If you’re keen on them, plan them for the second year, when the layers have fully broken down into a more friable humus.
Common pitfalls: slugs, dryness and the wrong materials
Hardly any garden trick comes without trade-offs. With the cardboard approach, you may see more slugs at first, because they enjoy the damp, sheltered conditions.
Many gardeners apply a small amount of wildlife-friendly, organic-approved slug pellets around stems when planting out, or use barriers such as copper tape and rough-edged rings. After a few weeks, the initial slug surge usually fades as the surface becomes drier and more open.
Another consideration: if the organic layer is built too thinly, it can dry out in high summer. Mulching often means watering around 30 to 40 percent less overall, but in the early stages the system needs several deep waterings so everything kicks off properly.
Why the soil improves year after year
The bed works like a savings account: you deposit leaves and kitchen scraps-and later withdraw them as vegetables.
Over the season, the cardboard layer almost disappears. What’s left is a richly dark, crumbly soil where roots can spread easily. By adding another layer of cardboard plus fresh organic material each autumn, you steadily build soil fertility over time.
After 2 to 3 years, many home gardeners run into a pleasant problem: the beds become so fertile that they sometimes need to hold back rather than push on, so certain crops don’t “get out of hand”. At the same time, maintenance drops because stubborn weeds rarely break through and the soil stays covered.
Why this approach is kinder on your back and the climate
Cardboard gardening avoids heavy tools and hours of digging. That reduces strain on your back and helps protect soil structure. Fine fungal networks and underground microorganisms largely remain intact, rather than being disrupted every season.
There’s another advantage too: many things that would otherwise go in the bin get a second life. Delivery boxes, dry leaves, grass clippings and vegetable peelings from the kitchen all stay in circulation. That means less organic waste and a garden that relies less on bought-in fertiliser.
Start with one small bed and you’ll quickly notice how much this method can change a garden’s feel. Instead of a sweaty battle with weeds and hard ground, you create a system that largely looks after itself-with an unassuming sheet of cardboard providing the starting signal.
Comments
No comments yet. Be the first to comment!
Leave a Comment